Hi friends! If you’re a coffee lover who’s looking for a way to make your cup of joe both creamy and protein-packed, you’re going to LOVE this Vanilla Protein Coffee Creamer.
It’s super simple and will have you saying goodbye to store-bought creamers forever.
My friend told me about this recipe, and I’ve been hooked ever since.
It’s easy to make, totally customizable and works with both hot and iced coffee. Trust me, you’ll never want your coffee without it again!
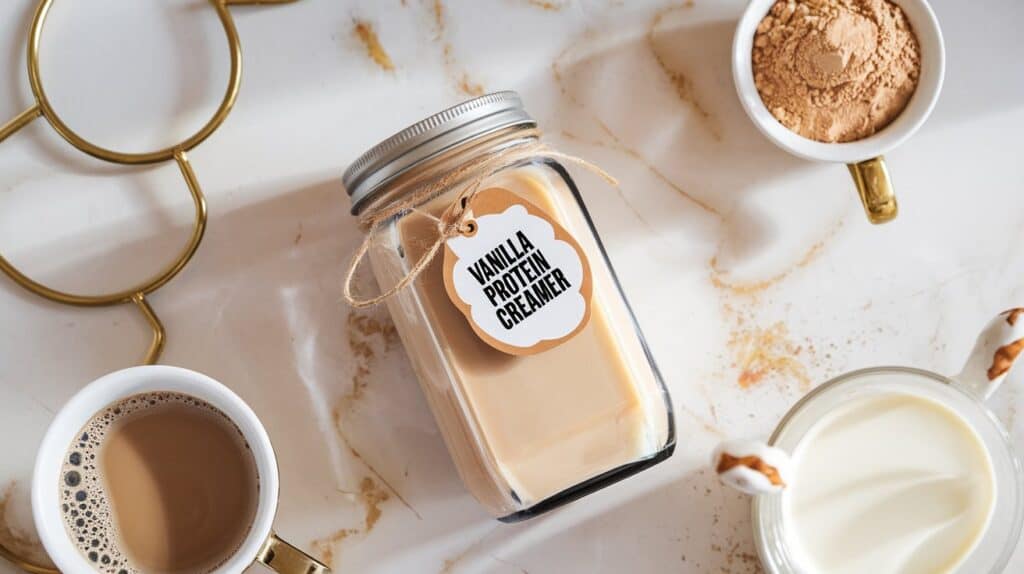
What You’ll Need
- 1 scoop (10–20g) of vanilla protein powder
- 1 cup unsweetened almond milk (or any milk of your choice)
- 1–2 teaspoons pure maple syrup (or a sweetener of your choice)
- 1 teaspoon vanilla extract (for extra vanilla goodness!)
- Optional: A pinch of cinnamon or a sprinkle of cocoa powder
Pro Tips
- Pick the perfect protein powder: Make sure you’re using a protein powder that blends smoothly and complements the vanilla flavor.
- Go slow with the sweetener: Start with a little and adjust to your taste—you can always add more!
- Blend for a silky texture: Blending ensures your creamer is smooth and frothy. A whisk can work too, but blending is next-level creamy.
- Customize it: Want a thicker creamer? Add less milk. Prefer a thinner one? Add a splash more almond milk.
- Shake before using: Protein powder tends to settle, so give your creamer a good shake before pouring into your coffee.
Tools You’ll Need
- Blender or hand whisk
- Measuring cups and spoons
- A jar or bottle for storing your creamer
Substitutions and Variations
- Milk: Try oat milk, cashew milk, coconut milk, or even regular dairy milk if you prefer.
- Sweeteners: Agave syrup, honey, monk fruit, or even a few drops of liquid stevia can be used instead of maple syrup.
- Extra flavors: Add a splash of hazelnut extract, almond extract, or pumpkin spice for fun flavor twists.
- Protein powder: Use caramel, chocolate, or even unflavored protein powder for a different vibe.
Make Ahead Tips
- Make a batch on Sunday to use throughout the week! Store it in a sealed jar in the fridge for up to 4–5 days.
- Freeze portions in an ice cube tray for easy coffee add-ins—just pop one into your hot coffee and stir!
How to Make Vanilla Protein Coffee Creamer
1. Combine Ingredients
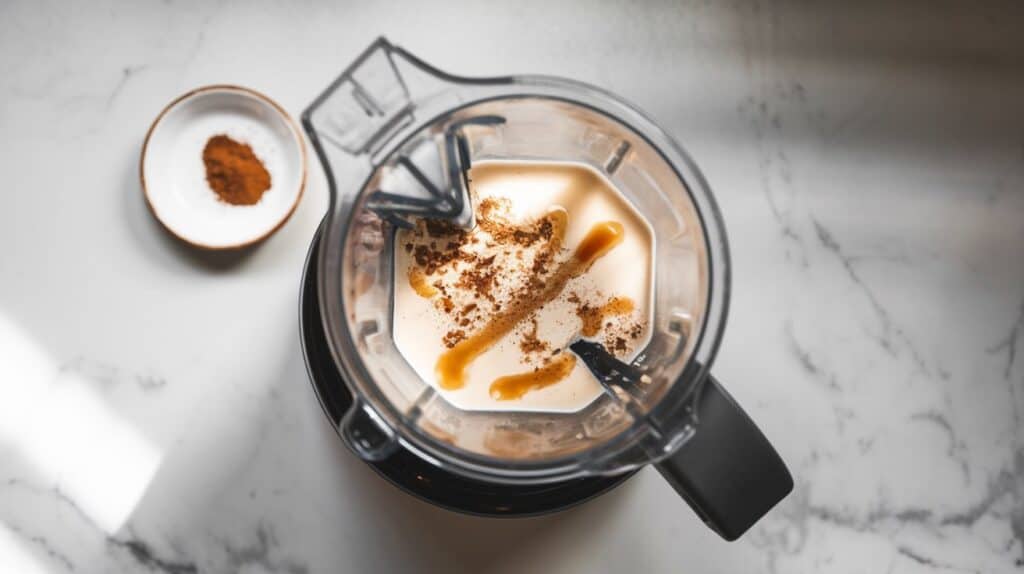
Add your vanilla protein powder, almond milk, maple syrup, and vanilla extract to a blender. If you’re feeling fancy, toss in a pinch of cinnamon or cocoa powder too!
2. Blend Until Smooth
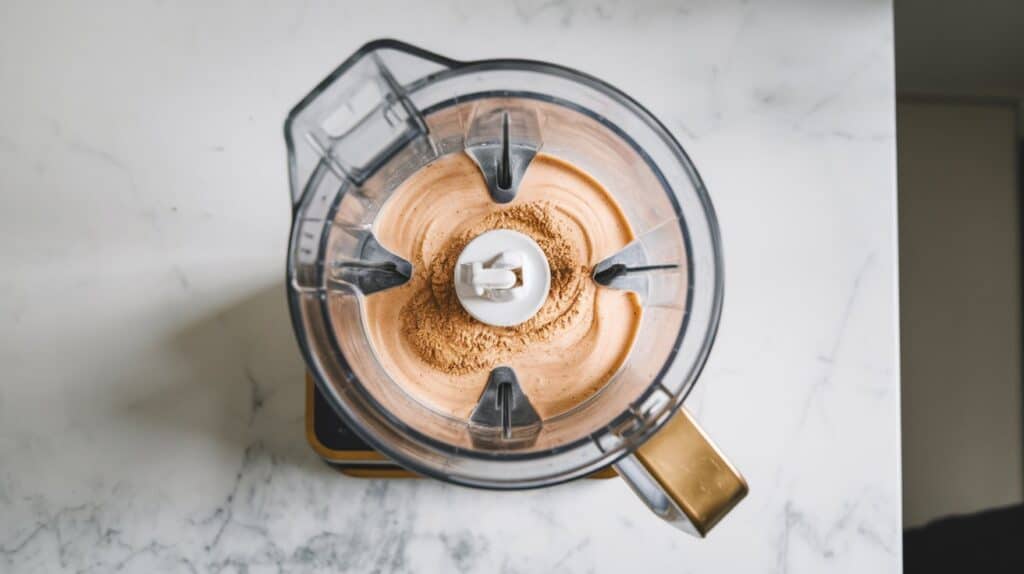
Blend on high for 30 seconds, or until the mixture is smooth and creamy with no lumps.
3. Taste and Adjust
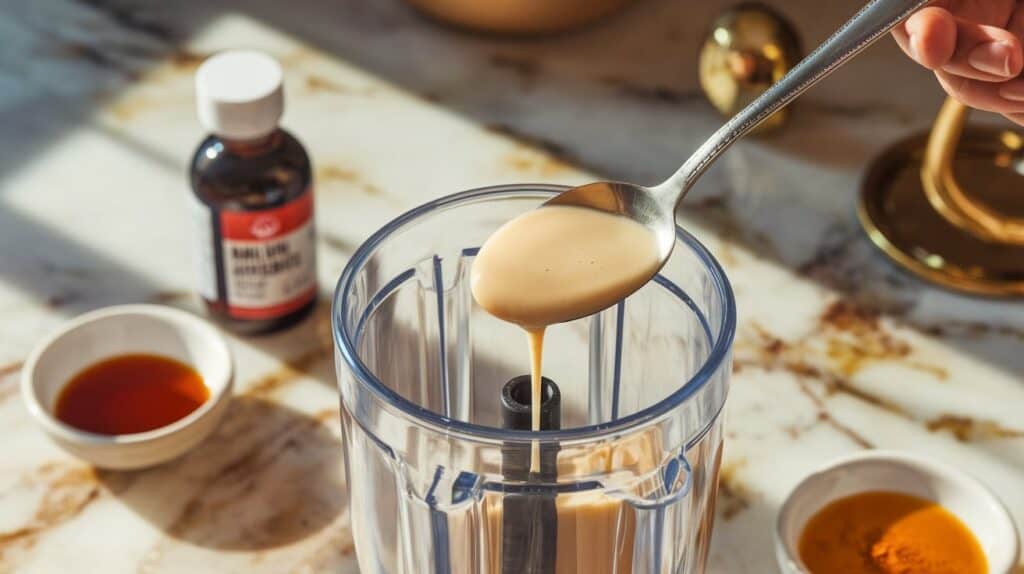
Taste your creamer. If you’d like it sweeter, add a little more maple syrup. If it’s too thick, add a splash more almond milk and blend again.
4. Pour and Store
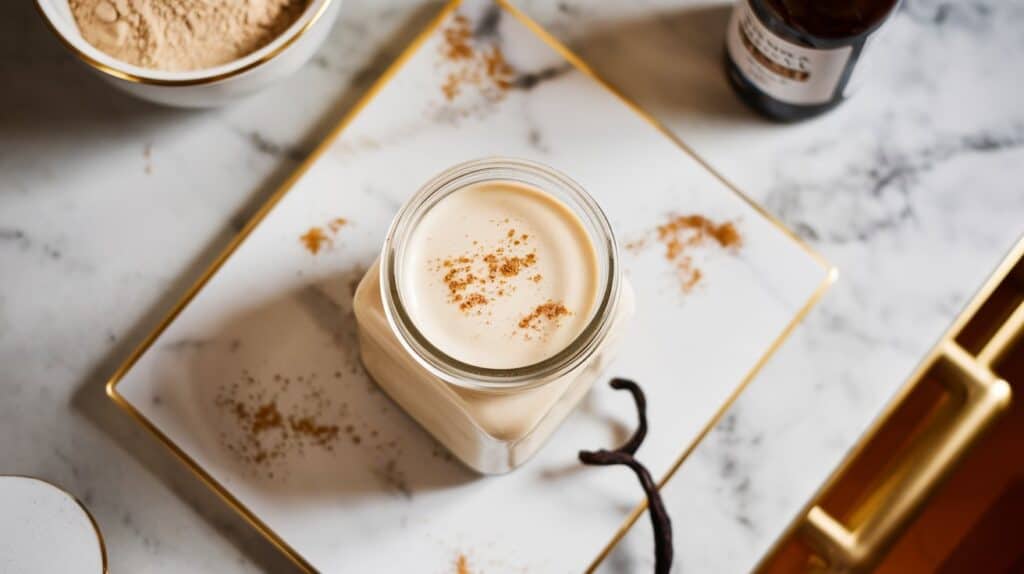
Pour the creamer into a jar or bottle with a lid. Store it in the fridge, and give it a good shake before using.
5. Use in Your Coffee
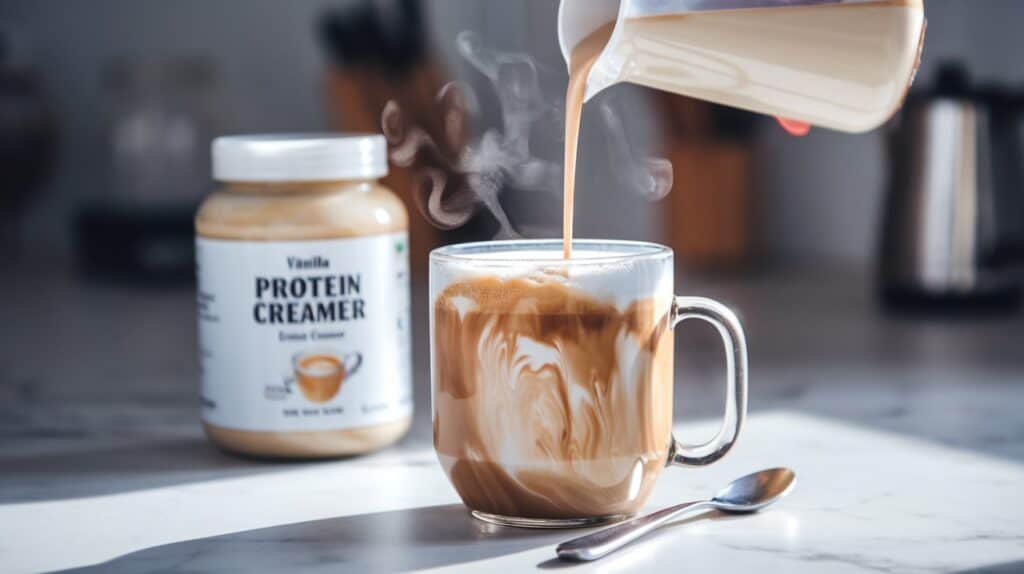
Add 2–4 tablespoons (or more, depending on your taste!) to your hot or iced coffee. Stir well and enjoy the creamy vanilla goodness.
Leftovers and Storage
- Store your creamer in a sealed jar or bottle in the fridge for up to 4–5 days.
- Shake well before each use to make sure everything is fully mixed.
Conclusion
And that’s it! Making your own Vanilla Protein Coffee Creamer at home is so easy, and it’s a great way to add a healthy boost to your daily coffee.
Once you try it, you’ll wonder how you ever lived without it.


