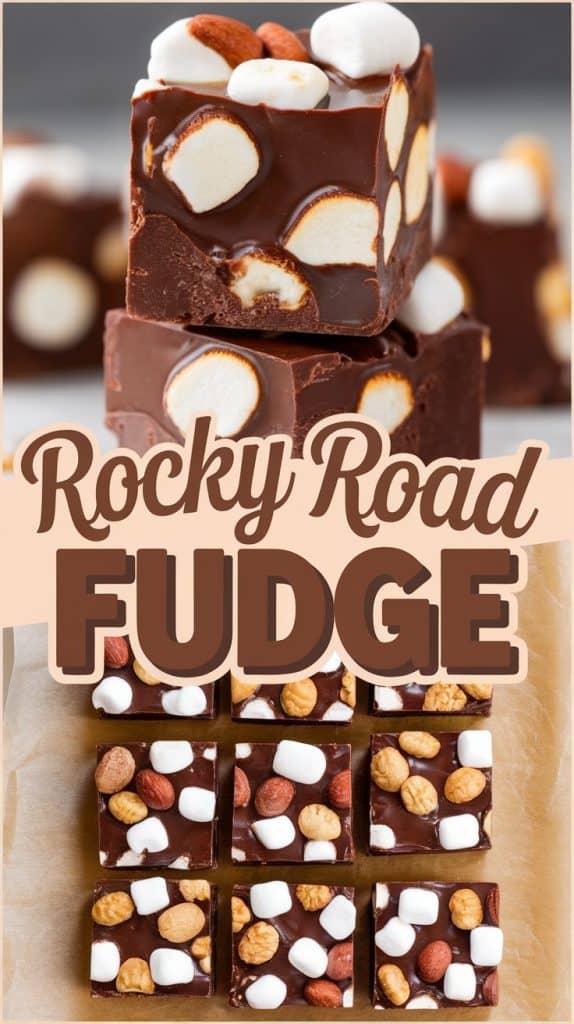
Rocky Road Fudge is the ultimate treat—chocolatey, gooey, crunchy, and absolutely delicious! It’s packed with marshmallows, nuts, and chocolate, giving it the perfect mix of flavors and textures in every bite.
And the best part? It’s super easy to make with no baking required. Whether you’re making it for a party, gifting it to friends, or just treating yourself, this fudge is always a hit.
Let’s get started!
What You’ll Need
Ingredients:
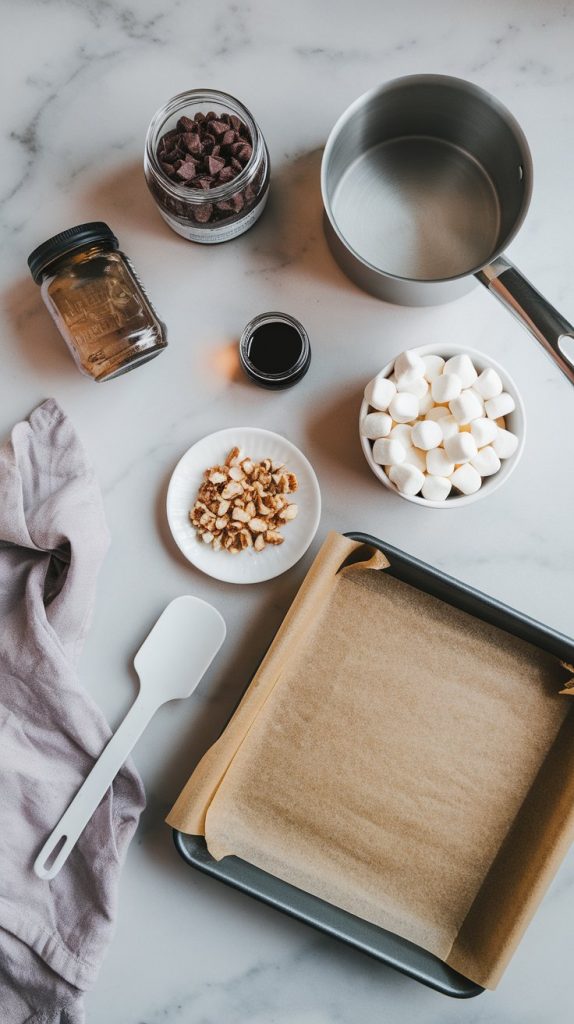
- 3 cups semi-sweet chocolate chips
- 1 (14 oz) can sweetened condensed milk
- 1 teaspoon vanilla extract
- 1 ½ cups mini marshmallows
- 1 cup chopped nuts (walnuts, almonds, or peanuts work great)
- Optional: ½ cup chocolate chunks or extra mini marshmallows for topping
Tools:
- Medium saucepan
- Heatproof spatula
- 8×8-inch baking pan
- Parchment paper
- Measuring cups/spoons
Pro Tips
- Use high-quality chocolate. It makes a big difference in the flavor of your fudge.
- Don’t overmix. Gently fold in the marshmallows and nuts so they don’t melt completely.
- Line your pan. Use parchment paper to make lifting and cutting the fudge easy.
- Switch it up. Use your favorite nuts or swap them out for crushed cookies or pretzels for a fun twist.
- Work quickly. Once the fudge is mixed, pour it into the pan right away—it sets fast!
Substitutions and Variations
- Nut-free version: Skip the nuts and add extra marshmallows or crushed cookies instead.
- Extra gooey: Add more marshmallows on top before chilling.
- Add a swirl: Drizzle melted peanut butter or caramel on top before chilling for an extra decadent touch.
How to make it
1. Melt the Chocolate
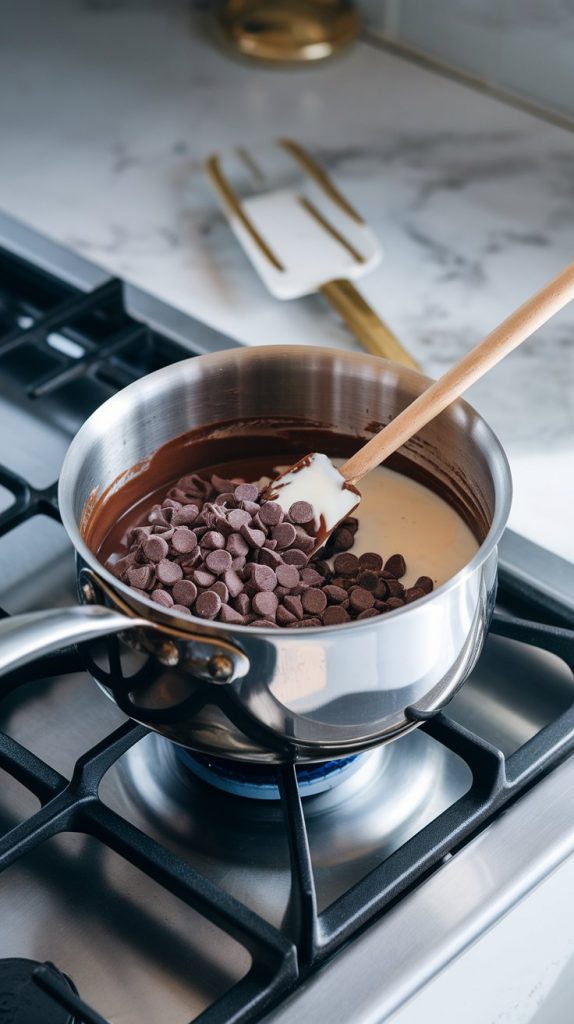
In a medium saucepan, combine the chocolate chips and sweetened condensed milk. Heat over low heat, stirring constantly, until the chocolate is completely melted and the mixture is smooth. Remove from heat and stir in the vanilla extract.
2. Add Marshmallows and Nuts
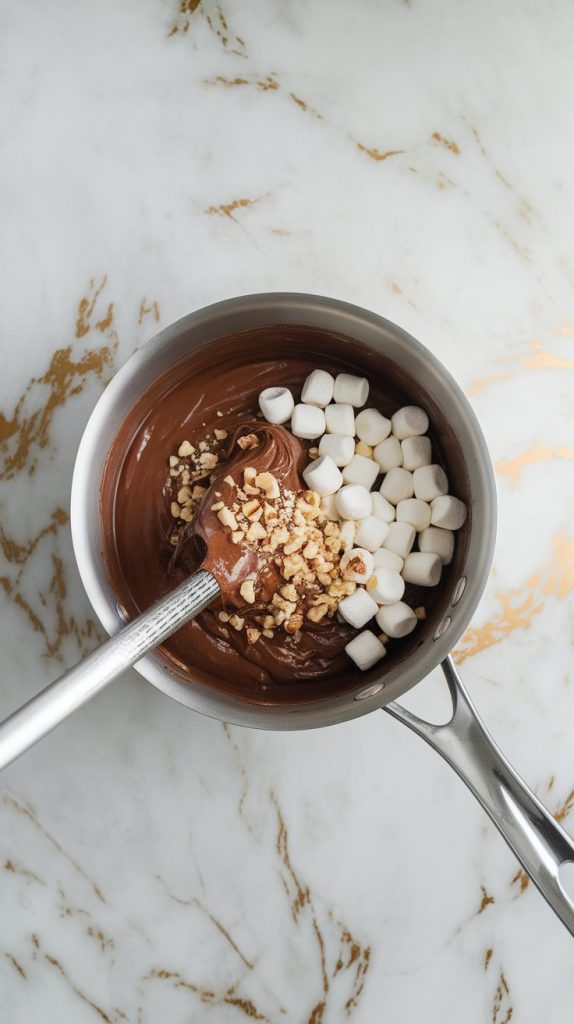
Gently fold in the mini marshmallows and chopped nuts using a spatula. Be careful not to overmix—you want the marshmallows and nuts evenly distributed without melting the marshmallows.
3. Pour into the Pan
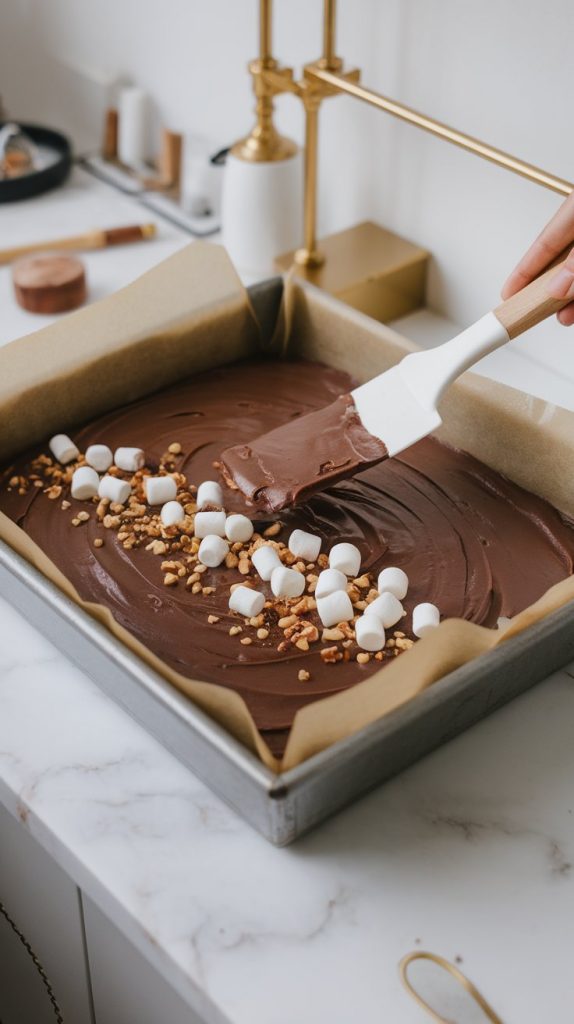
Pour the fudge mixture into an 8×8-inch baking pan lined with parchment paper. Spread it evenly with a spatula. If desired, press extra marshmallows or chocolate chunks on top for decoration.
4. Chill the Fudge
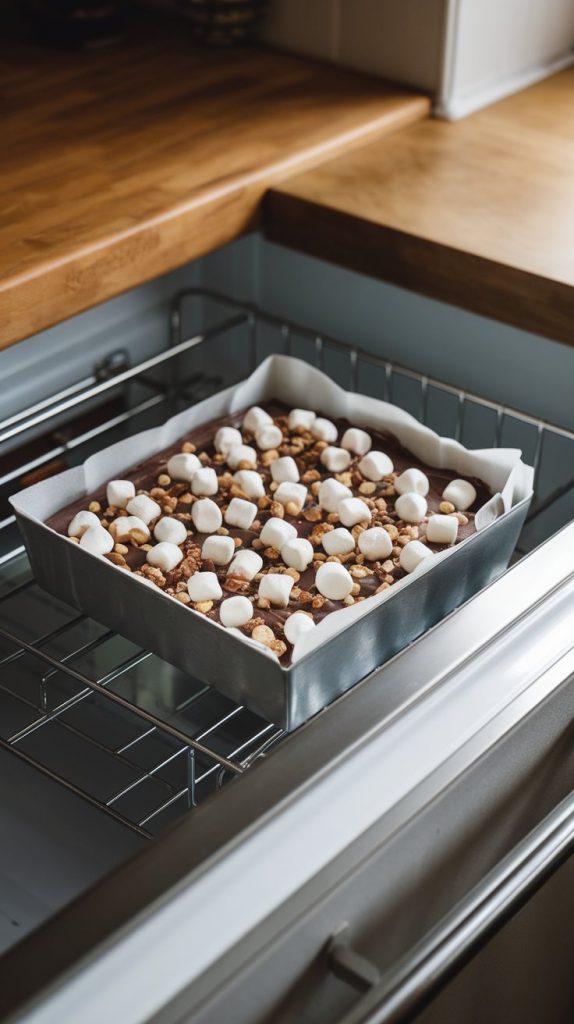
Place the pan in the refrigerator and let the fudge set for at least 2-3 hours, or until firm.
5. Cut and Serve
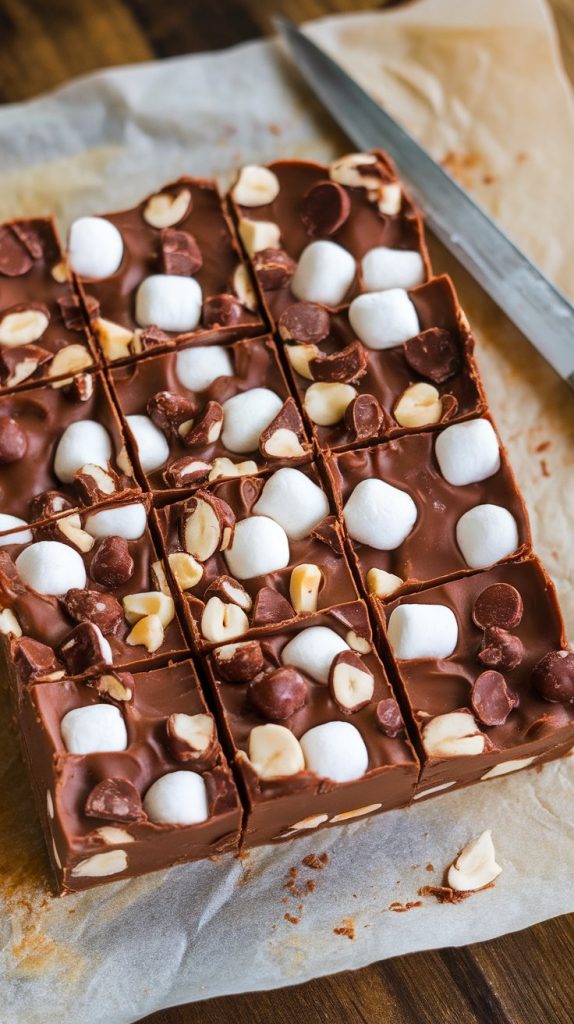
Once the fudge is firm, lift it out of the pan using the parchment paper. Cut into squares with a sharp knife and serve!
Leftovers and Storage
- Store fudge in an airtight container in the fridge for up to 2 weeks.
- You can freeze the fudge for up to 3 months. Thaw it in the fridge before serving.
Conclusion
Rocky Road Fudge is the perfect mix of rich chocolate, gooey marshmallows, and crunchy nuts—it’s the ultimate sweet treat! It’s so easy to make and guaranteed to impress anyone who tries it. Give it a go, and let me know how it turned out in the comments. Did you add any fun twists? Happy snacking! 🍫✨

