
This Mocha Biscuit Pudding is rich, creamy, and packed with bold coffee and chocolate flavors—all layered between soft, coffee-soaked biscuits. It’s an easy, no-bake dessert that comes together in minutes and chills into a decadent treat.
Perfect for coffee lovers!
Let’s make it!

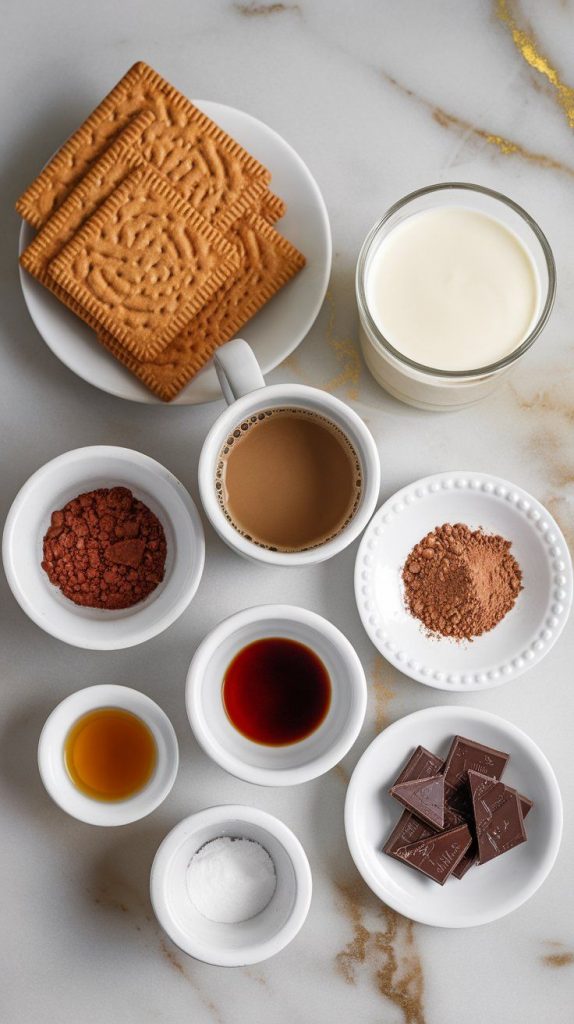
What You’ll Need
- 200g digestive biscuits (or any tea biscuits)
- 1 cup strong brewed coffee (cooled)
- 1 cup heavy cream
- ½ cup condensed milk
- ¼ cup cocoa powder
- 1 tbsp instant coffee powder
- ½ tsp vanilla extract
- ½ cup dark chocolate (melted)
- Chocolate shavings or cocoa powder (for topping)
Pro Tips
- Use strong coffee! A rich espresso or dark roast works best.
- Want it extra chocolatey? Add more melted dark chocolate to the cream mixture.
- For a firmer texture, let it chill overnight in the fridge.
- Make it dairy-free! Use coconut cream and dairy-free chocolate.
- Top with crushed nuts or whipped cream for extra indulgence.
Tools You’ll Need
- Mixing bowl
- Whisk
- Shallow dish (for soaking biscuits)
- Glass dish or serving cups
Instructions
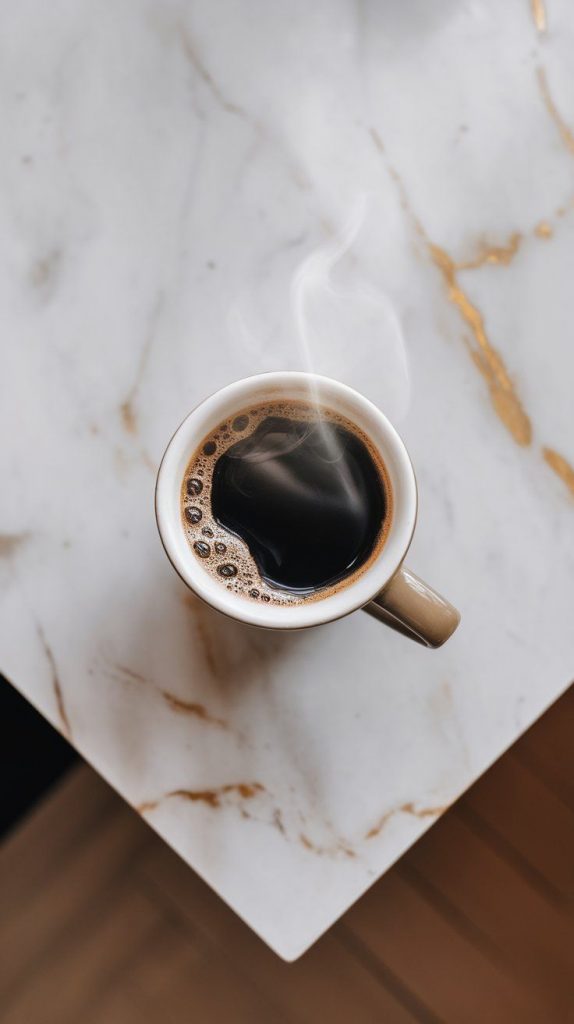
Step 1: Brew & Cool the Coffee
Brew 1 cup of strong coffee and let it cool.
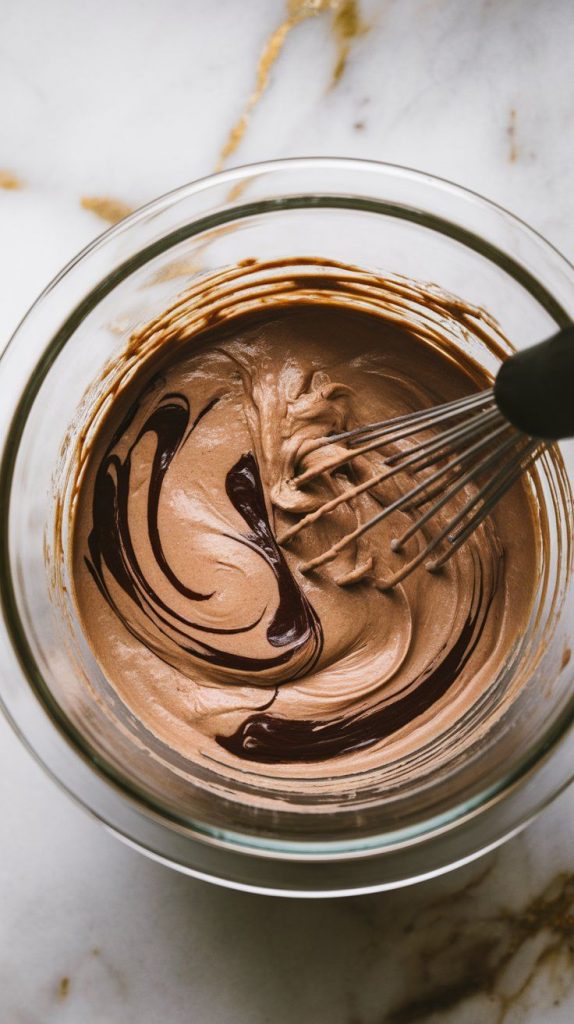
Step 2: Make the Mocha Cream
In a mixing bowl, whisk heavy cream, condensed milk, cocoa powder, instant coffee, vanilla extract, and melted dark chocolate until smooth and creamy.
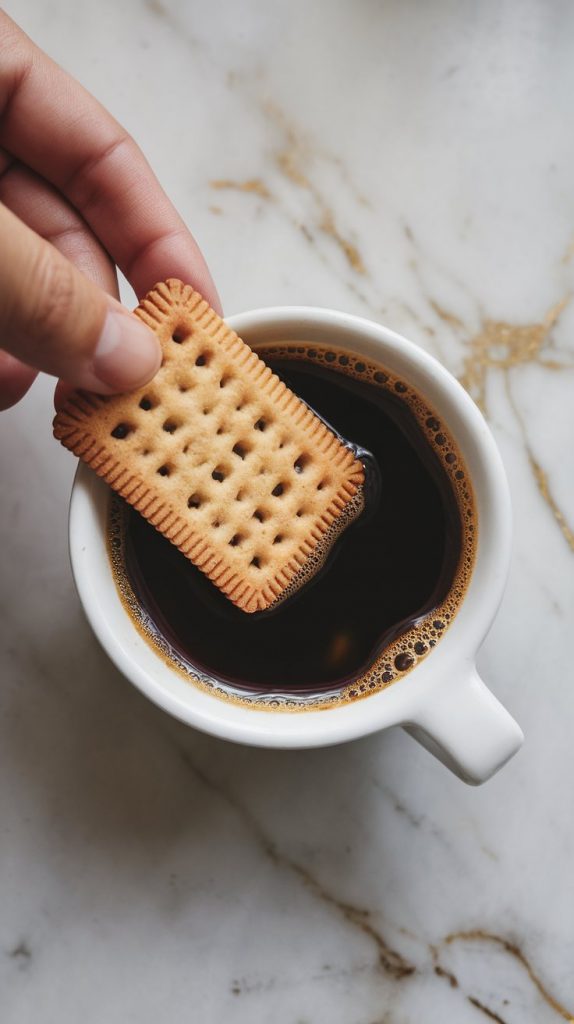
Step 3: Dip the Biscuits in Coffee
Dip each biscuit into the cooled coffee for 2-3 seconds, just until softened.
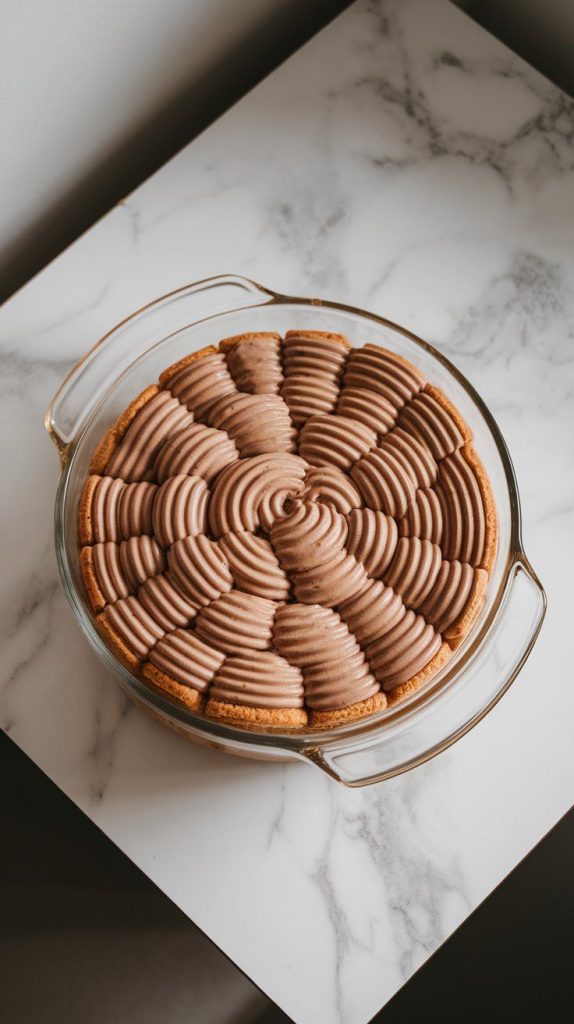
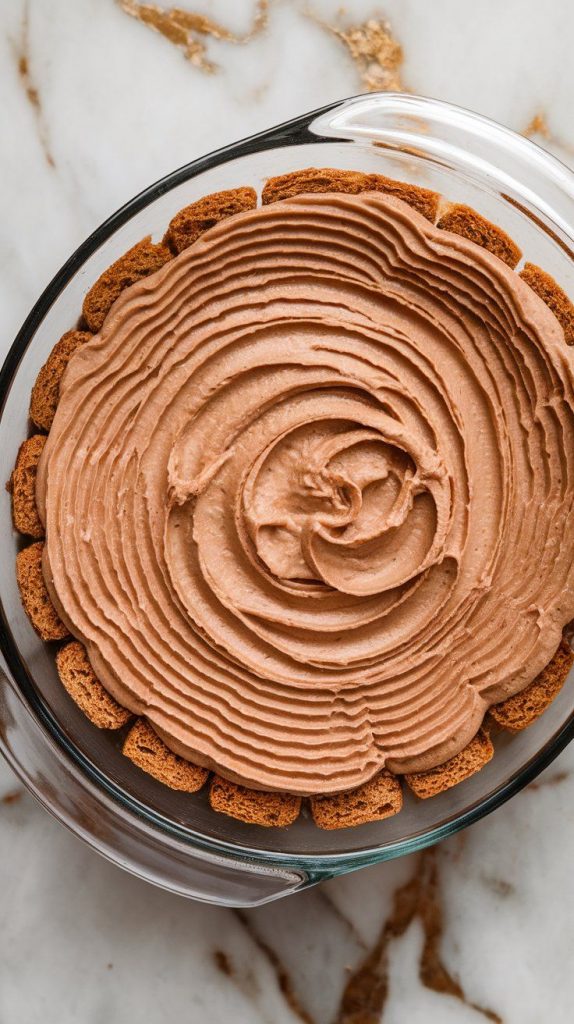
Step 4: Layer the Pudding
In a glass dish, start layering the coffee-soaked biscuits, followed by a generous spread of mocha cream. Repeat until all ingredients are used.
Step 5: Chill the Pudding
Cover and refrigerate for at least 4 hours (or overnight for best results).
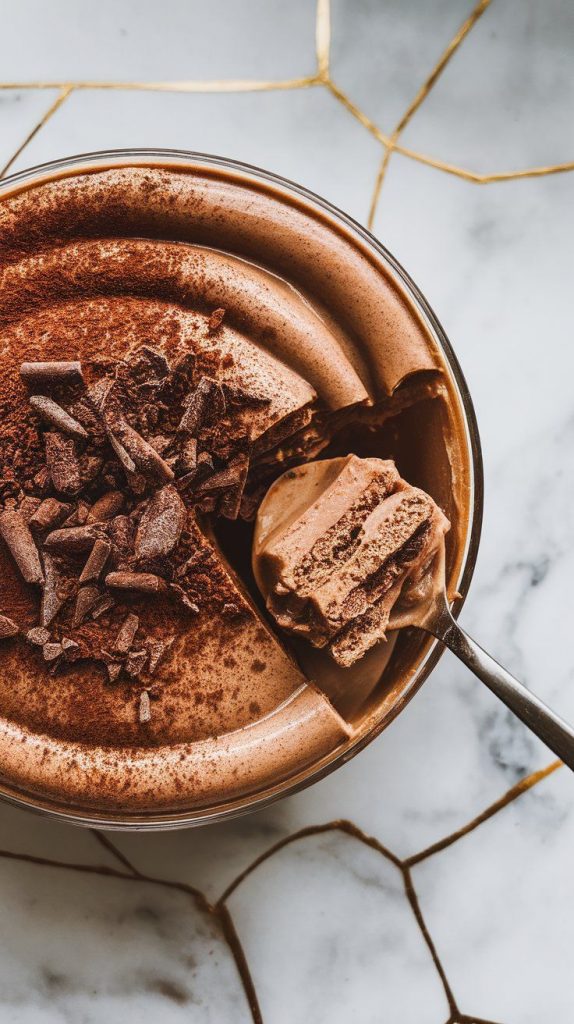
Step 6: Garnish & Serve
Dust the top with cocoa powder, chocolate shavings, or extra coffee powder before serving.
Leftovers & Storage
- Store in the fridge for up to 3 days.
- Best served cold, straight from the fridge!
Wrap-Up
And that’s it—your Mocha Biscuit Pudding is ready! It’s creamy, rich, and full of deep coffee and chocolate flavors, making it the perfect make-ahead dessert. Try it out, take a pic, and let me know how it turned out. Enjoy! ☕🍫🍪✨
