
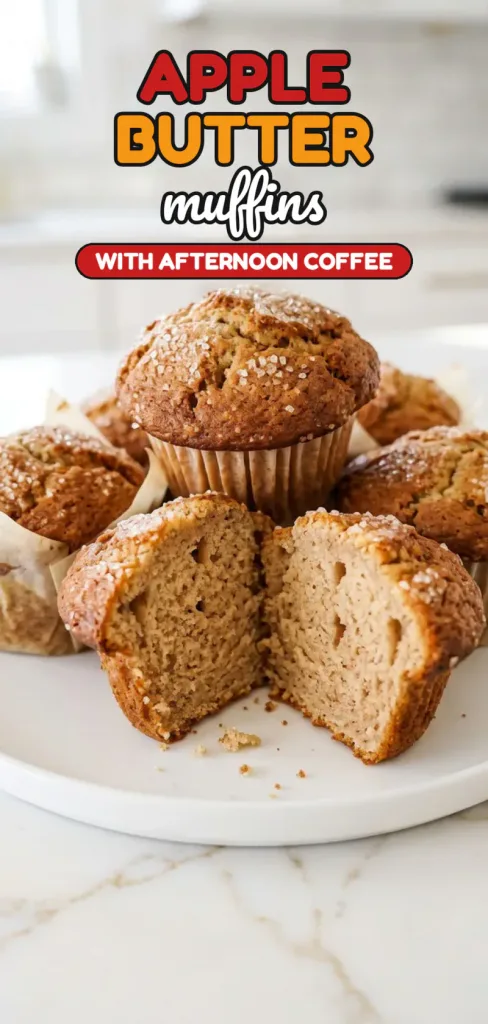
If you love the smell of warm apples and cinnamon, these Apple Butter Muffins are going to be a favorite! They’re soft, moist, and packed with sweet apple flavor.
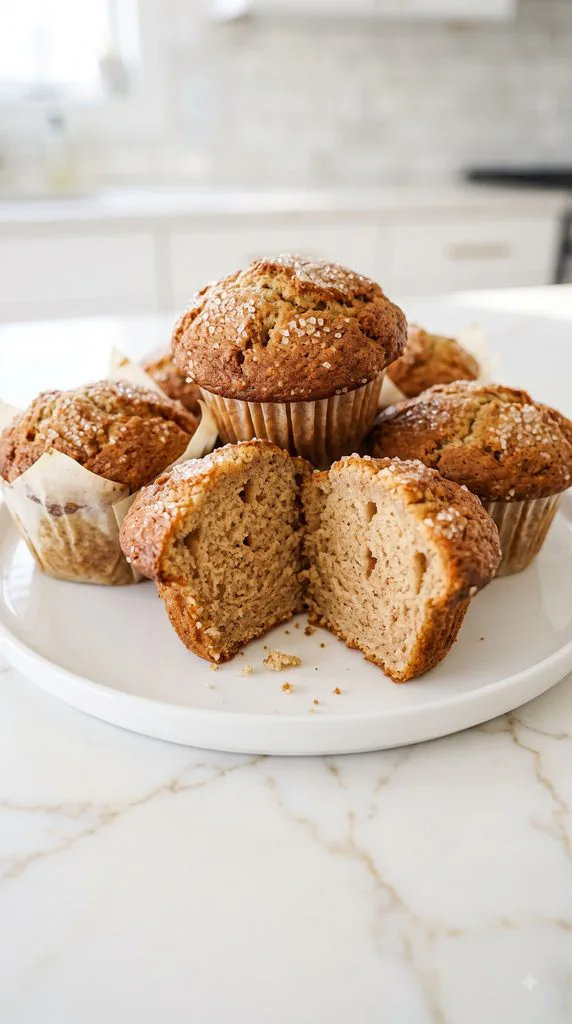
The tops are golden and slightly crunchy, while the centers stay tender and fluffy.
They’re perfect for breakfast, an afternoon snack, or a little treat with your coffee.
The best part? You don’t need a mixer or any fancy baking skills. Just a few simple ingredients, a bowl, and your oven!
Why I Love This Recipe
There’s something so comforting about a batch of homemade muffins baking in the oven. The smell of apples and cinnamon fills the kitchen, and it’s hard not to grab one while it’s still warm.
I especially love using apple butter in muffins because it gives them a deep apple flavor without needing to peel or chop fresh apples. It’s one of those simple ingredients that makes a big difference.
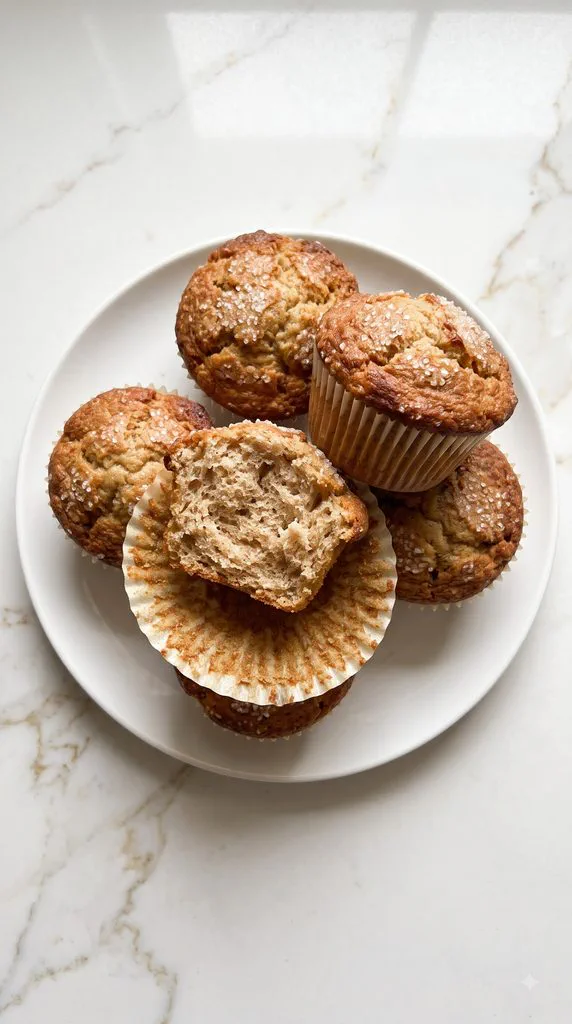
And when you break one open? That soft, tender center is exactly what a good homemade muffin should have.
Here’s why this recipe is worth making:
- Full of apple flavor: Apple butter gives every bite a rich, sweet, spiced apple taste.
- Soft and moist: The combination of apple butter, eggs, and oil keeps the muffins tender.
- Beautiful muffin tops: Starting with a hot oven helps create tall, golden domes.
- Easy to make: No stand mixer or special equipment needed.
- Perfect for making ahead: These muffins store well and freeze beautifully.
- Simple ingredients: Everything is easy to find at the grocery store.
I also love that these muffins taste wonderful on their own. You don’t need frosting, glaze, or any extra toppings. A little crunchy sugar on top is all they need!
What You’ll Need
This recipe makes 9 large bakery-style muffins.
Preparation Time: 10 minutes Batter Resting Time: 15 minutes Cooking Time: 20–26 minutes per batch Total Time: About 70–85 minutes when baking in two batches Servings: 9 muffins
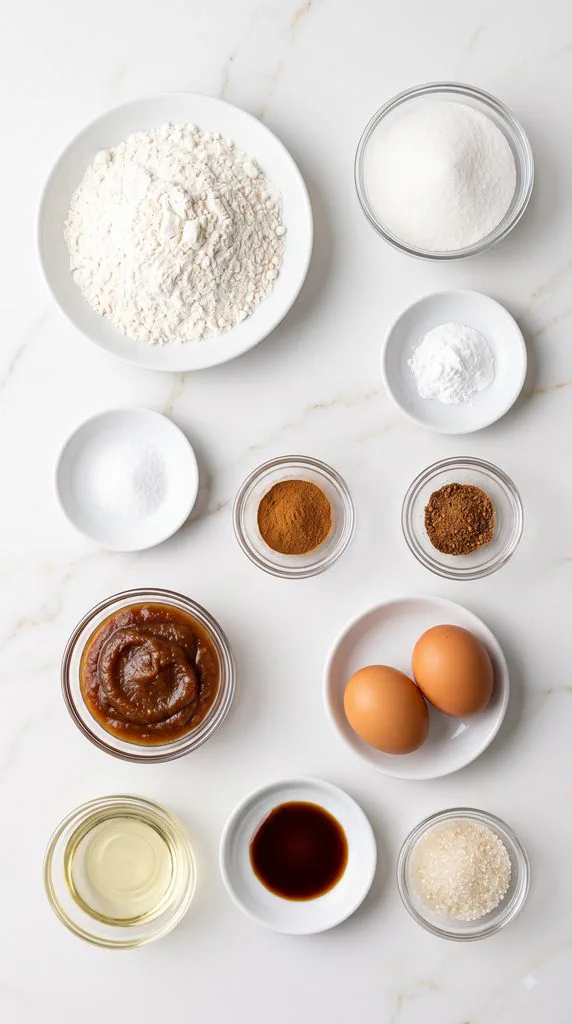
Dry Ingredients
- 3 cups (360g) all-purpose flour: Gives the muffins their shape and soft, fluffy texture.
- 1 cup (200g) granulated sugar: Adds sweetness and helps the tops turn golden.
- 3 teaspoons baking powder: Helps the muffins rise and form tall tops.
- 1 teaspoon salt: Balances the sweetness and brings out the apple flavor.
- 2½ teaspoons ground cinnamon: Adds a warm, cozy spice flavor.
- 1 teaspoon ground nutmeg: Gives the muffins a rich, classic fall taste.
Wet Ingredients
- 1½ cups (408g) apple butter: The star ingredient! It gives the muffins moisture, sweetness, and a deep apple flavor.
- 2 large eggs: Help hold everything together and give the muffins structure.
- ¾ cup (about 165g) vegetable oil: Keeps the muffins soft and moist.
- 1 teaspoon vanilla extract: Adds a sweet, warm flavor.
Topping
– 2 tablespoons sanding sugar, or as needed: Adds a beautiful crunchy, sparkling finish.
Tools You Need
You don’t need much to make these muffins. Just a few basic baking tools:
- 2 mixing bowls (one medium and one large)
- Measuring cups and measuring spoons
- Kitchen scale (optional, but helpful)
- Whisk
- Silicone spatula
- 12-cup muffin pan
- Paper muffin liners
- Large cookie scoop or spoon
- Clean kitchen towel
- Toothpick
- Wire cooling rack
- Oven
How to Make Apple Butter Muffins
These muffins are easy to make, but a few small steps help them turn out extra soft with tall, golden tops.
Step 1: Mix the Dry Ingredients
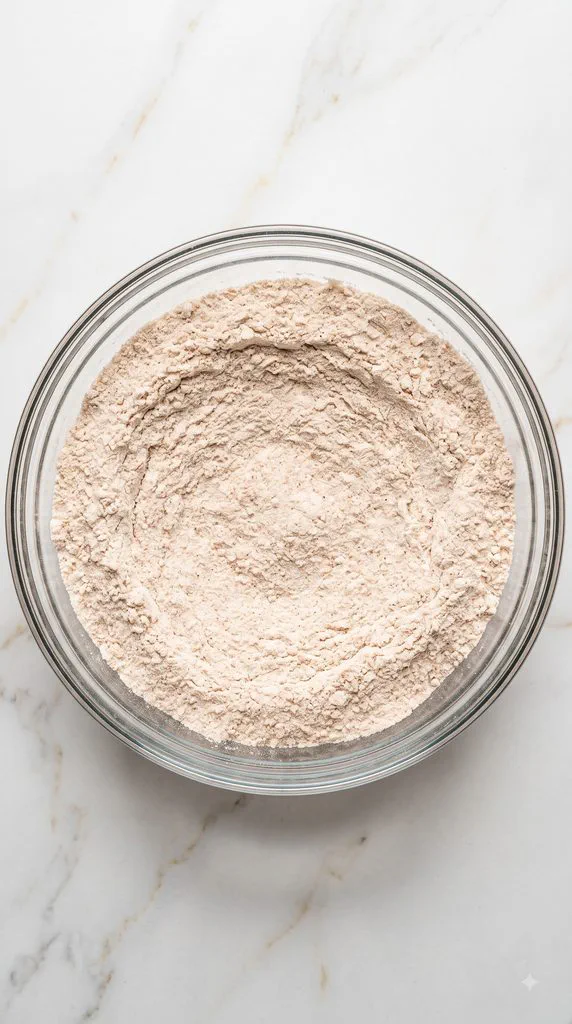
Add 3 cups (360g) all-purpose flour, 1 cup (200g) granulated sugar, 3 teaspoons baking powder, 1 teaspoon salt, 2½ teaspoons ground cinnamon, and 1 teaspoon ground nutmeg to a medium mixing bowl.
Use a whisk to mix everything evenly. Make sure the baking powder and spices are spread throughout the flour.
Set the bowl aside.
Step 2: Mix the Wet Ingredients
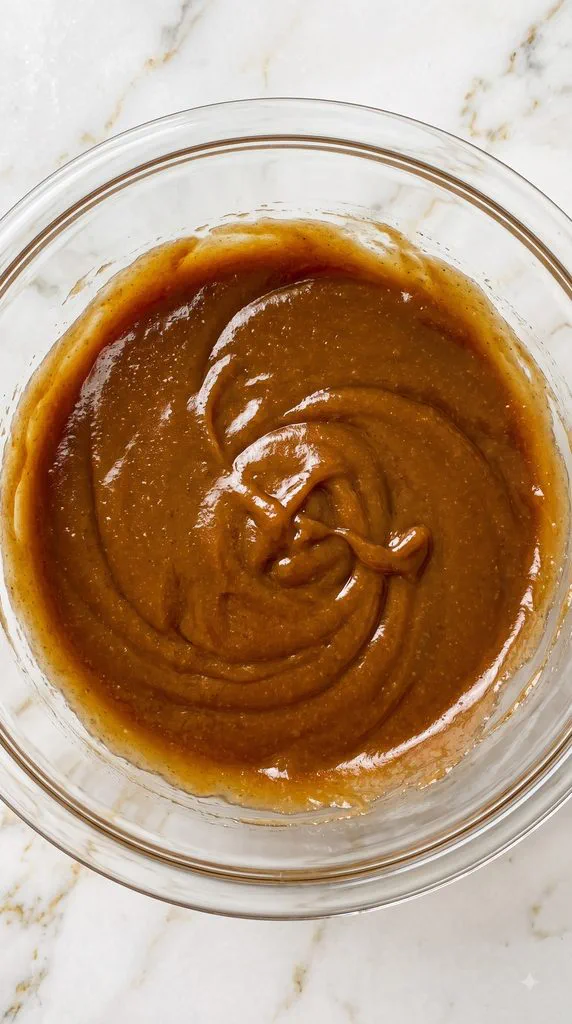
In a large mixing bowl, add 1½ cups (408g) apple butter, 2 large eggs, ¾ cup vegetable oil, and 1 teaspoon vanilla extract.
Whisk until the eggs are fully mixed in and the mixture looks smooth, thick, and glossy.
The apple butter will give the mixture a rich brown color.
Step 3: Combine the Wet and Dry Ingredients
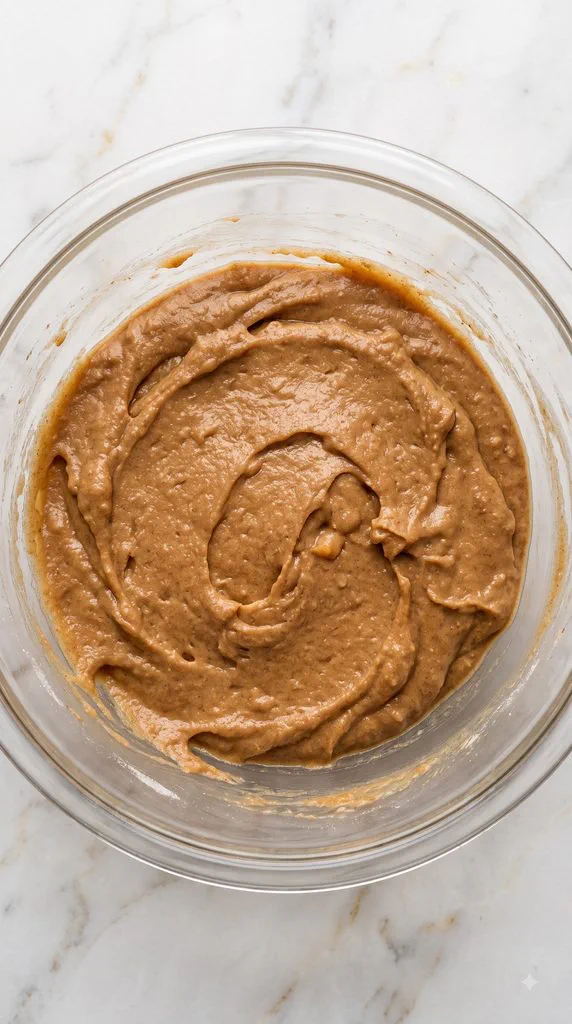
Slowly add the dry mixture from Step 1 to the wet mixture from Step 2.
Use a silicone spatula to gently fold everything together until you no longer see dry flour.
The batter should be very thick. That’s normal!
Do not overmix. Stop as soon as everything is combined. A few small lumps are fine.
Step 4: Let the Batter Rest
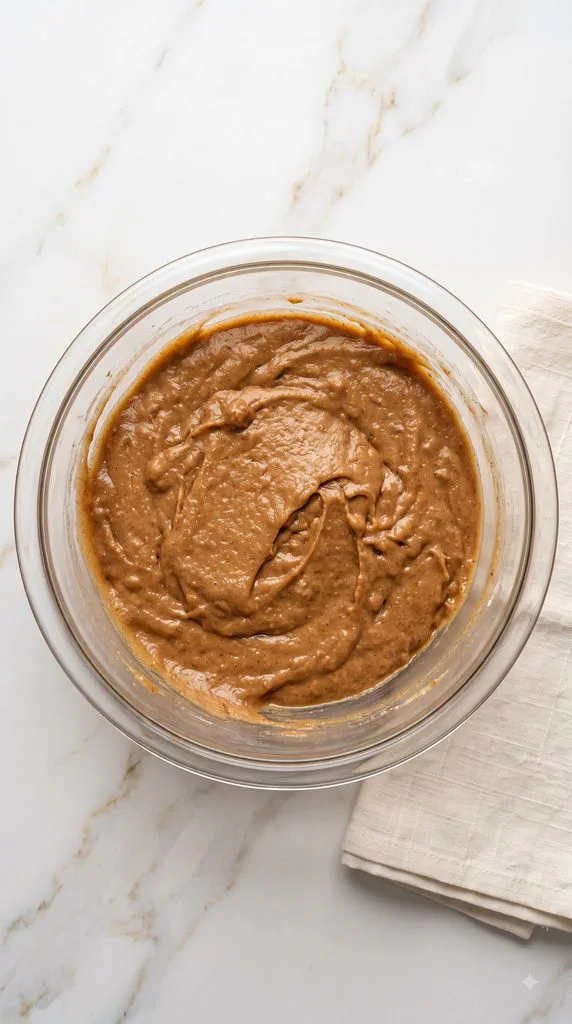
Cover the mixing bowl with a clean kitchen towel.
Let the batter rest for 15 minutes. This gives the flour time to soak up the moisture and helps create taller muffin tops.
While the batter rests, preheat your oven to 425°F (220°C).
Step 5: Fill the Muffin Pan
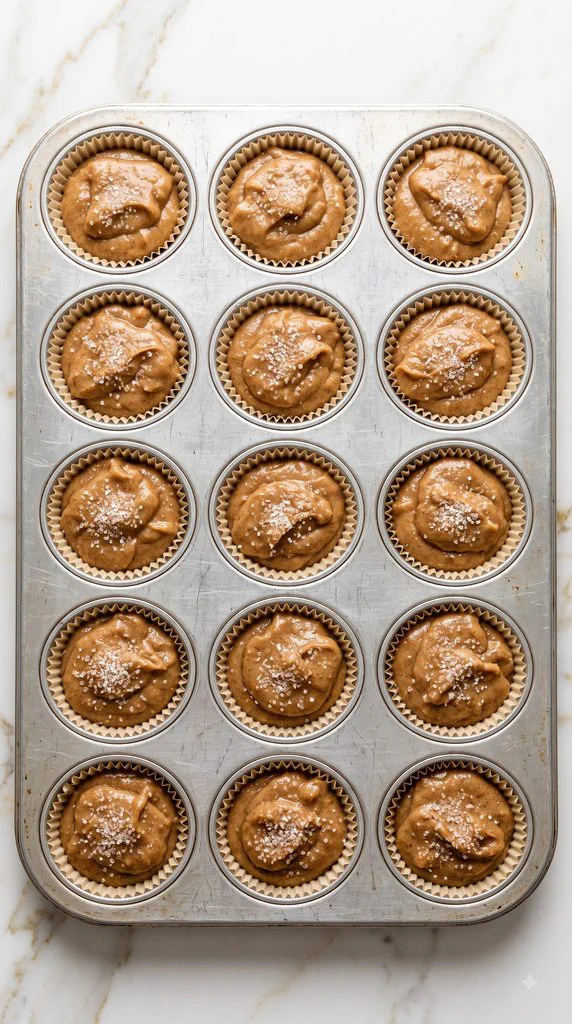
Place 6 paper muffin liners in a 12-cup muffin pan, leaving an empty space between each liner.
Use a large cookie scoop or spoon to divide the batter into the liners.
Fill each liner almost to the top, using about 6–8 heaping tablespoons of batter per muffin.
Sprinkle the tops with some of the 2 tablespoons sanding sugar.
Save the remaining batter and sugar for the second batch.
Step 6: Bake the Muffins
Place the muffin pan on the center rack of the preheated oven.
Bake at 425°F (220°C) for 7 minutes.
Without opening the oven door, reduce the temperature to 350°F (180°C).
Continue baking for 13–19 minutes, until the tops are golden and a toothpick inserted into the center comes out clean or with a few moist crumbs.
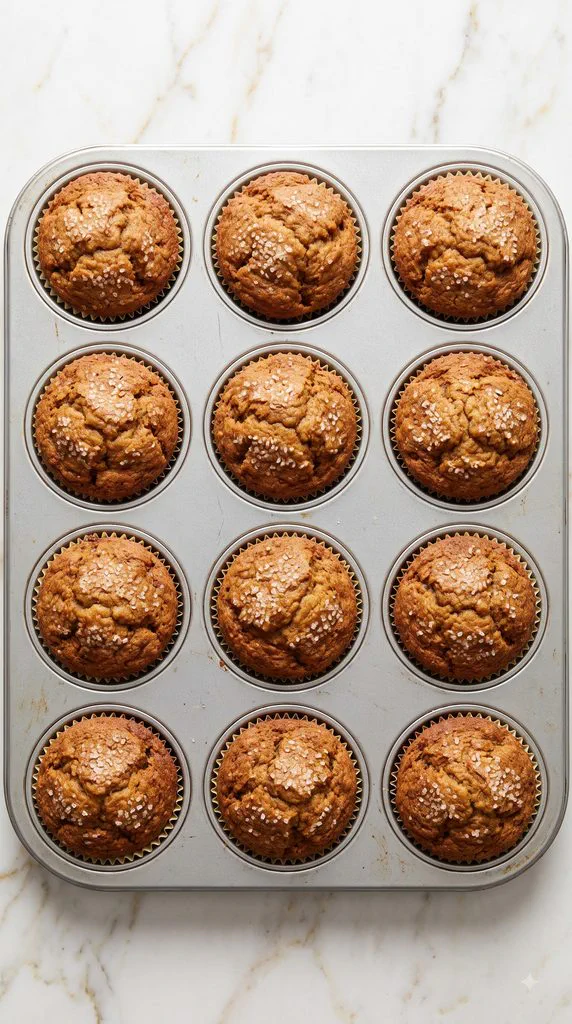
Step 7: Cool and Repeat
Remove the muffin pan from the oven and let the muffins cool in the pan for 5–10 minutes.
Carefully transfer them to a wire rack.
Return the oven to 425°F (220°C) before baking the remaining batter.
Fill the remaining liners, sprinkle with the remaining sanding sugar, and bake the second batch the same way.
Pro Tips
Here are a few simple tricks to help you get beautiful muffins every time.
- Measure your flour correctly. Spoon flour into your measuring cup and level it off. Don’t pack it down, or your muffins may turn out dry.
- Use thick apple butter. A thick, spreadable apple butter works best. Thin apple butter can change the texture of the batter.
- Don’t skip the resting step. Resting the batter helps it thicken and supports a better rise.
- Fill every other muffin cup. Leaving space between the muffins helps them form larger, rounded tops.
- Keep the oven door closed. When you lower the oven temperature, don’t open the door. This helps the muffins hold their shape.
Why This Recipe Works (Quick Science)
There’s a reason these muffins turn out so soft and fluffy. Each ingredient has a special job.
Apple butter adds moisture. Apple butter is made by cooking apples down until they become thick and rich. It adds moisture, sweetness, and concentrated apple flavor to the batter.
Baking powder helps the muffins rise. When baking powder gets wet and hot, it releases gas that creates tiny air pockets. These pockets help the muffins rise.
Oil keeps the muffins tender. Unlike butter, vegetable oil stays liquid at room temperature. This helps the muffins feel soft even after they cool.
Resting the batter helps the flour absorb moisture. As the batter sits, the flour soaks up liquid and becomes thicker. This can help the muffins hold their shape as they bake.
High heat creates tall tops. Starting at 425°F gives the muffins a quick burst of heat. The batter rises quickly, helping create those lovely bakery-style domes.
Common Mistakes to Avoid
Even easy muffin recipes can go wrong. Here are a few things to watch out for.
- Overmixing the batter: Mixing too much can make muffins tough or chewy. Fold gently until the flour disappears.
- Adding too much flour: Too much flour makes dry, heavy muffins. Use a kitchen scale if possible.
- Using thin apple butter: Watery apple butter can make the batter too loose.
- Skipping the batter rest: The muffins may not rise as tall.
- Opening the oven too early: This can cause the muffin tops to sink.
- Overbaking: Check the muffins near the end of the baking time. They should be moist, not dry.
Substitutions and Variations
Want to change things up? Here are some easy ideas.
- Gluten-free muffins: Replace the all-purpose flour with the same amount of a 1:1 gluten-free baking flour blend.
- Chopped walnuts: Fold ½ cup chopped walnuts into the batter for a little crunch.
- Pecans: Add ½ cup chopped pecans for a rich, nutty flavor.
- Chocolate chips: Stir in ½ cup mini chocolate chips for a sweeter treat.
- Brown sugar: Replace half the granulated sugar with packed light brown sugar for a deeper caramel flavor.
- Extra cinnamon: Add another ½ teaspoon cinnamon if you love a stronger spice flavor.
- Simple cinnamon sugar topping: Mix 1 tablespoon granulated sugar with ¼ teaspoon cinnamon and sprinkle over the muffins instead of sanding sugar.
Keep in mind that changes to the original ingredients may affect the texture or baking time.
Make-Ahead Tips
These muffins are great when you want breakfast ready without much work.
Prepare the batter ahead: Mix the batter, cover it tightly, and refrigerate for up to 24 hours. Scoop it into the muffin pan when you’re ready to bake.
Bake ahead: Make the muffins the day before and store them at room temperature. They’ll still be soft the next morning.
Freeze for later: Bake a full batch and freeze the muffins individually. That way, you can take out just one or two whenever you want.
What to Serve With Apple Butter Muffins
These muffins are delicious on their own, but they’re even better with something on the side.
- Hot coffee: The warm apple and cinnamon flavors taste wonderful with a fresh cup of coffee.
- Chai tea: A cozy drink that goes perfectly with the spices in the muffins.
- Cold milk: A simple choice with sweet muffins.
- Scrambled eggs: Add some protein for a more filling breakfast.
- Greek yogurt: Serve with plain or vanilla yogurt for a balanced morning meal.
- Fresh fruit: Apple slices, strawberries, or grapes make a refreshing side.
- Butter: Spread a little softened butter on a warm muffin for an extra-rich treat.
- Cream cheese: A thin layer of cream cheese adds a creamy, slightly tangy flavor.
Leftovers and Storage
These muffins stay moist for days when stored properly.
At Room Temperature
- Let the muffins cool completely before storing.
- Place them in an airtight container lined with paper towels.
- Add another paper towel over the muffins to absorb extra moisture.
- Store at room temperature for 2–4 days.
- Replace the paper towels if they become damp.
In the Freezer
- Wrap each cooled muffin tightly in plastic wrap.
- Place the wrapped muffins in a freezer-safe bag.
- Freeze for up to 3 months.
- Label the bag with the date so you know when you made them.
How to Reheat
- Microwave an unwrapped muffin for 15–20 seconds, or until warm.
- If frozen, thaw at room temperature for about 1 hour or microwave in short bursts.
- For a slightly crisp top, warm the muffin in a 300°F (150°C) oven for 5–8 minutes.
Macros Information
The following values are estimates for one large muffin, based on 9 muffins per batch and using standard sweetened apple butter.
| Nutrient | Amount per muffin |
|---|---|
| Calories | Approximately 540 kcal |
| Carbohydrates | 82g |
| Protein | 7g |
| Fat | 21g |
| Saturated Fat | 3g |
| Fiber | 3g |
| Sugar | 43g |
| Sodium | 480mg |
Nutrition values may change depending on the apple butter brand, the amount of sanding sugar used, and any added toppings.
Frequently Asked Questions (FAQ)
Q: What kind of apple butter should I use?
A: You can use homemade or store-bought apple butter. Just make sure it’s thick and spreadable. Apple butter with cinnamon and warm spices works especially well.
Q: Can I use applesauce instead of apple butter?
A: You can, but the muffins won’t taste quite the same. Applesauce is thinner and has a milder flavor. Apple butter gives these muffins their rich apple taste and thick texture.
Q: Why is my muffin batter so thick?
A: That’s completely normal! This recipe makes a thick batter because of the flour and concentrated apple butter. Don’t add extra milk or water.
Q: Can I make these muffins gluten-free?
A: Yes! Use a 1:1 gluten-free baking flour blend in place of regular flour. Choose one made for baking.
Q: Why didn’t my muffins rise?
A: Your baking powder may be old, the batter may have been overmixed, or the oven may not have been hot enough when you started baking.
Q: Can I make mini apple butter muffins?
A: Yes! Use a mini muffin pan and fill the liners about three-quarters full. Bake at 350°F (180°C) and begin checking after 10–12 minutes. The baking time will be shorter than for large muffins.
Q: Can I reduce the sugar?
A: Yes, you can try reducing the granulated sugar by ¼ cup. The muffins may be a little less sweet, and their texture may change slightly.
Q: How do I know when the muffins are done?
A: Insert a toothpick into the center of a muffin. If it comes out clean or with a few moist crumbs, the muffins are ready. If you see wet batter, they need more baking.
Q: Can I freeze these muffins?
A: Absolutely! Let them cool completely, wrap each one, and freeze for up to 3 months.
Q: Why are my muffin tops sticky the next day?
A: Apple butter muffins hold a lot of moisture. When stored in a sealed container, that moisture can soften the sugar topping. Adding paper towels to the container helps absorb the extra moisture.
Final Thoughts
These Apple Butter Muffins are one of those simple recipes that make the whole kitchen smell amazing. They’re soft, moist, full of warm apple and cinnamon flavor, and topped with just the right amount of crunchy sugar.
Whether you’re making them for a cozy breakfast, a weekend baking project, or a sweet snack to enjoy with coffee, they’re a lovely way to use up a jar of apple butter.
Give these muffins a try the next time you’re in the mood for something homemade and comforting.
And if you make them, I’d love to hear how they turned out! Leave a comment below, share any fun changes you made, or ask a question. Your baking experience might help someone else make their perfect batch of Apple Butter Muffins!