
There’s something extra cozy about baking with butternut squash.
These Butternut Squash Scones are soft, flaky, and perfectly spiced with cinnamon and nutmeg, making them an autumn favorite in my kitchen.
I first made them after roasting leftover squash from a soup recipe and couldn’t believe how naturally sweet and buttery the scones turned out.
If you’re a fan of pumpkin scones, you’re going to fall in love with this version.
They’re ideal for a slow weekend breakfast, perfect with a hot mug of coffee or tea, and they store beautifully for days.
Whether you’re a confident baker or just getting started, this recipe is both forgiving and rewarding.

Why I Love This Recipe
This recipe brings together so many things I adore about baking — simple, seasonal ingredients, comforting warmth from spices, and a slightly sweet bite without being over-the-top.
- The squash gives the scones a beautiful natural sweetness and buttery texture
- These scones make your house smell like fall while they bake
- They’re easy to make with pantry staples and roasted squash
- You can freeze them for later or enjoy them warm right out of the oven
Makes
8 scones
Cook Time
Prep Time: 20 minutes
Bake Time: 20–22 minutes
Total Time: 45 minutes
What You’ll Need
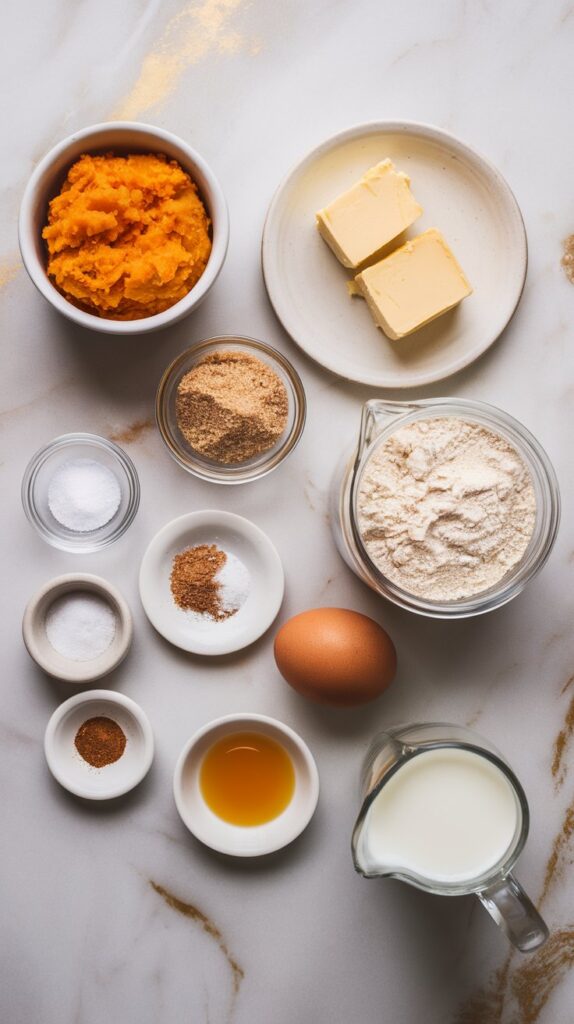
- 2 cups all-purpose flour
- 1/3 cup light brown sugar, packed
- 2 tsp baking powder
- 1/2 tsp baking soda
- 1/2 tsp salt
- 1 tsp ground cinnamon
- 1/4 tsp ground nutmeg
- 1/2 cup (1 stick) unsalted butter, cold and cubed
- 1 cup mashed roasted butternut squash (well-cooled)
- 1/4 cup whole milk
- 1 large egg
- 1 tsp vanilla extract
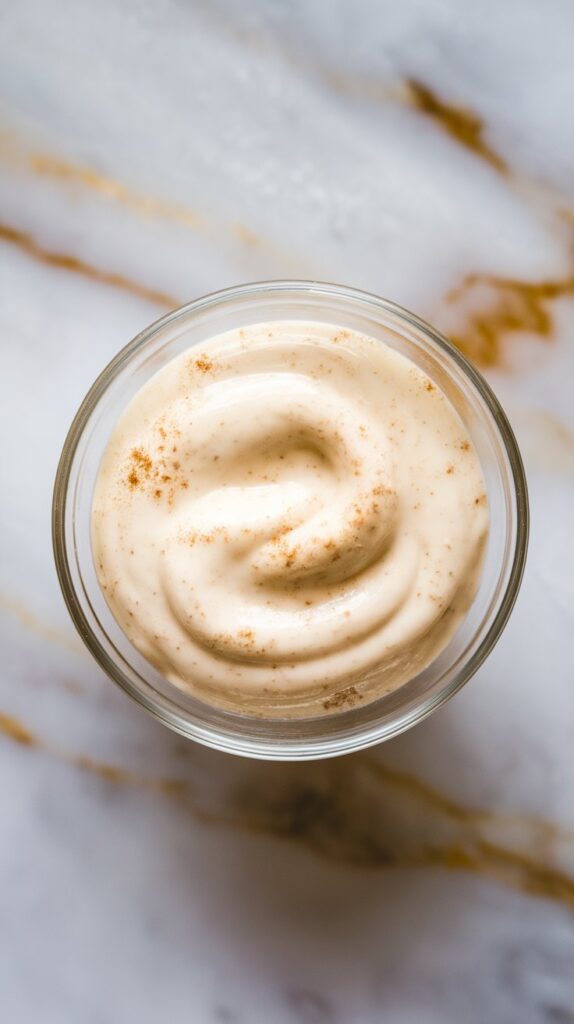
Optional Glaze
- 1/2 cup powdered sugar
- 1–2 tsp milk
- Dash of cinnamon
Pro Tips
- Make sure your butter is very cold — this creates the flakiest texture
- Roast the squash ahead of time and cool completely before using
- Don’t overmix the dough; stop as soon as everything comes together
- Use a pastry cutter or your fingertips to work in the butter without warming it up
- You can freeze the unbaked scones and bake straight from frozen — just add a few extra minutes
Tools Required
- Mixing bowls
- Pastry cutter or two forks
- Silicone spatula
- Parchment paper
- Baking sheet
- Whisk
- Knife or bench scraper
Substitutions and Variations
- Squash: Use canned pumpkin or mashed sweet potato
- Milk: Sub with dairy-free milk like oat or almond
- Butter: Use vegan butter for a dairy-free version
- Spices: Add ginger or cloves for extra warmth
- Glaze: Swap vanilla glaze with maple glaze for a twist
Make Ahead Tips
- Roast and mash the butternut squash up to 3 days in advance and refrigerate
- You can make the dough, shape, and freeze the scones — bake from frozen
- Baked scones stay fresh in an airtight container for 3 days, or freeze them for up to 1 month
Recipe & Instructions
Step 1: Mix the Dry Ingredients
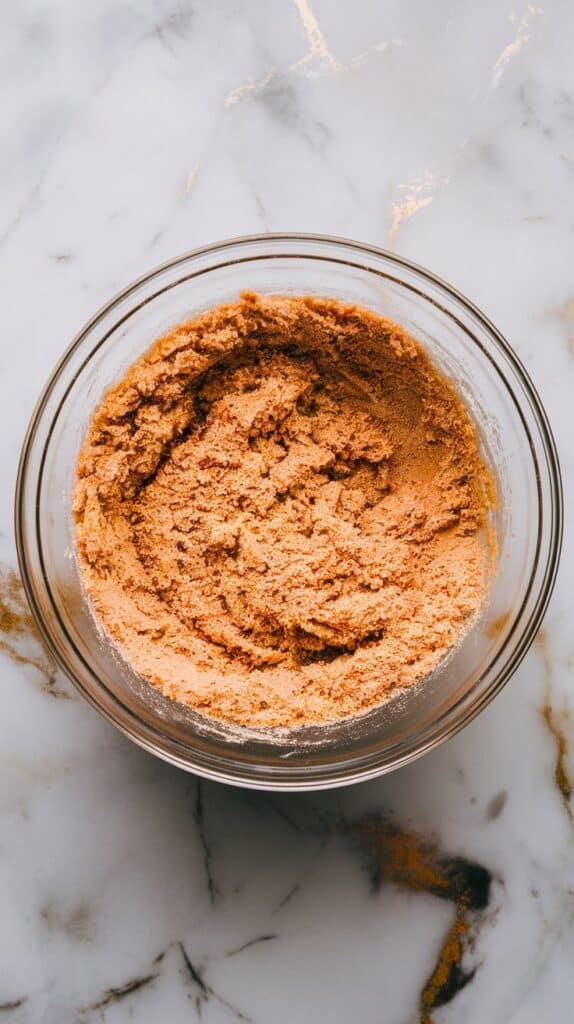
In a large mixing bowl, whisk together 2 cups all-purpose flour, 1/3 cup packed light brown sugar, 2 tsp baking powder, 1/2 tsp baking soda, 1/2 tsp salt, 1 tsp ground cinnamon, and 1/4 tsp ground nutmeg until fully combined.
Step 2: Cut in the Butter
Add 1/2 cup cold unsalted butter (cut into small cubes) to the dry mixture. Use a pastry cutter or your fingers to work the butter in until it looks like coarse crumbs with pea-sized bits.
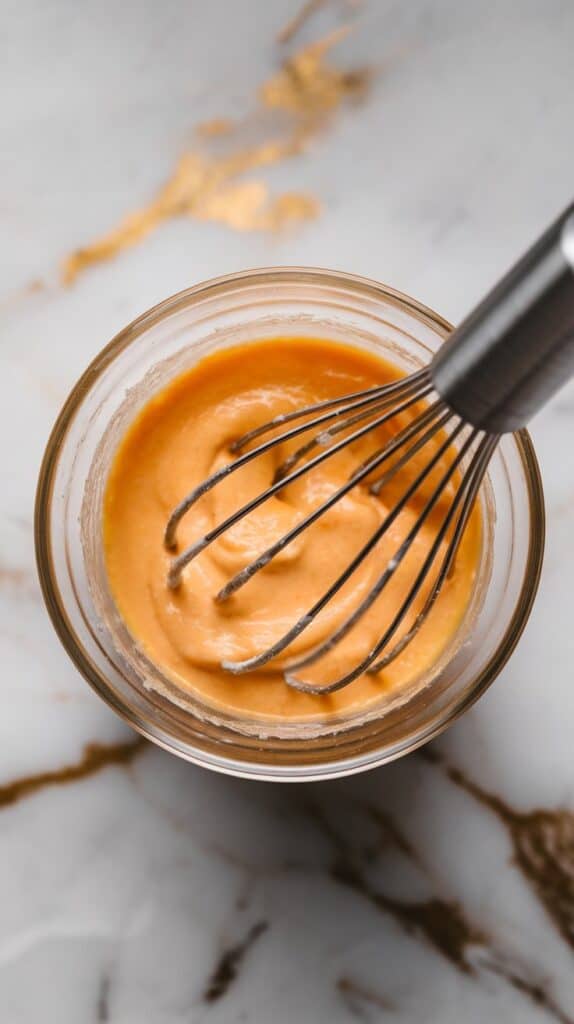
Step 3: Combine Wet Ingredients
In a separate bowl, whisk together 1 cup mashed roasted butternut squash, 1/4 cup whole milk, 1 large egg, and 1 tsp vanilla extract until smooth.
Step 4: Bring the Dough Together
Pour the wet mixture into the flour and butter mixture. Gently stir with a spatula until the dough just comes together. Don’t overmix.

Step 5: Shape and Cut
Transfer the dough onto a floured surface. Gently pat into a 1-inch thick round disk. Cut into 8 even wedges using a knife or bench scraper.

Step 6: Bake
Place scones on a parchment-lined baking sheet, spaced apart. Bake at 400°F (204°C) for 20–22 minutes until golden brown and a toothpick comes out clean.
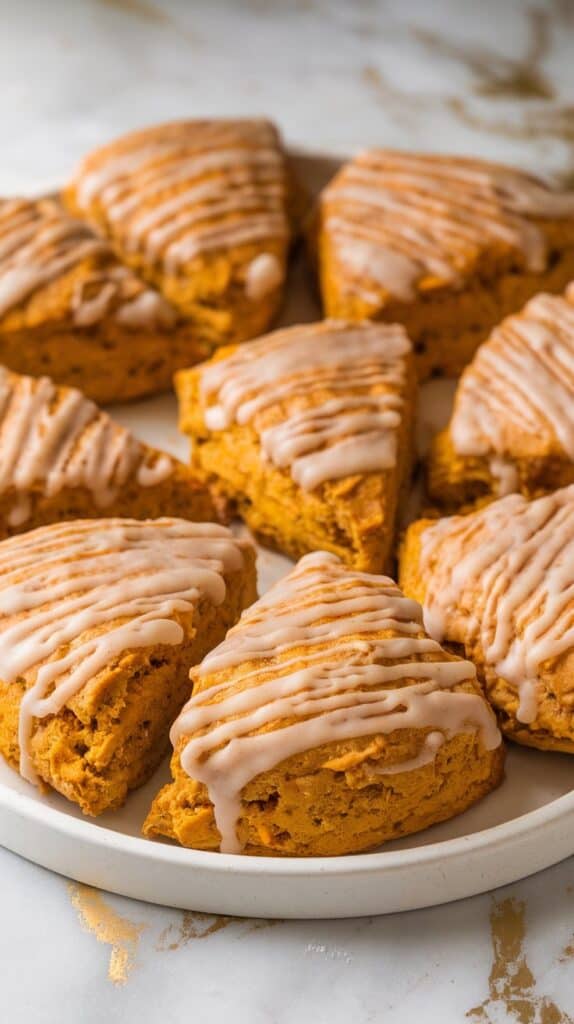
Step 7: Cool and Glaze
Let scones cool slightly. In a small bowl, mix 1/2 cup powdered sugar with 1–2 tsp milk and a dash of cinnamon to make a glaze. Drizzle over scones and let set.
Step 8: Serve
Transfer scones to a serving plate and enjoy warm or room temp.

Macros Information (Per Scone)
Calories: 260
Fat: 11g
Carbs: 38g
Protein: 4g
Fiber: 2g
Sugar: 12g
Why This Recipe Works (Quick Science)
- The cold butter melts in the oven, creating steam that makes flaky layers
- Butternut squash is naturally sweet and moist, reducing the need for extra sugar or fat
- Baking powder + baking soda gives the lift needed for soft, thick scones
- Cutting the dough gently keeps gluten from overdeveloping, keeping scones tender
Common Mistakes
- Using warm squash will melt the butter and ruin the texture
- Overmixing leads to dense, tough scones
- Skipping the chill time (if dough gets warm) can flatten the scones in the oven
- Not spacing them out enough on the pan can make them bake into each other
What to Serve With
- A mug of chai latte or spiced coffee
- Whipped butter or cinnamon honey butter on the side
- Fresh fruit like apple slices or pears
- A light soup like roasted tomato or creamy cauliflower
FAQ
Can I use canned squash or pumpkin?
Yes, just make sure it’s not watery. Blot with paper towels if needed.
Can I freeze them?
Absolutely! Freeze before baking or after. Reheat in the oven for best texture.
Why are my scones flat?
Butter might have been too warm or dough overworked. Keep everything cold and handle gently.
Can I make these gluten-free?
Use a 1:1 gluten-free flour blend, but texture may vary slightly.
Leftovers & Storage
- Store cooled scones in an airtight container at room temp for 2–3 days
- Refrigerate up to 5 days if glazed
- Freeze in a zip-top bag for up to 1 month
- Reheat in oven at 350°F for 5–7 minutes to refresh
Conclusion
These Butternut Squash Scones are a cozy way to use up seasonal squash and fill your kitchen with warm, spiced goodness. I hope this recipe brings as much joy to your table as it does to mine. Don’t forget to leave a comment and let me know how they turned out—or if you tried a fun twist!
