
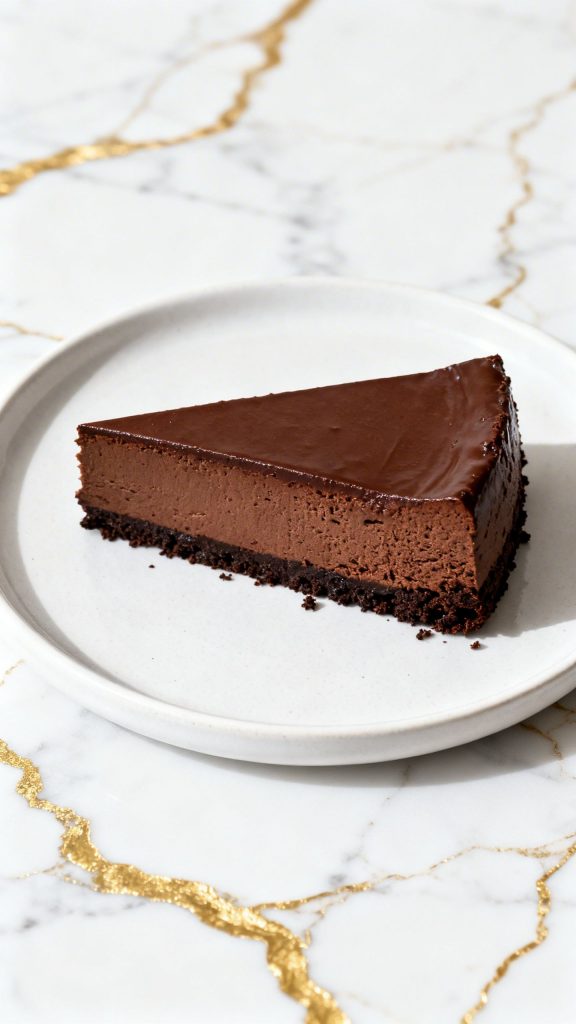
This is one of those desserts that feels a little too good to be “better for you.”
It’s rich, chocolatey, and creamy—but made with simple ingredients like cottage cheese.
The first time I made this, I honestly didn’t expect it to taste like real cheesecake… but it absolutely does.
Smooth, slightly fudgy, and just sweet enough.

Why I Love This Recipe
I started making this when I wanted something chocolatey but not overly heavy. Regular cheesecake can feel like a lot, but this version hits that sweet spot.
- It’s creamy without being overly dense
- You get a nice boost of protein from the cottage cheese
- It uses simple, everyday ingredients
- It feels indulgent but still balanced
- It’s easy enough to make on a random weekday
And honestly, once chilled, the texture is spot on—silky and sliceable.
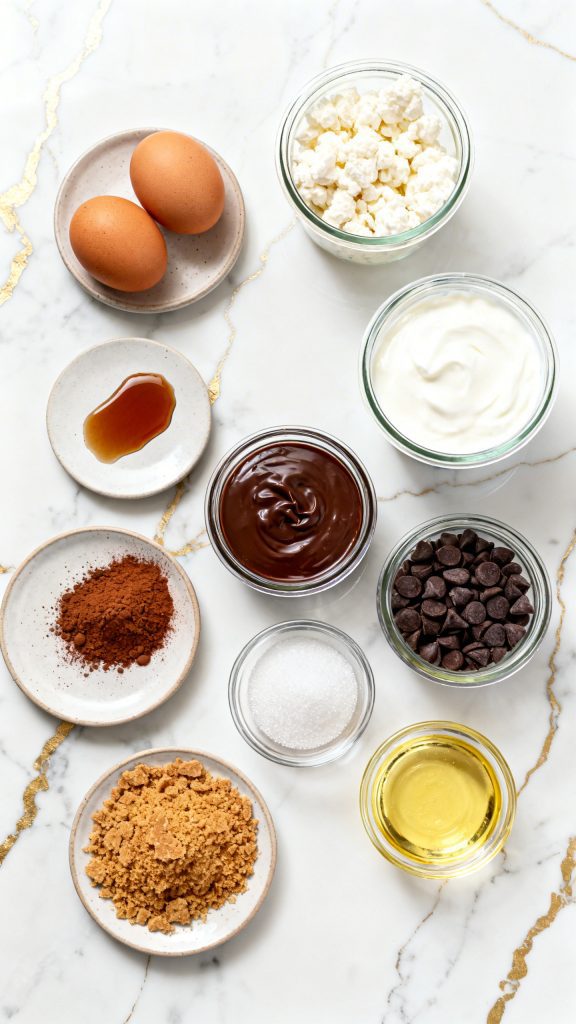
What You’ll Need
- 2 large eggs
- 1 cup cottage cheese (smooth or blended)
- 4 ounces Greek yogurt
- 1 teaspoon vanilla extract
- 5 tablespoons cocoa powder
- 1 tablespoon melted chocolate chips
- 1–2 tablespoons sweetener
- Optional crust:
- 1/4 cup graham cracker crumbs
- 2 tablespoons cocoa powder
- 2 tablespoons melted butter
Servings and Time
Servings: 4 slices
Prep time: 10 minutes
Cook time: 55 minutes
Chill time: 2–4 hours
Tools Required
- Blender or food processor
- Mixing bowl
- 6-inch round pan
- Parchment paper
- Spatula
Substitutions and Variations
- Use maple syrup or honey instead of sweetener
- Swap Greek yogurt for plain yogurt or flavored yogurt
- Add peanut butter for a chocolate peanut butter version
- Skip the crust for a lower-carb option
- Use dark cocoa powder for deeper flavor
Make Ahead Tips
- Make it the night before—it gets better as it chills
- You can freeze slices and thaw when needed
- Keeps well in the fridge for up to 4 days
Instructions
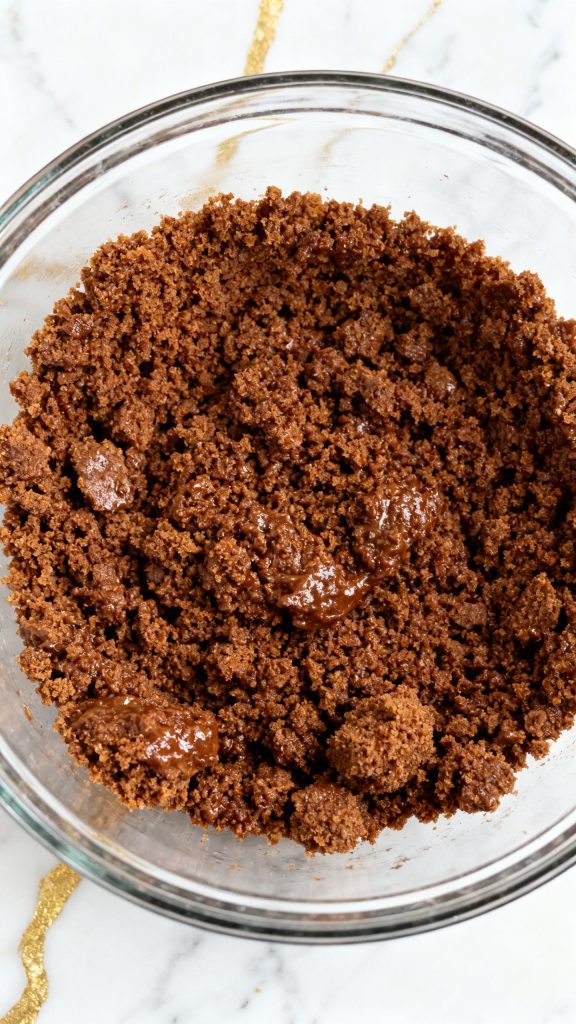
Step 1: Make the Crust (Optional)
Mix 1/4 cup graham cracker crumbs, 2 tablespoons cocoa powder, and 2 tablespoons melted butter until it looks like wet sand.
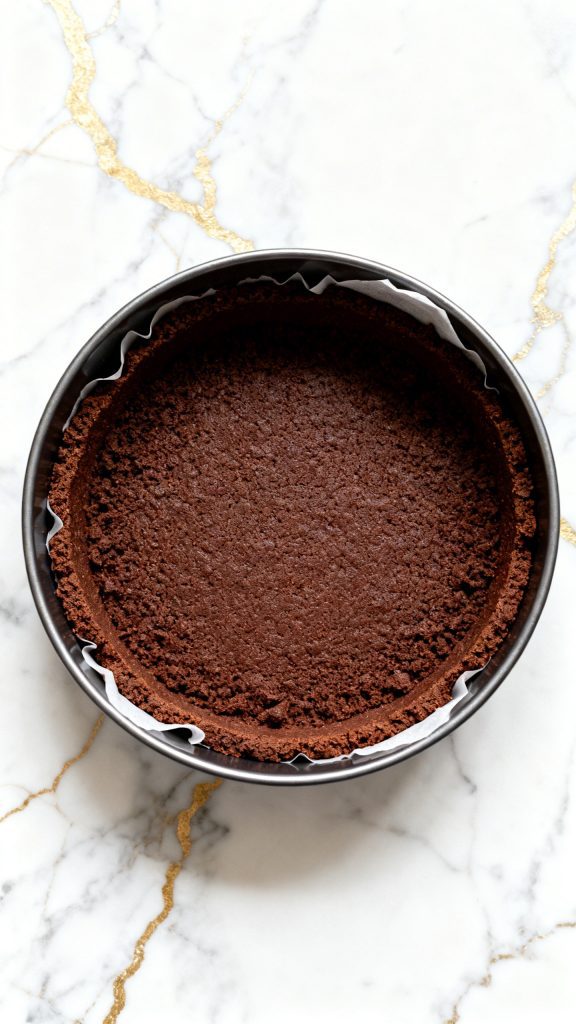
Step 2: Press and Bake Crust
Press the mixture firmly into a lined 6-inch pan. Bake at 375°F (190°C) for 10–15 minutes.
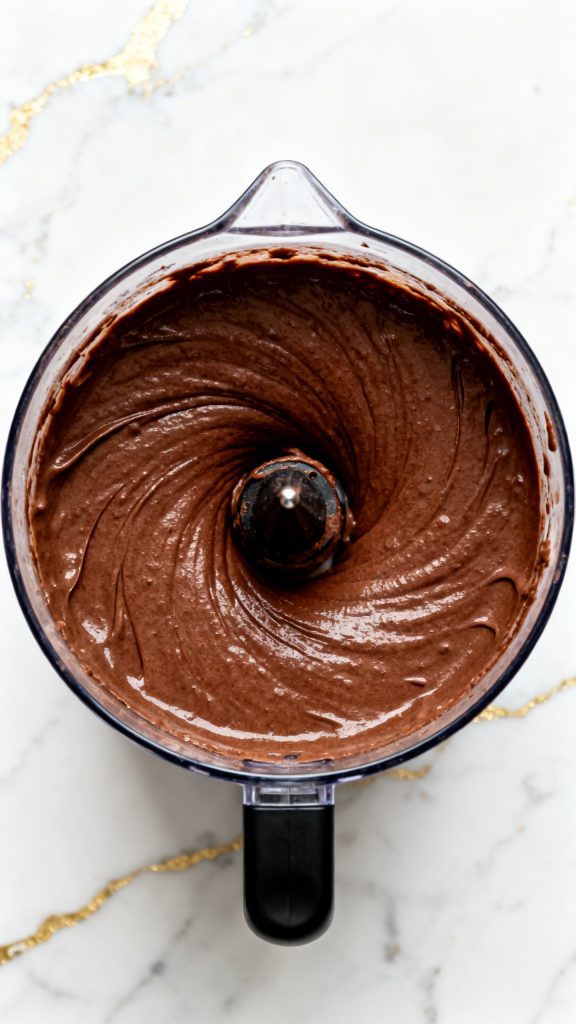
Step 3: Blend the Filling
Add 2 eggs, 1 cup cottage cheese, 4 ounces Greek yogurt, 1 teaspoon vanilla extract, 5 tablespoons cocoa powder, 1 tablespoon melted chocolate chips, and 1–2 tablespoons sweetener into a blender. Blend until smooth.
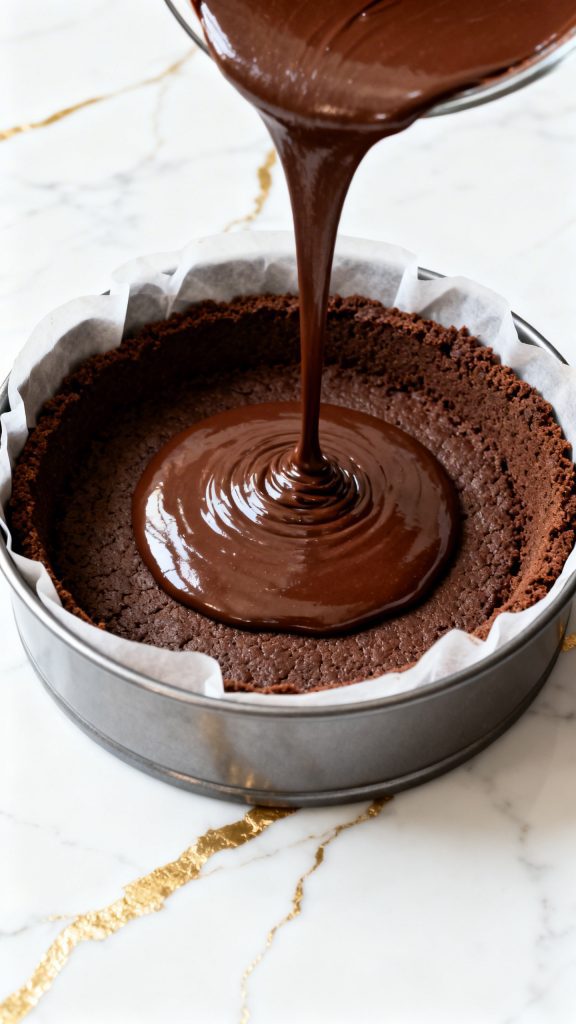
Step 4: Pour Filling into Pan
Pour the smooth chocolate batter over the baked crust.
Step 5: Bake the Cheesecake
Bake at 325°F (162°C) for 50–60 minutes until set in the center.
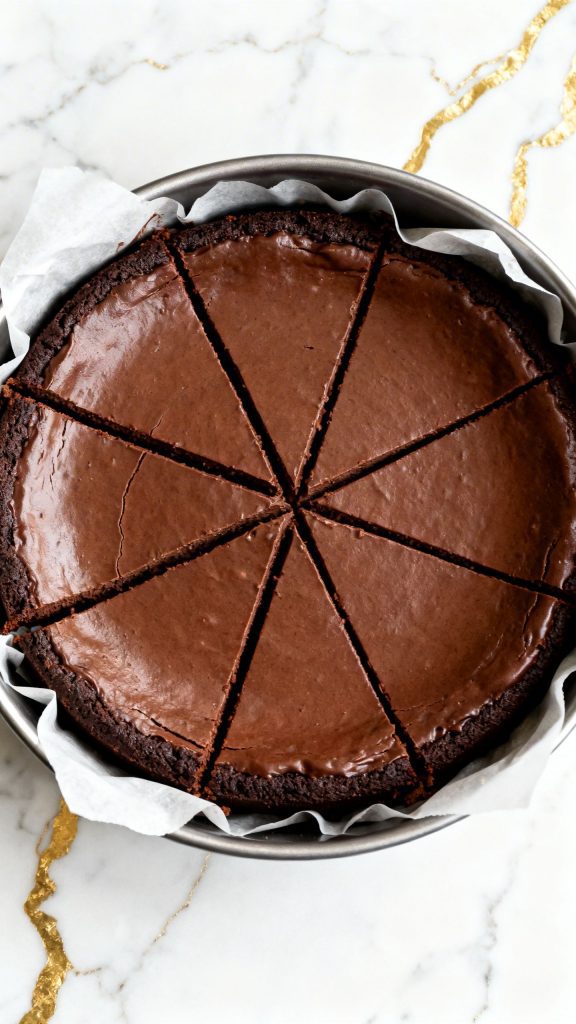
Step 6: Cool and Chill
Let it cool completely, then refrigerate for at least 2–4 hours before slicing.
Pro Tips
- Blend the cottage cheese well for a smooth texture
- Don’t overbake—it should still jiggle slightly in the center
- Chill fully before slicing for best texture
- Use parchment for easy removal
- Taste your batter before baking to adjust sweetness
Why This Recipe Works (Quick Science)
Cottage cheese acts like a lighter cream cheese. When blended, it becomes smooth and creamy. The eggs help set the cheesecake as it bakes, giving structure. Cocoa powder adds richness while absorbing moisture, which helps create that classic dense texture.
Common Mistakes
- Not blending enough → leads to lumpy texture
- Overbaking → makes it dry instead of creamy
- Skipping chill time → texture won’t fully set
- Too much sweetener → can overpower chocolate flavor
What to Serve With
- Fresh berries
- Whipped cream
- Chocolate drizzle
- Coffee or espresso
- A sprinkle of sea salt
Macros Information
Per slice (no crust, semi-sweet chips):
Calories: 132
Protein: 13.5g
Carbs: 10.5g
Fat: 4g
FAQ
Can I taste the cottage cheese?
Nope. Once blended and baked, it just tastes creamy.
Can I make it crustless?
Yes, and it still turns out great.
Can I freeze it?
Yes, slice it first and freeze for easy portions.
Do I need a water bath?
Not for this recipe—it’s simple and forgiving.
Leftovers and Storage
- Store in the fridge up to 4 days
- Keep covered to prevent drying out
- Freeze slices individually for up to 2 months
Final Thoughts
This chocolate cottage cheese cheesecake is one of those recipes you’ll keep coming back to. It’s simple, satisfying, and just feels good to make. Give it a try, and when you do, come back and share how it turned out or what you added to make it your own.
