
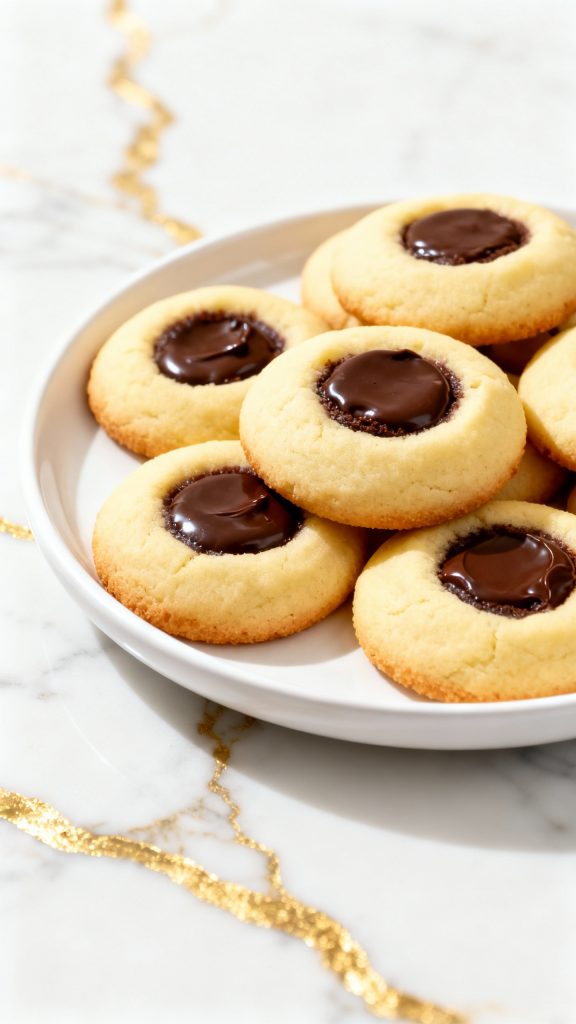
These Chocolate Thumbprint Cookies are soft, buttery, and filled with a rich, gooey chocolate center.
They’re one of those easy bakes that feel fancy but come together without much fuss.
I’ve been making these for years around the holidays and they never last more than a day at our place.
They’ve got just the right mix of soft cookie and chocolate filling, and they look adorable on any cookie platter.

What You’ll Need
- 1 cup (2 sticks) unsalted butter, softened
- 2/3 cup granulated sugar
- 1/4 tsp salt
- 1 tsp vanilla extract
- 2 cups all-purpose flour
- 1/2 cup semi-sweet chocolate chips
- 1 tbsp heavy cream

Why I Love This Recipe
This recipe is a little piece of my childhood. My grandma used to make these every December. We’d roll the dough together, press in the thumbprint (which felt like magic), and she’d let me drizzle in the chocolate after they cooled. Now, I make them whenever I want something comforting and chocolatey, and they always bring a smile.
- Buttery cookie that melts in your mouth
- Rich chocolate center that stays soft
- No fancy ingredients or equipment
- Great for gifting or cookie swaps
- Always a crowd-pleaser
Makes: 24 cookies
Total Time: 30 minutes (10 min prep, 20 min bake)
Macros (per cookie – approx.)
- Calories: 130
- Carbs: 14g
- Protein: 1g
- Fat: 8g
- Sugar: 6g
- Fiber: 1g
Why This Recipe Works (Quick Science)
This cookie base has a high fat-to-flour ratio, which gives you that soft, melt-in-your-mouth texture. Pressing the center before baking makes space for the chocolate filling, and adding cream to the chocolate helps it stay smooth and shiny. The sugar coating adds a little crunch and sparkle on the outside—bonus texture!
Common Mistakes
- Not chilling the dough: You don’t have to, but if your kitchen is warm, the cookies will spread too much without a quick chill.
- Overbaking: They should not be brown. Pull them when the edges just look set.
- Chocolate too thick: If you skip the cream, your filling will set up hard.
- Thumbprint too shallow: Make a deep well or the filling will just sit on top.
What to Serve With
- A glass of cold milk or hot cocoa
- Coffee with a splash of vanilla
- Vanilla ice cream if you’re feeling extra
- As part of a mixed cookie platter
FAQ
Can I freeze these?
Yes! Freeze them in a single layer, then move to a bag or container.
Can I use white chocolate?
Totally. Just swap the chips and you’re good.
Do they stay soft?
Yes, especially if stored in an airtight container.
Can I double this recipe?
Yep! Works great doubled.
Substitutions and Variations
- Use white or dark chocolate instead of semi-sweet
- Add a sprinkle of sea salt on top of the chocolate
- Roll dough in chopped nuts or sugar before baking
- Swap the chocolate with raspberry or lemon curd
Tools You’ll Need
- Large mixing bowl
- Hand mixer or stand mixer
- Rubber spatula
- Measuring cups and spoons
- Baking sheet
- Parchment paper
- Small saucepan
- Spoon or piping bag (for filling)
- Cooling rack
Make Ahead Tips
You can make the dough ahead and keep it in the fridge for 1-2 days, wrapped tightly. You can also roll and freeze the cookie balls, then bake straight from frozen—just add 1-2 minutes to the bake time.
How to Make Chocolate Thumbprint Cookies
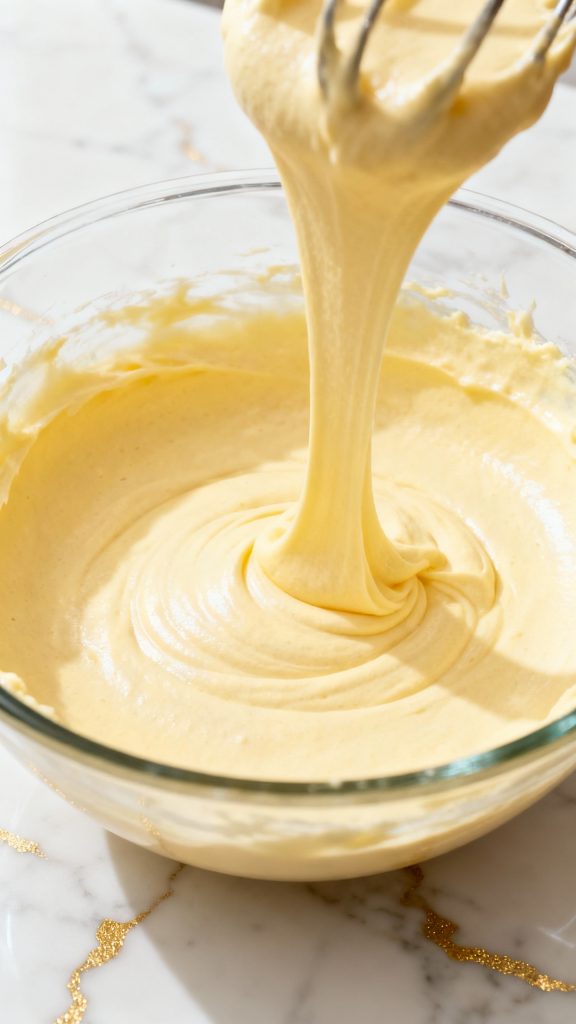
Step 1: Cream the Butter and Sugar
Add 1 cup softened unsalted butter and 2/3 cup granulated sugar to a large bowl. Beat until light and fluffy, about 2-3 minutes.
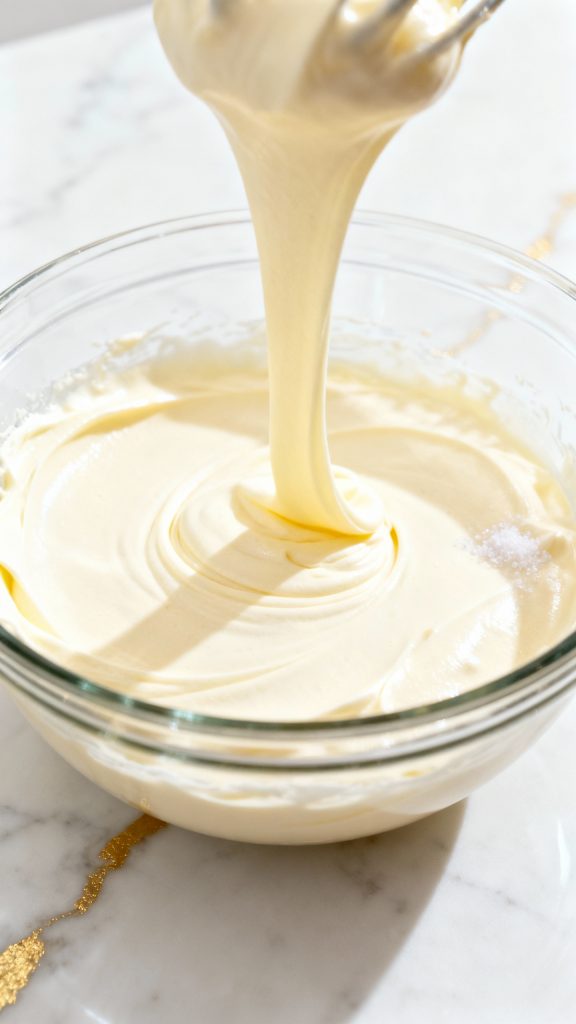
Step 2: Add Vanilla and Salt
Mix in 1 tsp vanilla extract and 1/4 tsp salt until combined.
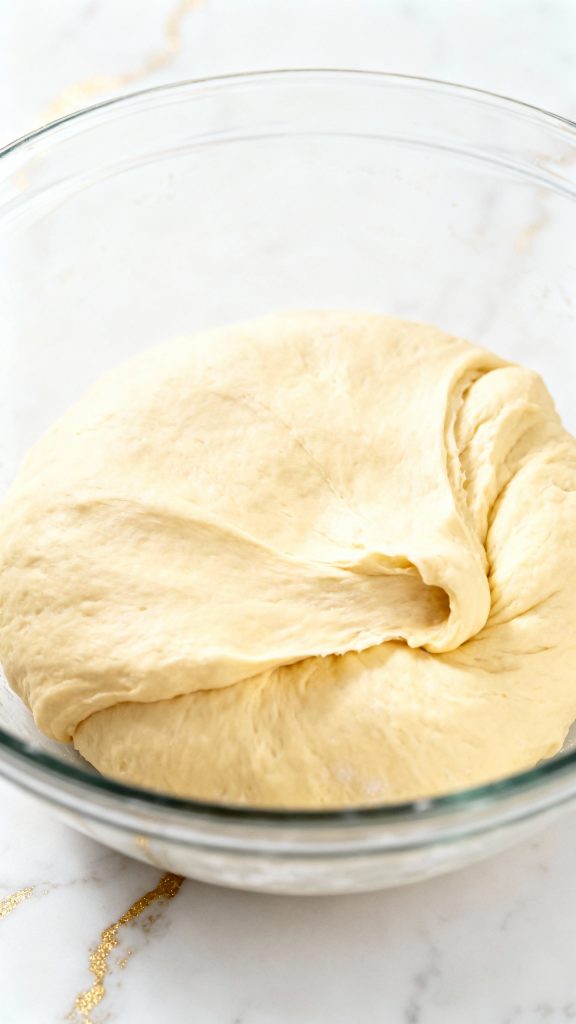
Step 3: Add the Flour
Add in 2 cups of all-purpose flour gradually, mixing just until the dough forms and pulls away from the sides.
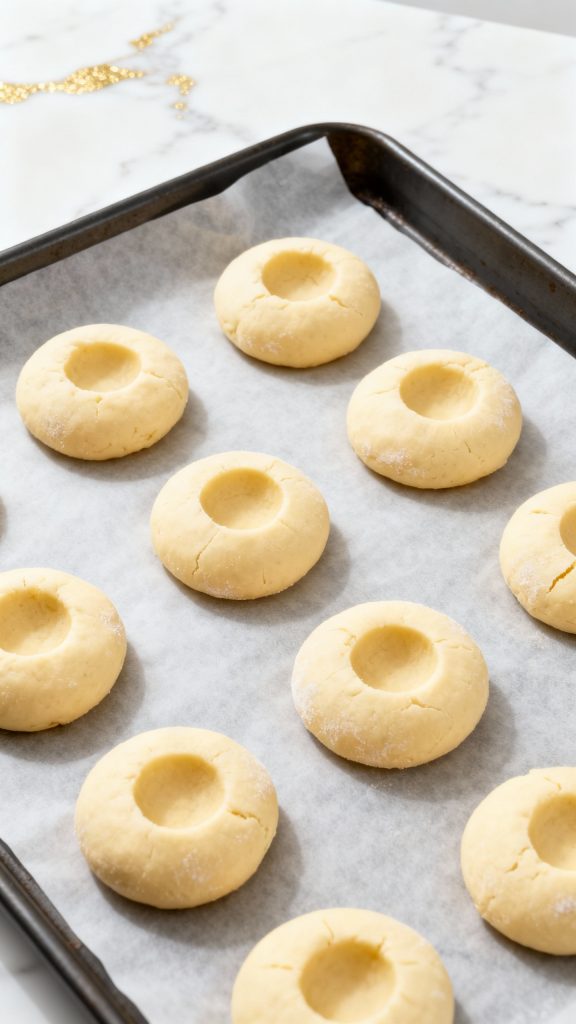
Step 4: Roll and Shape
Scoop dough into 1-inch balls and roll them between your palms. Place on a parchment-lined baking sheet. Use your thumb or the back of a spoon to press a deep well in the center of each ball.
Step 5: Bake the Cookies
Bake at 350°F for 18-20 minutes or until just set and lightly golden on the bottom.
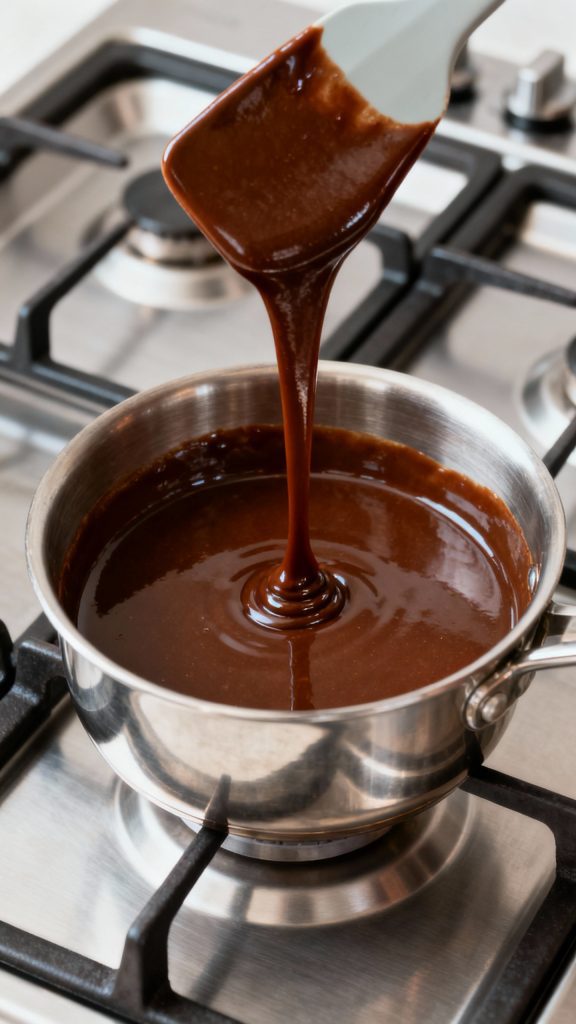
Step 6: Make the Chocolate Filling
In a small saucepan over low heat, melt 1/2 cup semi-sweet chocolate chips with 1 tbsp heavy cream until smooth.
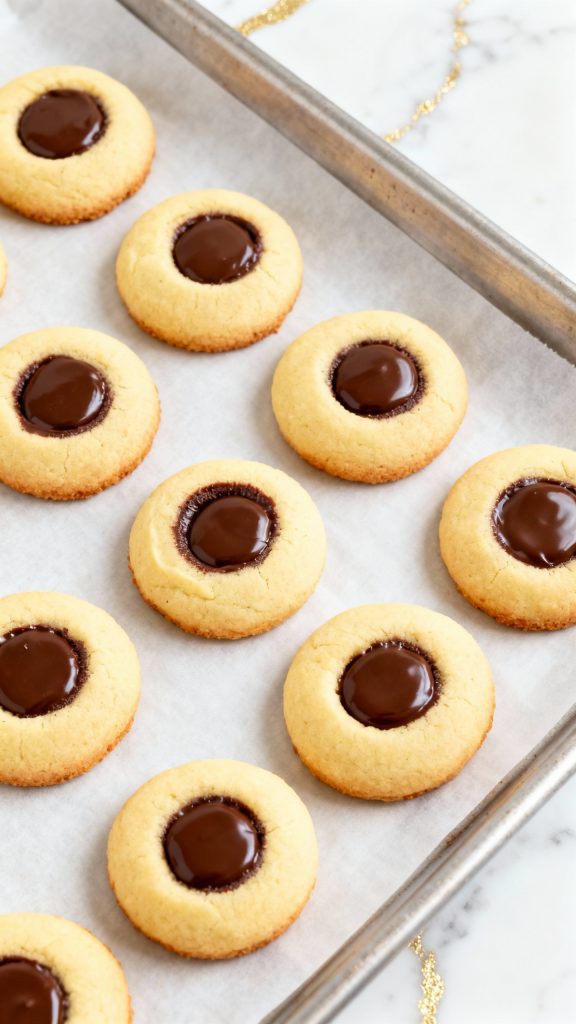
Step 7: Fill the Cookies
Spoon or pipe the warm chocolate filling into each cooled cookie well. Let them sit until the chocolate sets.
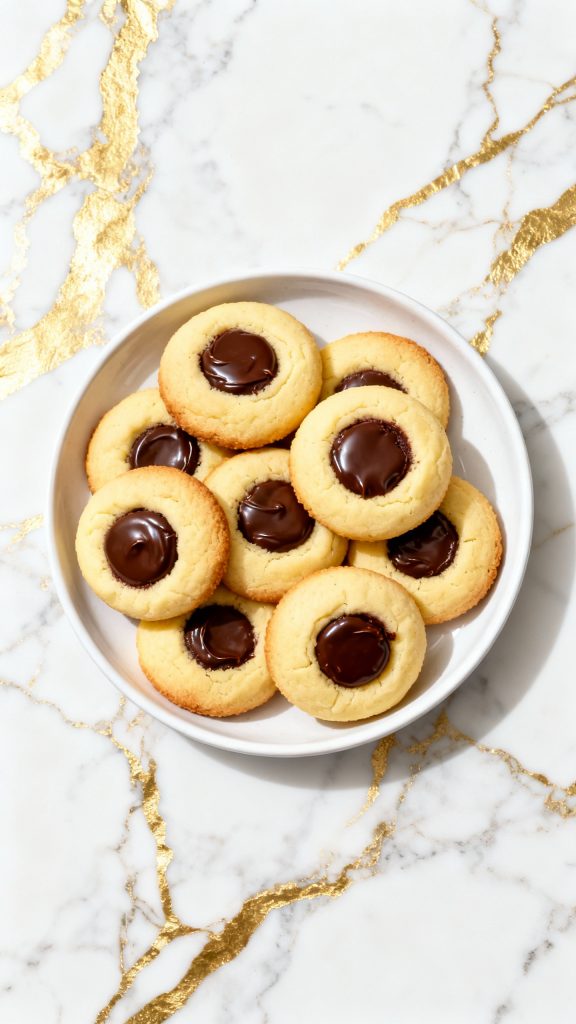
Step 8: Serve and Enjoy
Place finished cookies on a serving plate and enjoy.
Leftovers and Storage
Store cookies in an airtight container at room temp for up to 5 days. If it’s warm in your kitchen, keep them in the fridge and let them sit out before eating. You can also freeze baked cookies for up to 2 months—just layer them between parchment.
Try These Soon!
These Chocolate Thumbprint Cookies are a small batch of joy. They’re buttery, chocolatey, and just feel special. If you try this recipe, leave a comment and tell me how it went — I love hearing your kitchen stories!
