
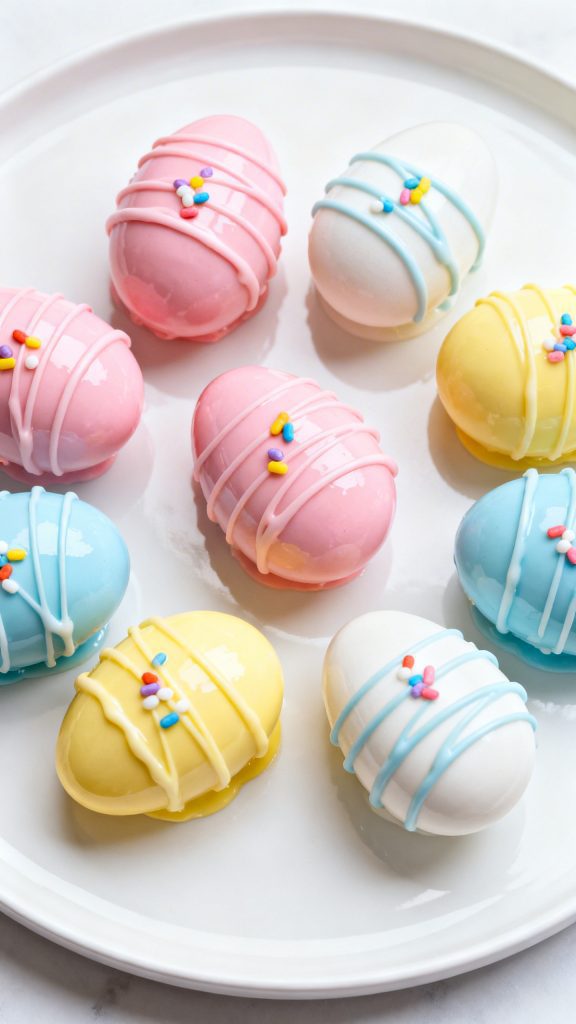
These Easter Egg Oreo Cookie Balls are one of those treats that disappear fast. They’re creamy, chocolatey, and covered in a colorful candy shell that makes them perfect for spring gatherings. The best part? You only need a few ingredients and no baking. Just crush, mix, shape, dip, and decorate.
I’ve made these for holiday parties and family get-togethers, and they’re always the first thing people grab. They look fancy, but they’re actually very easy to make.
Servings: 24 cookie balls
Total Time: About 1 hour (including chilling)

Why I Love This Recipe
The first time I made these was for an Easter dessert table. I needed something quick but still festive. I had Oreos in the pantry and cream cheese in the fridge, so these little treats came together almost by accident.
Once they were dipped in pastel chocolate and shaped like eggs, they looked like they came from a bakery. Everyone asked how long they took. When I said they were basically crushed cookies and cream cheese, people couldn’t believe it.
Here’s why this recipe always works:
- Only a few ingredients but the flavor is rich and creamy
- No oven needed, which makes it super simple
- Easy to decorate with pastel colors and sprinkles
- Great make-ahead dessert for parties and holidays
- Perfect bite-size treat that looks impressive
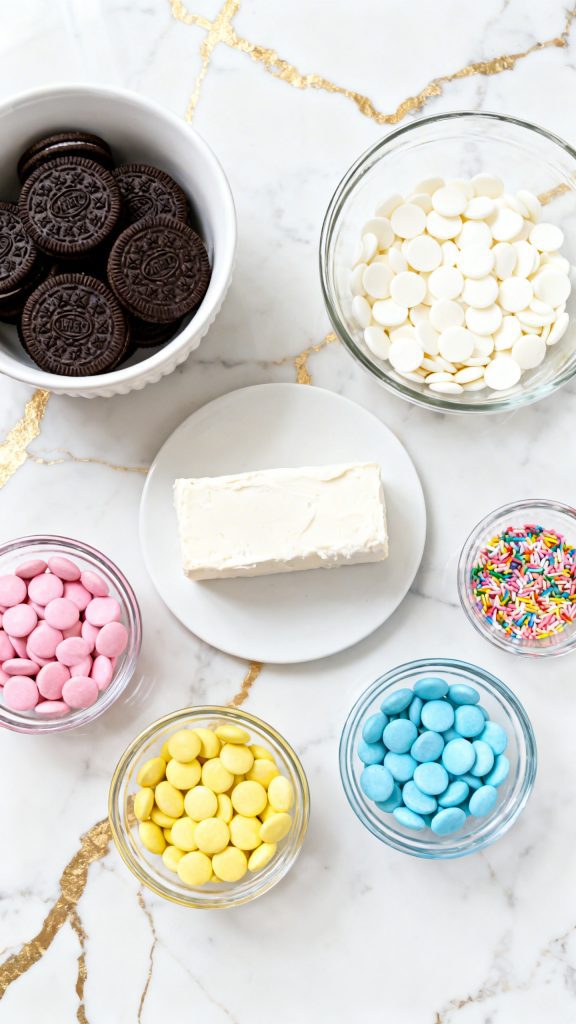
What You’ll Need
- 36 Oreo cookies
- 8 oz cream cheese, softened
- 12 oz white candy melts
- ½ cup pastel candy melts (pink, yellow, blue)
- 2 tablespoons Easter sprinkles
Tools You’ll Need
- Food processor
- Mixing bowl
- Spoon or spatula
- Baking sheet
- Parchment paper
- Microwave-safe bowl
- Dipping fork or fork
Pro Tips
- Use softened cream cheese. It blends smoothly and prevents lumps.
- Freeze the shaped eggs briefly. This keeps them from falling apart when dipping.
- Tap the fork gently. This removes extra coating for a smooth shell.
- Decorate before the coating sets. Sprinkles stick best while the chocolate is still wet.
Substitutions and Variations
- Use golden Oreos for a vanilla flavor.
- Dip them in milk or dark chocolate instead of white coating.
- Add crushed freeze-dried strawberries to the filling for a fruity twist.
- Use colored candy melts only for bright Easter eggs.
Make Ahead Tips
You can make these up to 3 days ahead. Keep them in the fridge in an airtight container until serving.
Why This Recipe Works (Quick Science)
Oreos already contain fat and sugar, which gives structure when crushed. When mixed with cream cheese, the mixture becomes a thick paste that holds its shape when chilled.
The cold filling firms up the fats in the cream cheese. That’s why chilling helps the egg shapes stay solid when dipped in warm melted candy coating.
The candy coating hardens quickly because of its cocoa butter content, creating that smooth shell.
Recipe Instructions
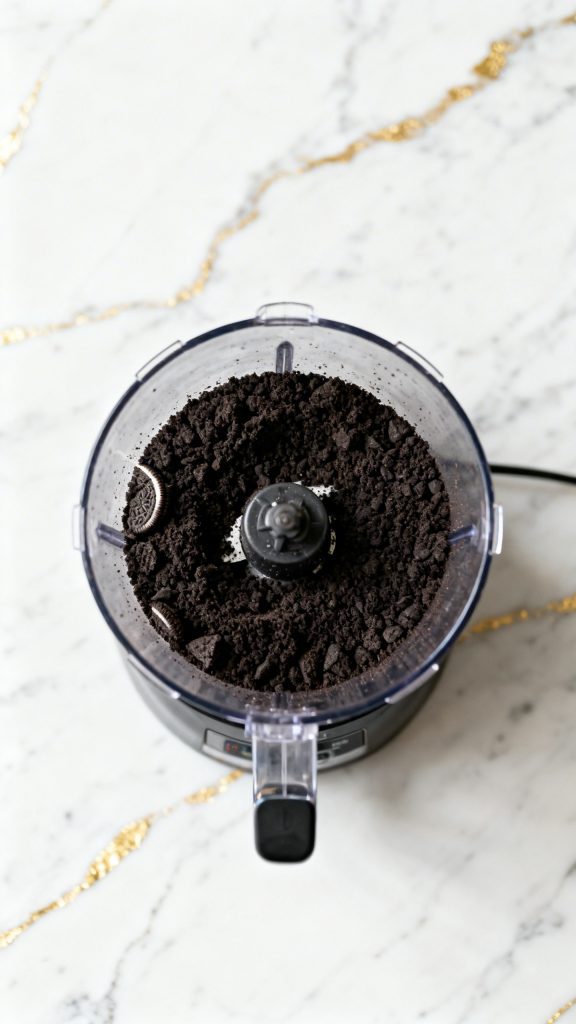
Step 1 – Crush the Oreos
Place 36 whole Oreo cookies into a food processor and pulse until they turn into fine black cookie crumbs with white cream mixed in.
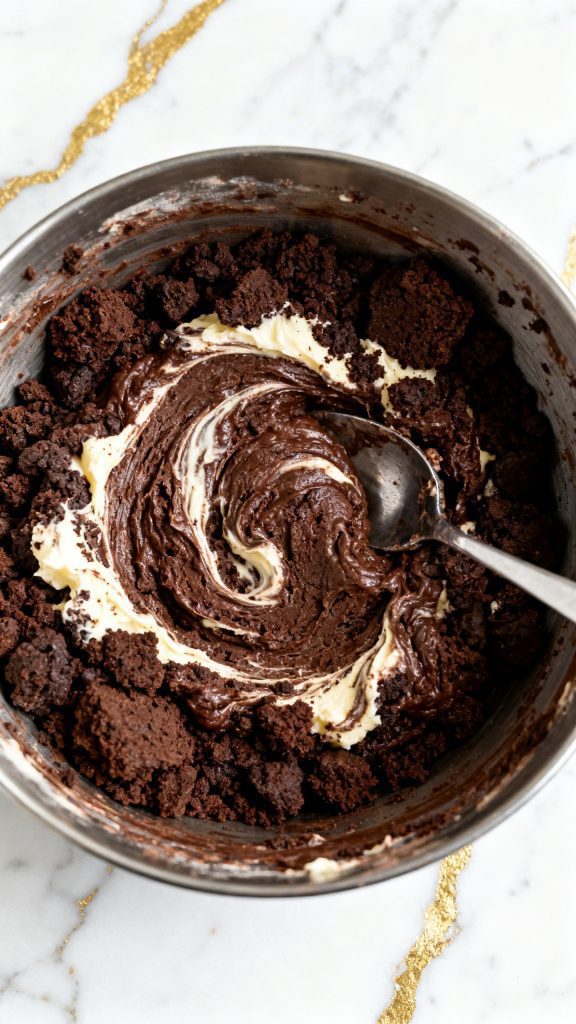
Step 2 – Mix With Cream Cheese
Transfer the cookie crumbs to a mixing bowl. Add 8 oz softened cream cheese and mix until the mixture becomes a thick dark cookie dough with no white streaks.
Step 3 – Shape the Easter Eggs
Scoop about 1 tablespoon of the Oreo cream cheese mixture and shape it into small oval egg shapes. Place them on a parchment-lined baking sheet.
You should get about 24 egg shapes.
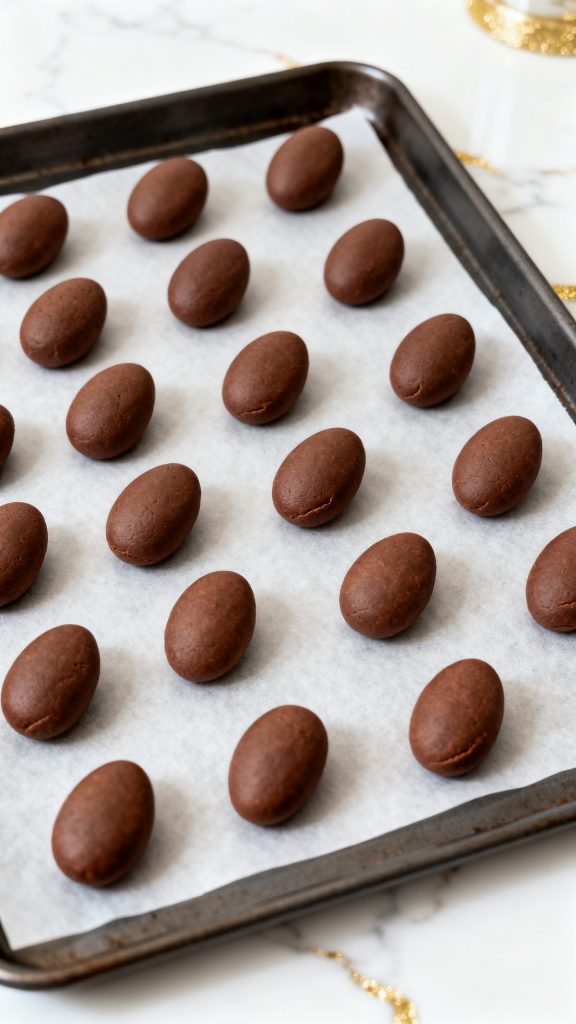
Step 4 – Chill the Eggs
Place the baking sheet with the 24 shaped Oreo cookie eggs into the freezer for 20 minutes until firm.
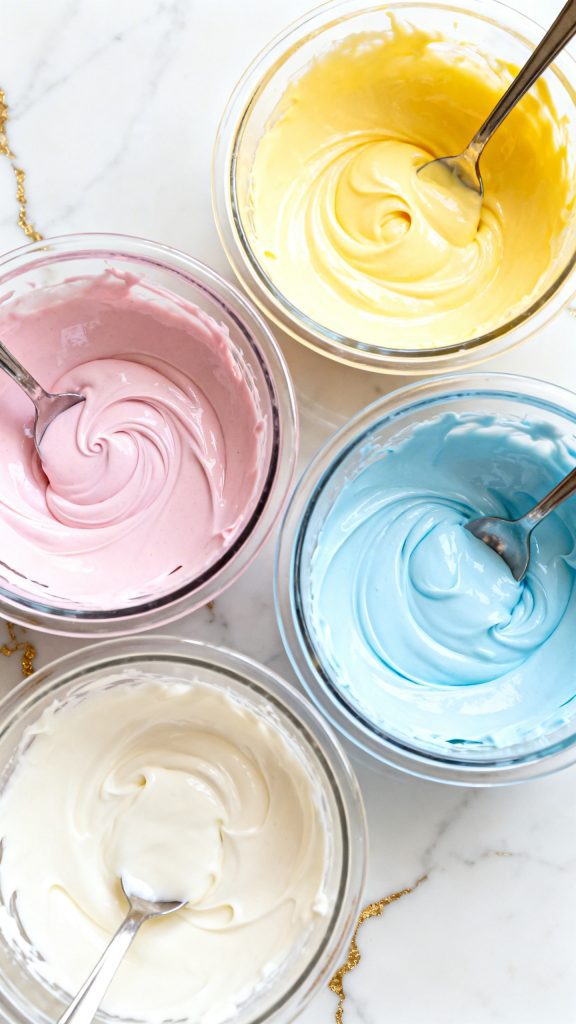
Step 5 – Melt the Candy Coating
Place 3 oz pastel pink candy melts, 3 oz pastel yellow candy melts, 3 oz pastel blue candy melts, and 3 oz white candy melts into four separate microwave-safe bowls.
Heat each bowl in the microwave in 30-second intervals, stirring after each round, until the candy melts are fully melted, smooth, and glossy. The coating should look silky and fluid, thick but easy to dip.
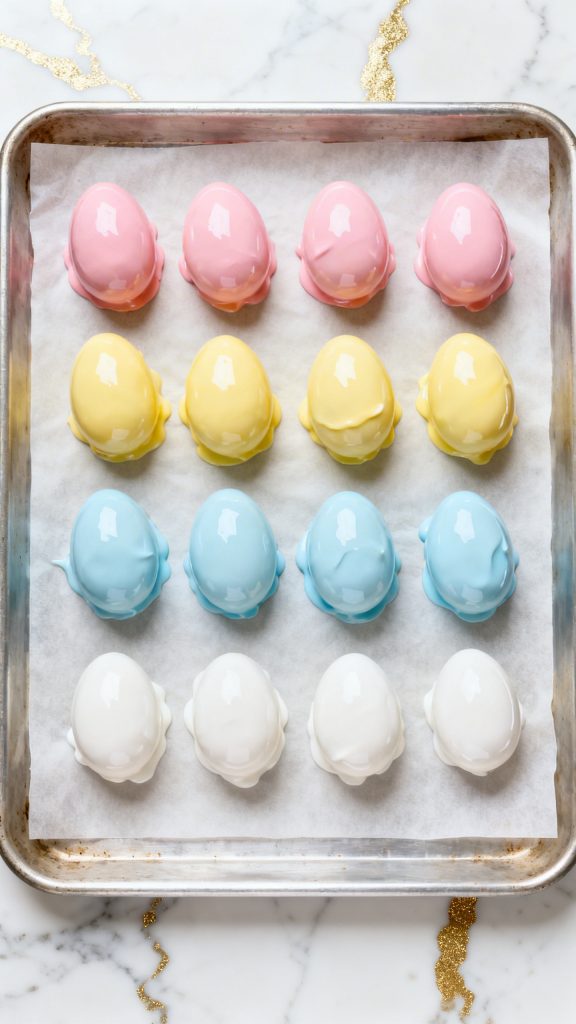
Step 6 – Dip the Oreo Eggs
Drop each chilled Oreo egg into one of the melted pastel candy coatings (pink, yellow, blue, or white) and roll it until fully covered. Lift it out with a fork and place it back onto the parchment-lined baking sheet.
Step 7 – Decorate
Melt ½ cup pastel candy melts (pink, yellow, and blue) and drizzle them over the coated eggs. Sprinkle 2 tablespoons Easter sprinkles on top before the coating sets.

Macros Information (Per Cookie Ball)
Approximate values:
- Calories: 140
- Fat: 7g
- Carbs: 18g
- Sugar: 13g
- Protein: 1g
Common Mistakes
Not chilling the eggs first
Warm cookie balls will fall apart in melted chocolate.
Overheating candy melts
Heat slowly in short intervals to prevent thick, clumpy coating.
Too much coating
Let the fork tap the bowl edge to remove excess chocolate.
What to Serve With
These treats pair really well with:
- Fresh strawberries
- Lemon bars
- Hot coffee or espresso
- Vanilla milkshakes
- A big Easter dessert board
Leftovers and Storage
Store Oreo cookie balls in an airtight container in the refrigerator for up to 5 days.
For longer storage, freeze them for up to 2 months. Thaw in the fridge before serving.
FAQ
Can I make these without a food processor?
Yes. Put the Oreos in a zip bag and crush them with a rolling pin.
Can I use flavored Oreos?
Absolutely. Birthday cake, mint, or peanut butter Oreos all work well.
Why are my cookie balls cracking?
They may be too cold when dipped. Let them sit at room temperature for 2 minutes before dipping.
Can I use chocolate chips instead of candy melts?
Yes, but add a teaspoon of coconut oil to help the chocolate melt smoothly.
Final Thoughts
Easter Egg Oreo Cookie Balls are one of the easiest treats you can make that still look festive and impressive. They’re creamy inside, chocolatey outside, and fun to decorate with colorful drizzles and sprinkles.
Once you make them the first time, you’ll see how simple the process really is. They’re perfect for Easter tables, spring parties, or just a sweet weekend treat.
Give them a try, and when you do, come back and share how they turned out or any fun decorating ideas you tried. 🍫🥚✨
