
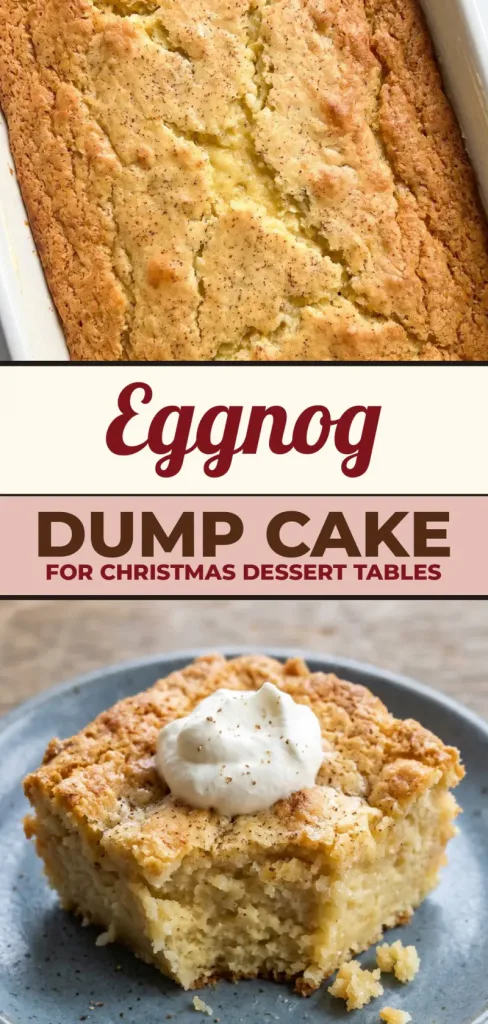
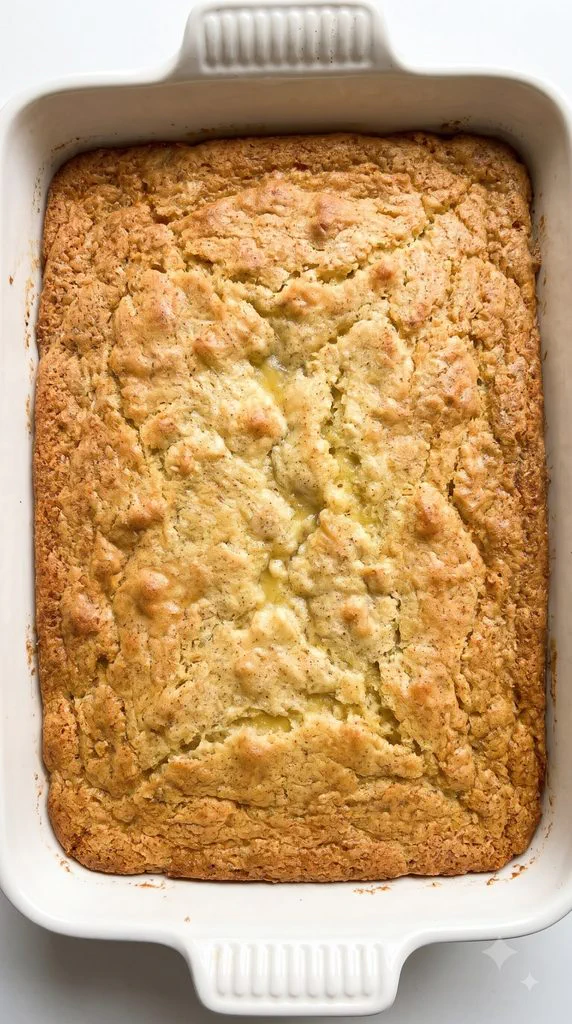
Eggnog Dump Cake brings creamy holiday flavor to a simple, scoopable dessert. The top bakes into a buttery crust while the inside stays soft and moist. There is no mixer, no frosting, and no bowl of batter to manage. A little nutmeg gives each bite that familiar eggnog warmth.
Why I Love This Recipe
This is the kind of dessert that keeps a busy holiday menu manageable. You layer the ingredients right in the baking dish, then let the oven do the work. The uneven crust is part of its charm, so there is no need to fuss over a smooth finish.
- Simple ingredients: A carton of eggnog and a box of cake mix do most of the work.
- Easy cleanup: Everything goes straight into the baking dish.
- Cozy texture: A buttery top gives way to a tender, creamy middle.
- Easy to portion: Scoop a little or a lot without worrying about perfect slices.
What You’ll Need
- Servings: 12
- Prep Time: 10 minutes
- Cook Time: 50–55 minutes
- Cooling Time: 20 minutes
- Total Time: 1 hour 20 minutes to 1 hour 25 minutes
- Oven Temperature: 350°F (175°C)
- Pan Size: 9×13-inch rectangular ceramic baking dish
Ingredients:
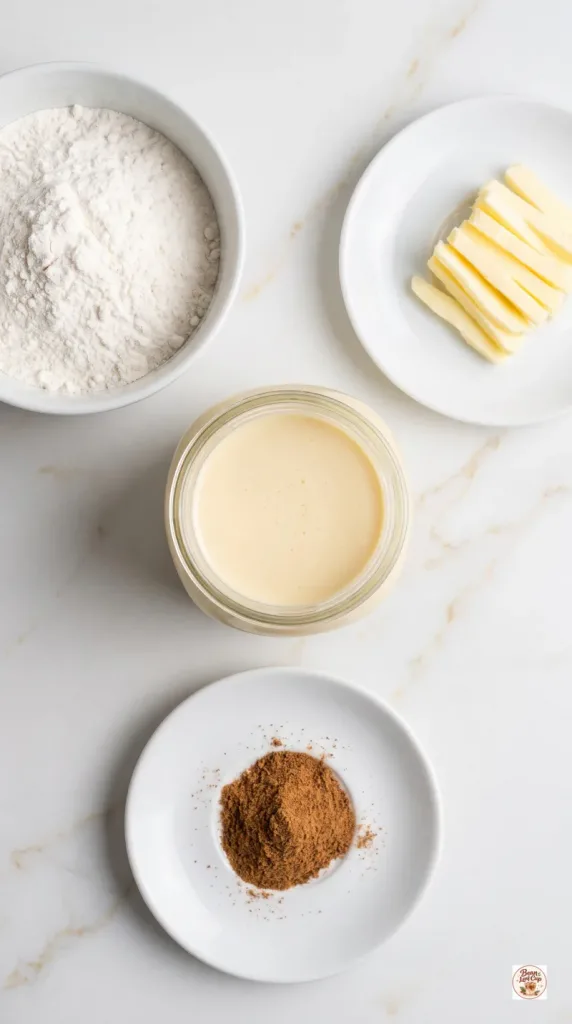
- 3 cups refrigerated full-fat, nonalcoholic eggnog, divided
- 1 box (15.25 ounces) white cake mix, dry
- 1/2 cup salted butter, chilled and cut into thin slivers
- 1 teaspoon softened salted butter, for greasing the dish
- 1/2 teaspoon ground nutmeg
Choose a standard cake mix rather than angel food cake mix. Use only the dry mix; leave out the eggs, oil, and water listed on its package. Full-fat dairy eggnog gives this version its rich texture.
Tools You Need
- 9×13-inch rectangular ceramic baking dish with broad integrated end handles
- Measuring cup and measuring spoon
- Small offset spatula for spreading the dry mix
- Serving spoon
- Oven mitts
How to Make Eggnog Dump Cake
Keep the layers loose and even, and resist the urge to stir.
Step 1: Prepare the Dish
Heat the oven to 350°F (175°C) with a rack in the middle.
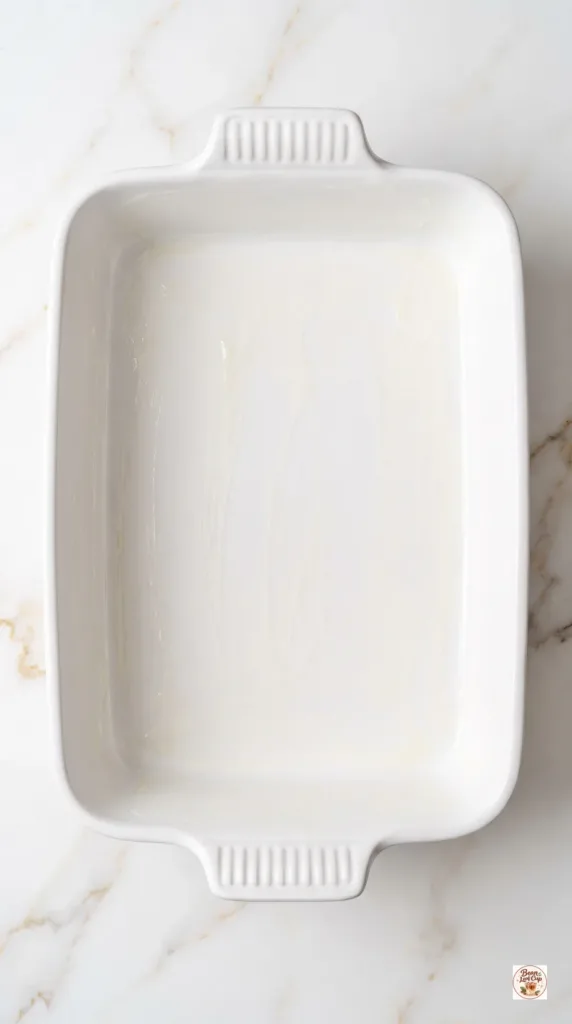
Rub 1 teaspoon softened salted butter over the bottom and inside walls of a 9×13-inch rectangular ceramic baking dish. Leave it unlined.
Step 2: Add the First Layers
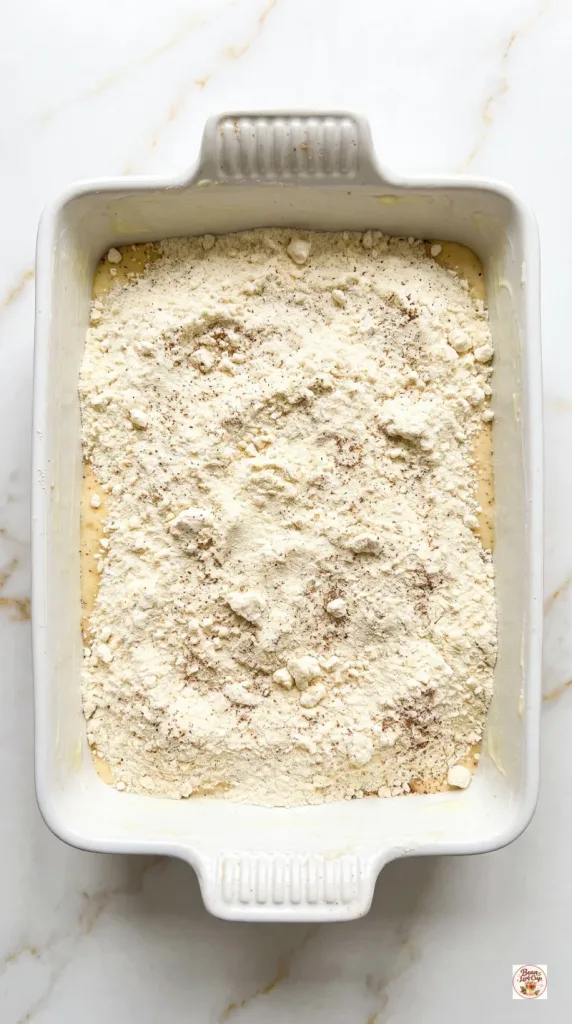
Pour 1 cup of the 3 cups eggnog into the prepared dish and tilt gently to coat the bottom.
Sprinkle 1 box (15.25 ounces) dry white cake mix evenly over the eggnog.
Scatter 1/2 teaspoon ground nutmeg over the mix, then gently level the dry surface with a small spatula. Do not stir it into the eggnog.
Step 3: Finish the Assembly
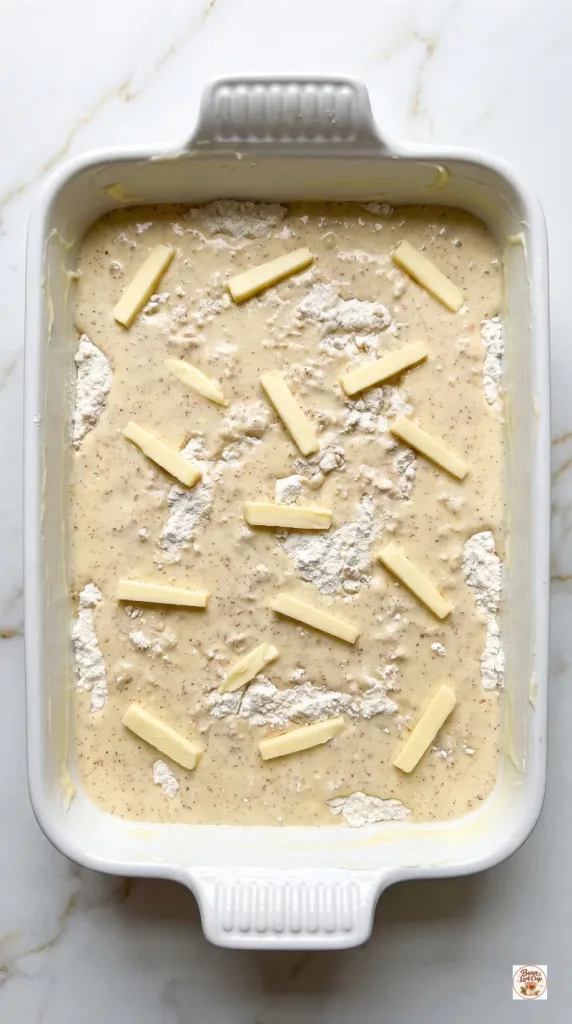
Slowly pour the remaining 2 cups eggnog over the entire surface, moving across the dish so the corners get some too.
Distribute 1/2 cup chilled salted butter, cut into thin slivers, evenly across the top. Avoid leaving all the butter in the center.
If a pocket of dry mix remains, gently press just that spot into the liquid. Do not mix the layers into a batter.
Step 4: Bake Until Set
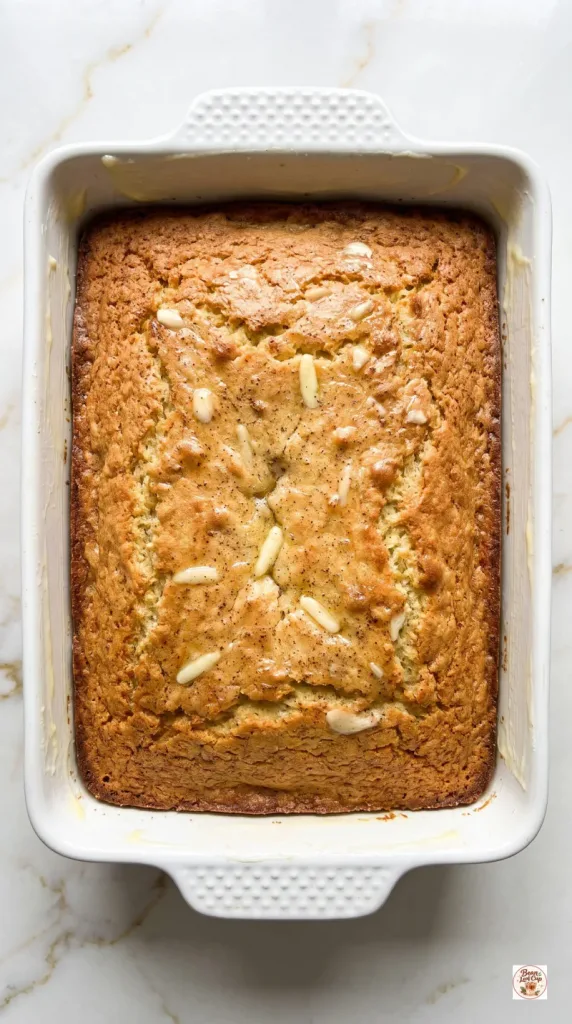
Bake uncovered at 350°F (175°C) for 50–55 minutes. Begin checking at 45 minutes, since ovens and baking dishes vary.
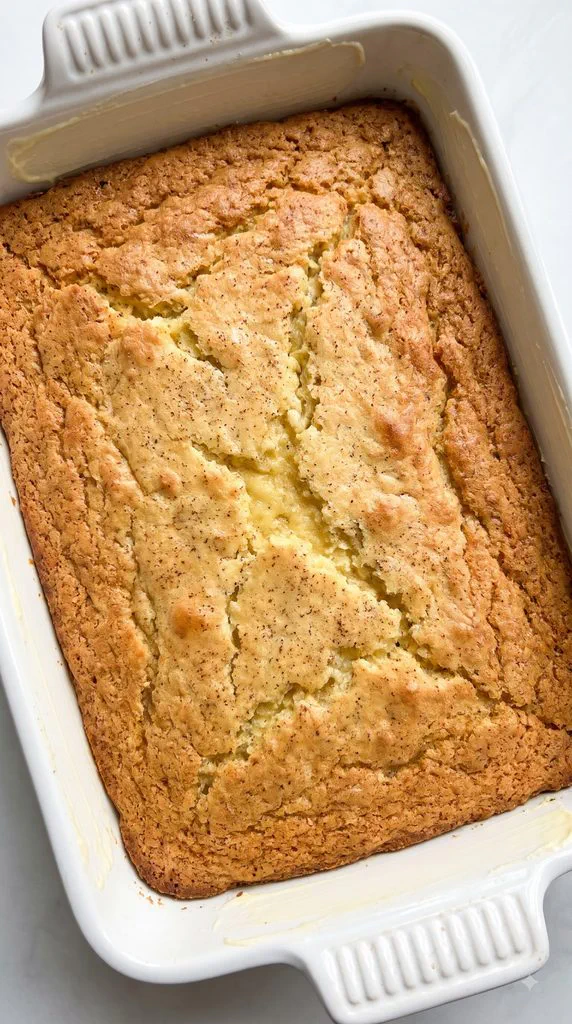
Look for a golden crust, set edges, and a soft center that no longer ripples like liquid. The inside should stay moist, but there should be no large pockets of dry cake mix.
If the top browns before the middle sets, loosely cover it with foil for the rest of the baking time. Remove the foil when the dish comes out.
Step 5: Cool and Serve
Let the cake rest in its baking dish for 20 minutes so the soft middle has time to settle.
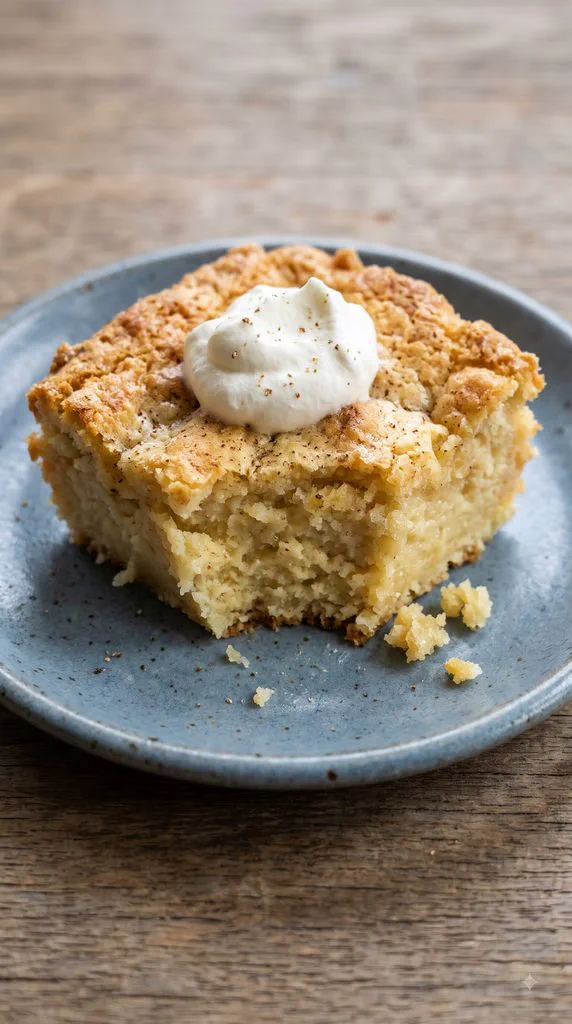
Spoon into 12 portions and serve warm, plain, on individual plates or in dessert bowls. Lift through the full depth so each portion gets both tender cake and buttery crust.
Expect softly shaped portions rather than tidy cake-shop slices.
Why This Recipe Works (Quick Science)
Eggnog supplies moisture, fat, and sugar. As it soaks into the dry mix, the flour and starch absorb liquid and thicken during baking. The cake mix also contains leavening, which helps the damp areas rise.
Butter melts across the surface and helps the top brown. Leaving the ingredients layered creates a mix of tender crumb and craggy crust instead of the even texture of a stirred cake batter. The short rest helps the middle thicken enough to scoop without making it dry.
Common Mistakes to Avoid
- Following the cake box directions: Extra eggs, oil, or water change this recipe’s balance.
- Using the wrong box size: The liquid amount is written for a 15.25-ounce cake mix. A much smaller box can leave the cake too wet.
- Pouring in one spot: Spread the eggnog across the surface so floury corners do not stay dry.
- Clumping the butter: Thin, evenly spaced pieces give better coverage than thick chunks.
- Expecting a dry toothpick: This is a moist, scoopable dessert. Judge the set edges and center instead.
- Serving immediately: The resting time helps the cake hold together on the spoon.
Pro Tips
Keep the butter cold until you are ready to arrange it. Thin pieces are easier to distribute across the cake than a few large pats.
Use fresh eggnog with a flavor you enjoy. It is the main source of the cake’s creamy holiday taste, and brands vary in sweetness and spice.
Leftovers and Storage
Once the cake has cooled, cover and refrigerate it for up to 4 days. Refrigerate within 2 hours of baking rather than leaving the dish out all evening.
Reheat an individual portion in the microwave in short bursts until warmed through. The crust will soften as it sits, which is normal for a moist dump cake.
For longer storage, freeze cooled portions in airtight containers for up to 2 months. Thaw overnight in the refrigerator before warming. Freezing may make the crust softer.
Macros Information
Estimated per serving, based on 12 plain portions. Brands and portion sizes will change these numbers.
- Calories: 285
- Protein: 4 g
- Carbohydrates: 40 g
- Fat: 12 g
- Saturated Fat: 7 g
- Fiber: 0 g
- Sugar: 25 g
- Sodium: 370 mg
Frequently Asked Questions (FAQ)
Q: Is Eggnog Dump Cake a regular layer cake?
A: No. It is a soft baked dessert with a buttery crust. Serve it by the spoonful rather than stacking or frosting it.
Q: Do I prepare the cake mix first?
A: No. Use the dry mix straight from the box and add only the ingredients listed here.
Q: Can I use yellow cake mix?
A: Yes, a standard 15.25-ounce yellow cake mix is a reasonable swap. It gives the crumb a deeper yellow color and a slightly different flavor.
Q: Can I use low-fat or dairy-free eggnog?
A: Those products vary in thickness and fat content, so they may set differently. Full-fat dairy eggnog is the most reliable choice for the quantities here.
Q: Does this cake contain alcohol?
A: This version uses nonalcoholic eggnog and has no added spirits. Check your carton’s label when shopping.
Q: Why are there dry patches on top?
A: Some areas may not have received enough eggnog or butter. Pour broadly during assembly and spread the butter slivers across the whole surface.
Q: Can I assemble it the night before?
A: It is better to layer it just before baking. A long soak changes how the cake mix hydrates. You can measure the ingredients and grease the dish ahead instead.
Q: Can I bake it ahead?
A: Yes. Bake, cool, and refrigerate it, then warm individual portions before serving. The crust is crispest on the day it is baked.
Q: Why is the middle soft?
A: A tender, moist middle is expected. If it is still loose liquid after resting, it needed more oven time; the center should be soft but thick enough to scoop.
Final Thoughts
Eggnog Dump Cake keeps holiday baking simple while giving you plenty of creamy flavor and buttery crust. Give it time to rest, scoop generously, and enjoy it just as it is. Leave a comment with your favorite part: the tender middle or the golden top. Happy cooking!