
If you love a warm cup of coffee, this homemade maple pecan coffee creamer is a great way to make it even better.
It is rich, creamy, and full of cozy maple and toasted pecan flavor.
It takes just a few simple ingredients and tastes much fresher than store-bought creamer.

Why I Love This Recipe
The first time I made this creamer was during a cool fall morning when I wanted something special without leaving the house. I had maple syrup, pecans, and cream sitting in the kitchen, so I decided to try making my own coffee creamer. The smell of toasted pecans filled the room, and after one sip, I knew I would never need the bottled version again. Now I make a batch almost every week because it is simple, tastes amazing, and keeps well in the fridge.
- Rich maple flavor without being too sweet.
- Toasted pecans add a warm, nutty taste.
- No artificial flavors or preservatives.
- Easy to make with everyday ingredients.
- Perfect for hot or iced coffee.

Servings and Time
- Makes: 16 servings (about 2 cups)
- Prep Time: 5 minutes
- Cook Time: 10 minutes
- Total Time: 15 minutes
What You’ll Need
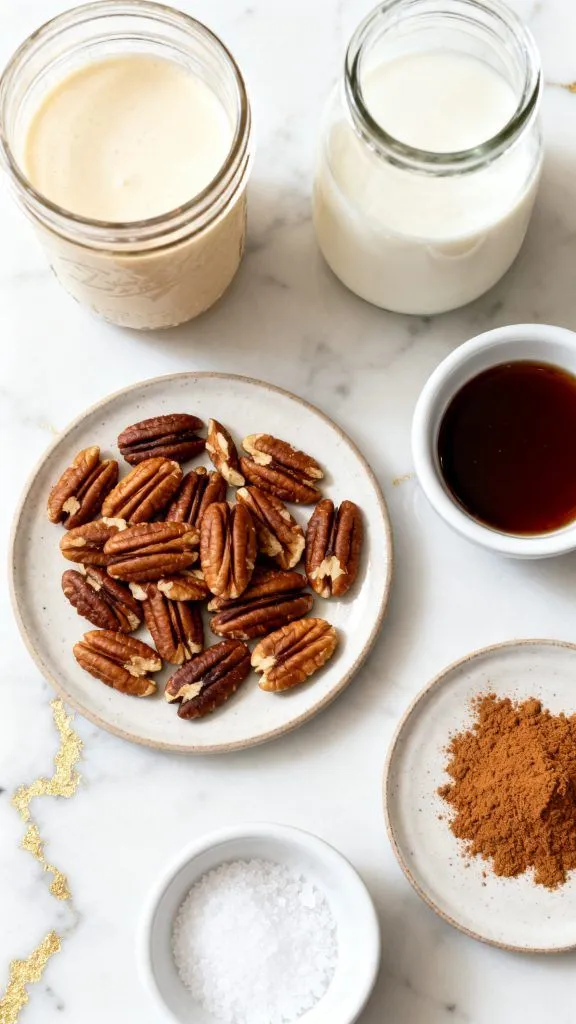
- 1 cup heavy cream
- 1 cup whole milk
- ⅓ cup pure maple syrup
- ½ cup pecan halves
- 1 teaspoon vanilla extract
- ¼ teaspoon ground cinnamon
- Pinch of fine salt
Tools
- Small saucepan
- Blender
- Wooden spoon
- Fine mesh strainer
- Medium bowl
- Funnel
- Glass bottle or jar with lid
- Measuring cups
- Measuring spoons
Pro Tips
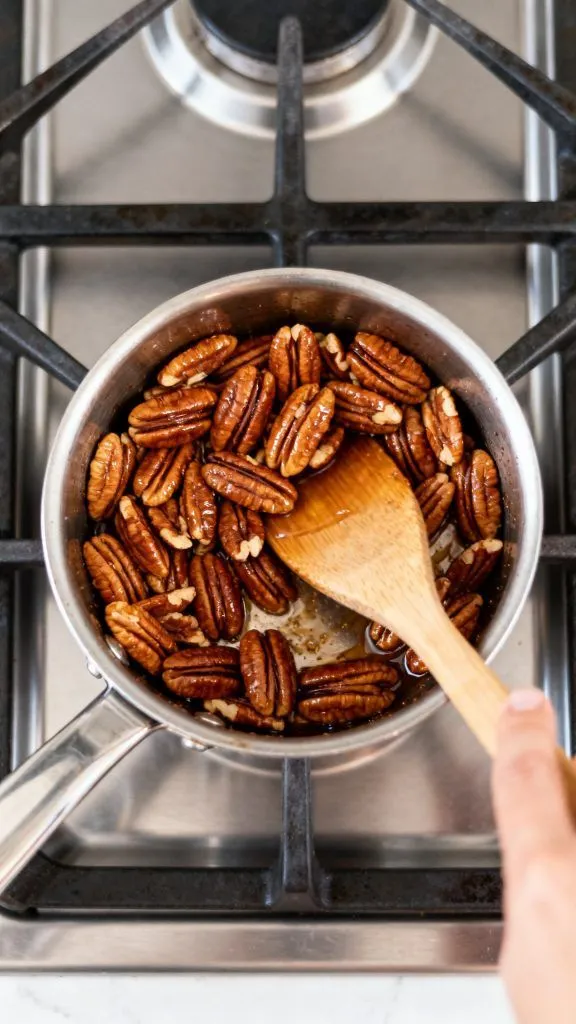
- Toast the pecans until they smell fragrant but do not let them burn.
- Let the mixture steep so the pecans have time to flavor the cream.
- Shake the bottle before every use because natural ingredients settle.
- Use pure maple syrup for the best flavor.
- Chill the creamer completely before adding it to iced coffee.
Substitutions and Variations
- Use half-and-half instead of heavy cream and milk.
- Add ½ teaspoon maple extract for a stronger maple flavor.
- Use oat milk for part of the milk for a lighter version.
- Add a pinch of nutmeg for extra warmth.
- Stir in a little brown sugar if you like sweeter coffee.
Make Ahead Tips
- Make up to 7 days ahead.
- Store in a sealed glass bottle in the refrigerator.
- Shake well before every use.
Why This Recipe Works (Quick Science)
Toasting the pecans brings out natural oils and deeper nutty flavors. Heating the cream and milk lets those flavors soak into the liquid. Letting everything steep for several minutes gives the pecans time to release even more flavor before straining them out. Maple syrup blends smoothly into warm dairy, making every sip naturally sweet.
Recipe
Step 1: Toast the Pecans
Place ½ cup pecan halves into a dry small saucepan. Cook over medium-low heat for about 3 to 4 minutes, stirring often, until the pecans smell toasted.
Step 2: Heat the Cream Mixture
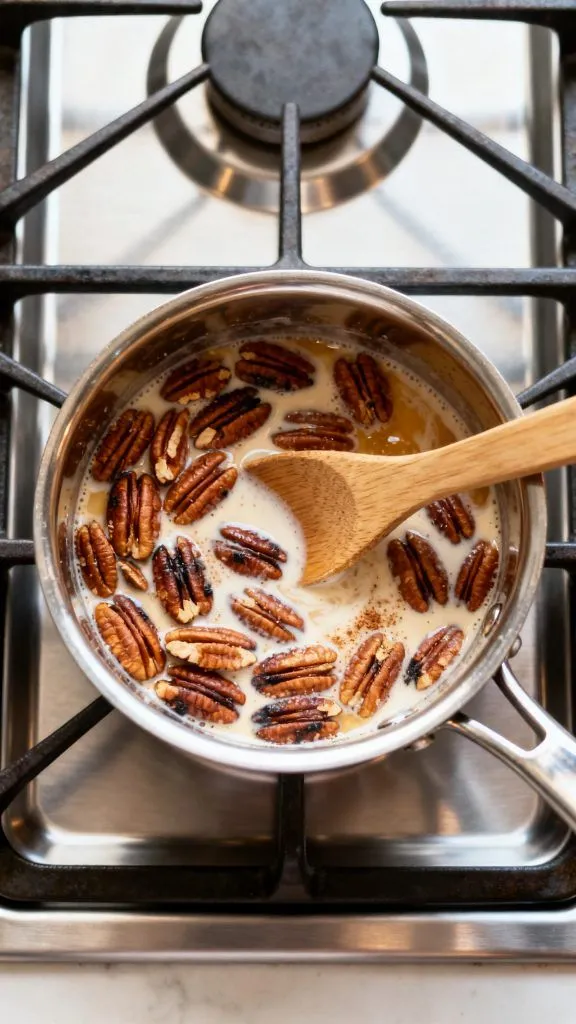
Pour 1 cup heavy cream, 1 cup whole milk, and ⅓ cup pure maple syrup into the saucepan with the toasted pecans. Add ¼ teaspoon ground cinnamon and a pinch of fine salt. Stir well and heat gently for about 5 minutes until steaming but not boiling.
Step 3: Steep the Flavor
Remove the saucepan from the heat. Stir in 1 teaspoon vanilla extract. Let the mixture sit for 10 minutes so the toasted pecans can flavor the cream.
Step 4: Blend the Creamer
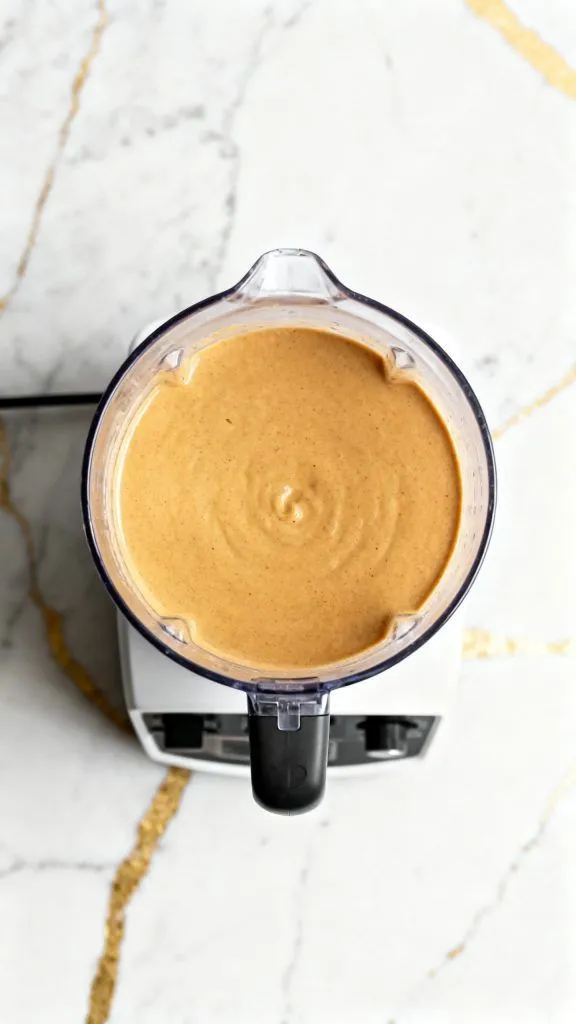
Pour the warm steeped mixture, including the softened toasted pecans, into a blender. Blend for about 20 to 30 seconds until the pecans are broken down and the creamer looks smooth and pale beige.
Step 5: Strain the Creamer
Place a fine mesh strainer over a medium bowl. Carefully pour the warm mixture through the strainer. Press gently on the softened toasted pecans with the back of a spoon to release extra liquid, then discard the pecans.
Step 6: Bottle and Chill
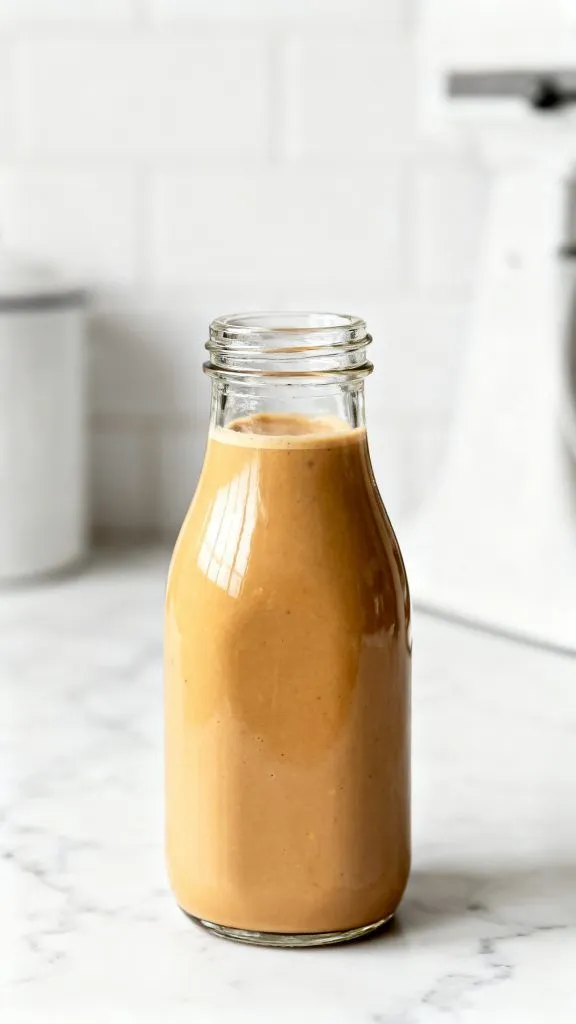
Use a funnel to pour the strained maple pecan coffee creamer into a clean glass bottle. Let it cool before sealing and refrigerating.
Leftovers and Storage
- Store in the refrigerator for up to 7 days.
- Keep in a sealed glass bottle.
- Shake before each use.
- Do not freeze because the dairy may separate.
Macros Information
Approximate per serving
- Calories: 95
- Protein: 1g
- Carbohydrates: 5g
- Fat: 8g
- Saturated Fat: 4g
- Fiber: 0g
- Sugar: 5g
- Sodium: 20mg
Common Mistakes
- Boiling the mixture instead of gently heating it.
- Burning the pecans while toasting.
- Skipping the steeping time.
- Forgetting to strain out the pecans.
- Not shaking the bottle before serving.
What to Serve With
- Fresh hot coffee
- Cold brew coffee
- Espresso
- Latte
- Cappuccino
- Pumpkin bread
- Banana bread
- Cinnamon muffins
- Butter croissants
- Coffee cake
FAQ
Q: How long does homemade coffee creamer last?
A: It stays fresh for about 7 days in the refrigerator.
Q: Can I make it sweeter?
A: Yes. Add another tablespoon or two of maple syrup.
Q: Can I use chopped pecans instead of halves?
A: Yes. Chopped pecans work just as well.
Q: Why did my creamer separate?
A: Natural ingredients separate during storage. Shake well before using.
Q: Can I use this in iced coffee?
A: Yes. Chill the creamer first, then pour it into iced coffee.
Final Thoughts
This maple pecan coffee creamer is an easy way to make every cup of coffee feel a little more special. The toasted pecans, real maple syrup, and creamy texture come together for a rich homemade flavor that is hard to beat. Make a batch, keep it chilled, and enjoy a little homemade comfort every morning. If you try it, share how it turned out and what you enjoyed pairing it with.