
Mocha Biscuit Pudding is one of those desserts that feels fancy but is surprisingly easy to make.
It combines rich chocolate, smooth coffee flavor, and soft biscuits that soak up all that creamy pudding goodness.
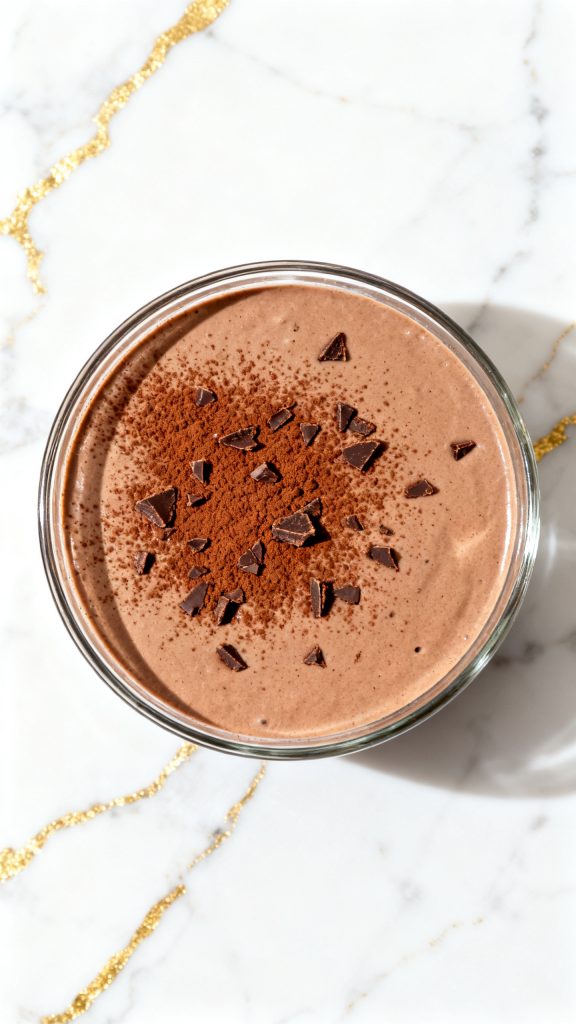
Every spoonful is cool, creamy, and packed with mocha flavor.
This is the kind of dessert I love making when I want something comforting that can be prepared ahead of time and enjoyed straight from the fridge.
Servings: 8 servings
Prep Time: 20 minutes
Cook Time: 10 minutes
Chill Time: 4 hours
Total Time: 4 hours 30 minutes

Why I Love This Recipe
The first time I made this dessert, I was looking for something that combined my love of coffee and chocolate without turning on the oven. I had a packet of biscuits sitting in the pantry and decided to layer them with homemade mocha pudding. After a few hours in the fridge, the biscuits softened into cake-like layers and the result was incredible.
What I love most is how simple ingredients come together into something that tastes like it came from a bakery.
- Rich chocolate and coffee flavors work perfectly together.
- No baking required.
- Easy to prepare ahead of time.
- The biscuits soften into tender cake-like layers.
- Perfect for gatherings and special occasions.
- Tastes even better the next day.
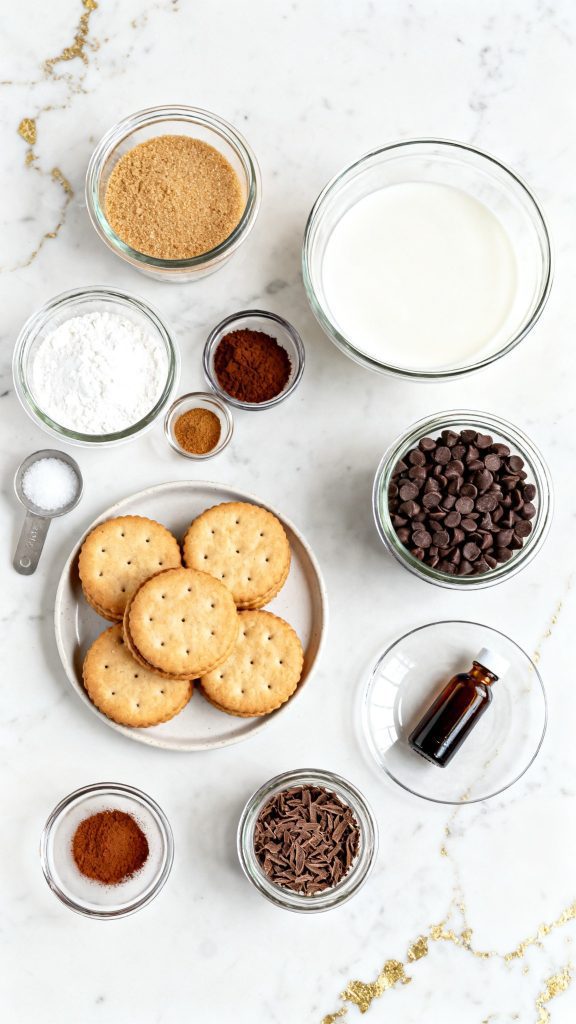
What You’ll Need
- 1/4 cup light brown sugar
- 3 tablespoons cornstarch
- 3 tablespoons cocoa powder
- 2 tablespoons instant coffee
- 1/2 teaspoon salt
- 1/2 teaspoon ground cinnamon
- 1 3/4 cups whole milk
- 1/4 cup heavy cream
- 1 cup chocolate chips
- 1/2 teaspoon vanilla extract
- 24 plain tea biscuits
- 2 tablespoons cocoa powder for garnish
- 1/4 cup chocolate shavings for garnish
Tools You’ll Need
- Medium saucepan
- Whisk
- Rubber spatula
- Measuring cups and spoons
- Mixing bowl
- Round 8-inch glass serving bowl
- Fine mesh sieve (optional)
Why This Recipe Works (Quick Science)
The cornstarch thickens the milk and cream mixture by absorbing liquid and swelling when heated. Chocolate chips melt into the pudding, creating a silky texture. Instant coffee dissolves completely and boosts the chocolate flavor without adding bitterness. As the pudding chills, the biscuits absorb moisture and soften into tender layers that resemble cake.
Recipe Instructions
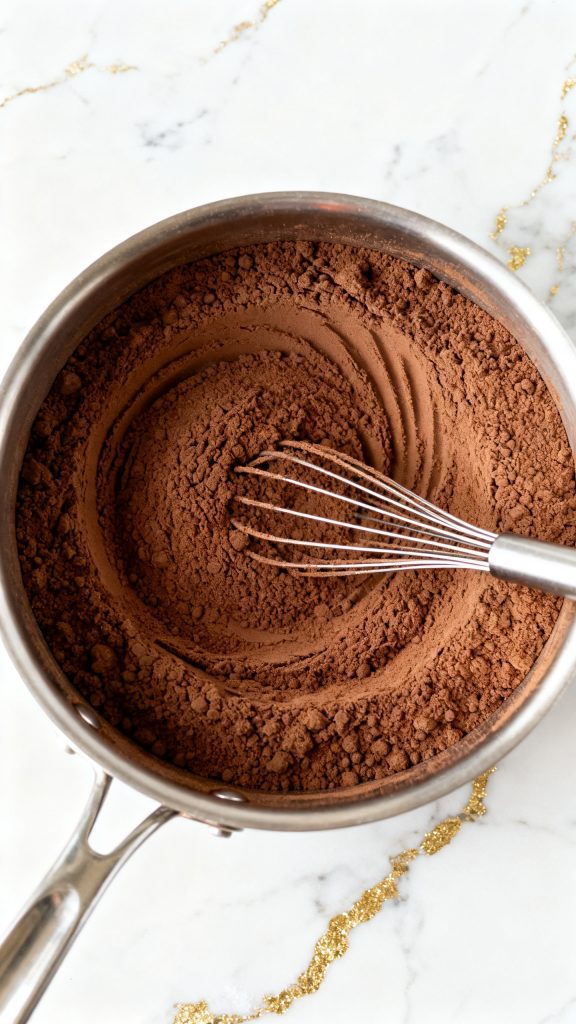
Step 1: Combine the Dry Ingredients
In a medium saucepan, whisk together 1/4 cup light brown sugar, 3 tablespoons cornstarch, 3 tablespoons cocoa powder, 2 tablespoons instant coffee, 1/2 teaspoon salt, and 1/2 teaspoon cinnamon until evenly combined.
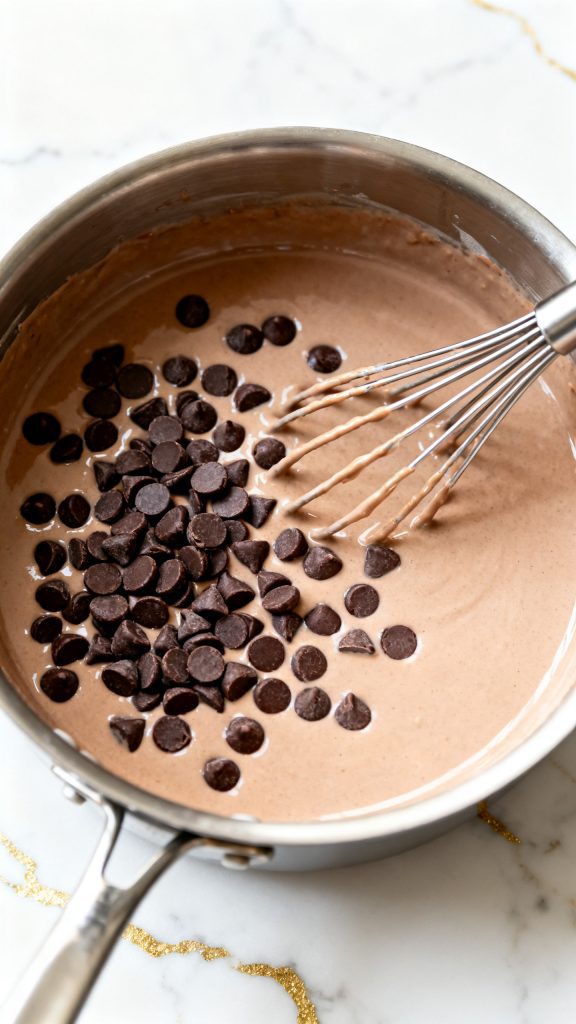
Step 2: Add the Milk and Cream
Slowly pour in 1 3/4 cups whole milk and 1/4 cup heavy cream while whisking continuously until smooth and lump-free. Add 1 cup chocolate chips.
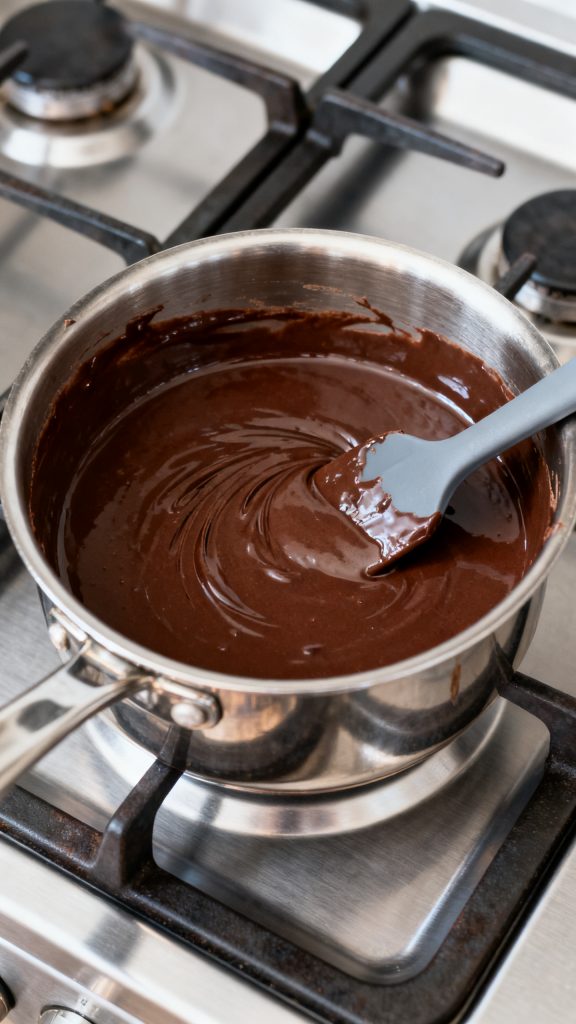
Step 3: Cook the Mocha Pudding
Place the saucepan over medium heat. Stir constantly for 8 to 10 minutes until the chocolate chips melt and the pudding thickens enough to coat the back of a spoon.
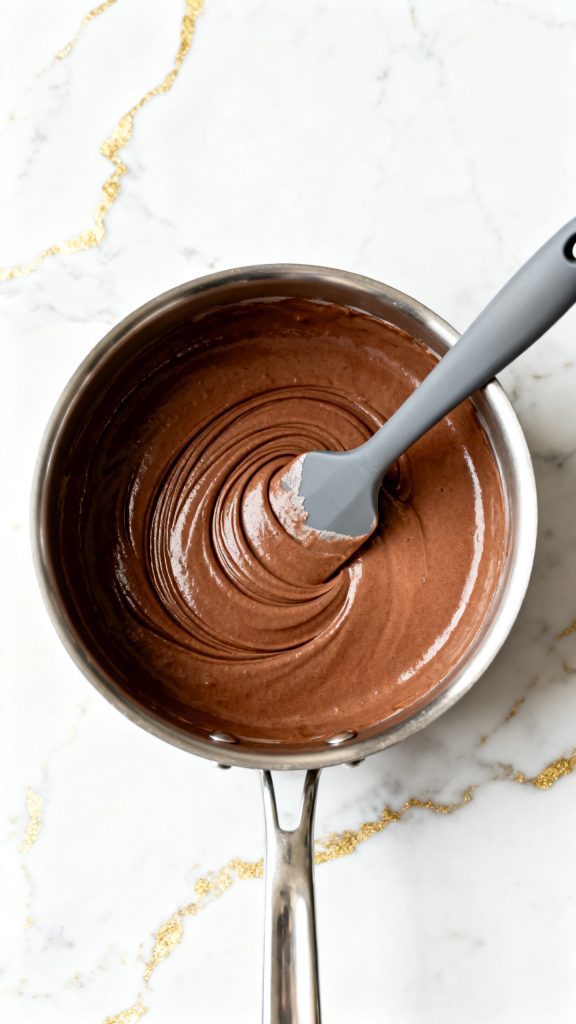
Step 4: Add Vanilla
Remove the pudding from the heat and stir in 1/2 teaspoon vanilla extract until fully combined.
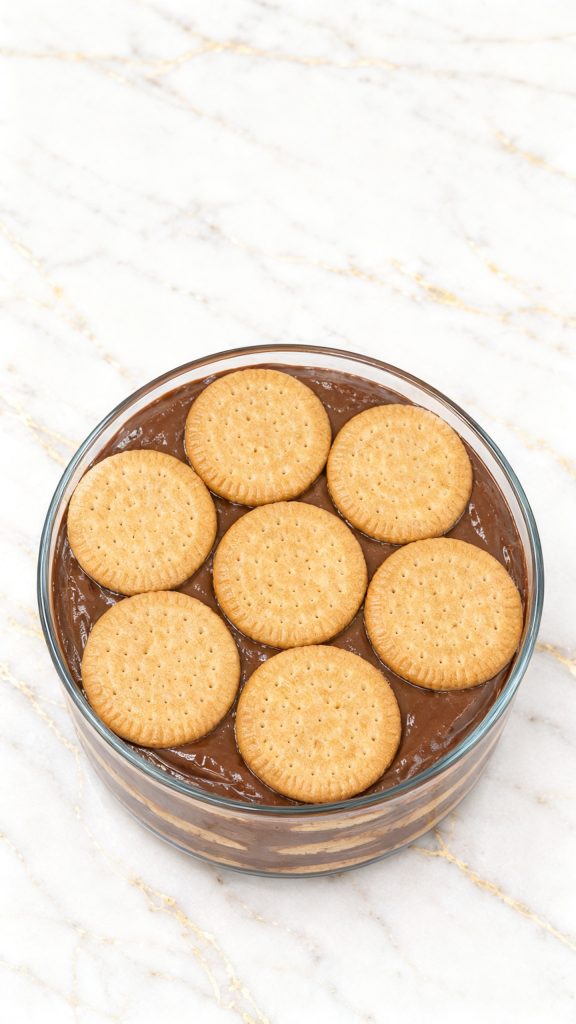
Step 5: Build the First Layer
Spread a thin layer of mocha pudding in the bottom of a round glass serving bowl. Arrange 8 plain tea biscuits over the pudding.

Step 6: Add More Layers
Spread one-third of the remaining mocha pudding over the biscuits. Add another layer of 8 tea biscuits. Repeat with another layer of pudding and the remaining 8 biscuits.
Step 7: Finish the Top Layer
Spread the remaining mocha pudding evenly over the top layer of biscuits.
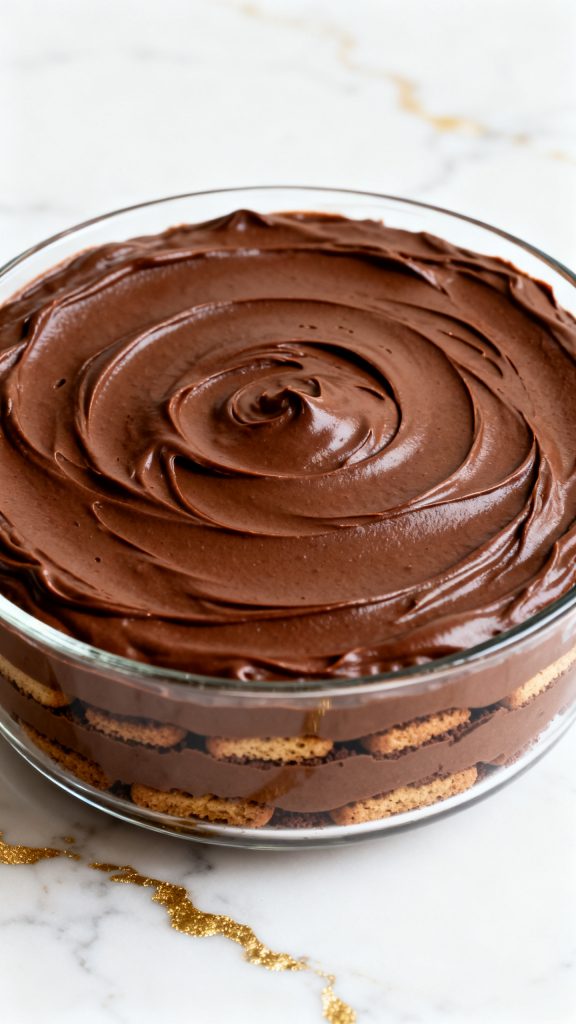
Step 8: Chill
Cover and refrigerate for at least 4 hours or overnight until fully set.
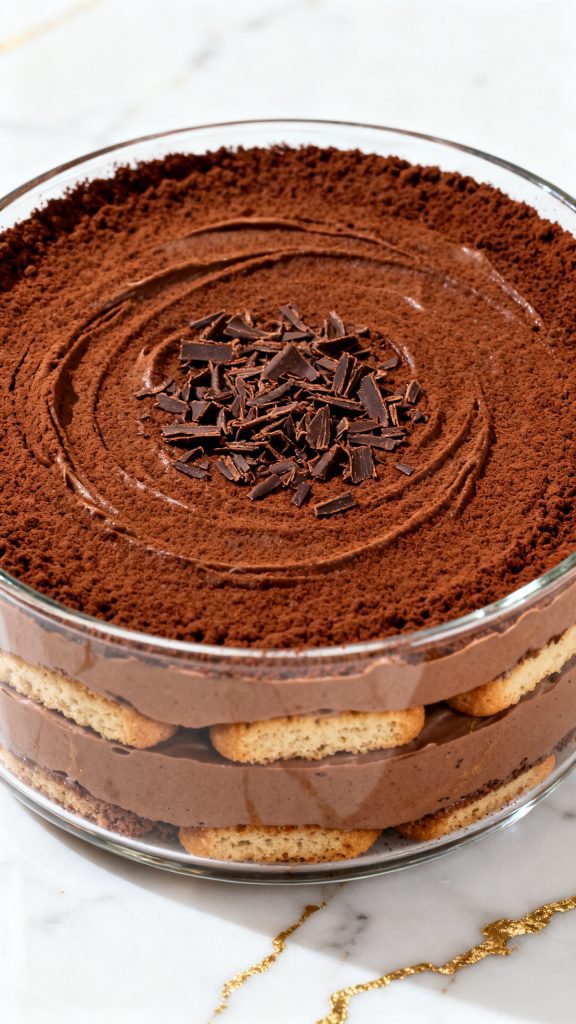
Step 9: Garnish and Serve
Before serving, dust with 2 tablespoons cocoa powder and sprinkle with 1/4 cup chocolate shavings.
Pro Tips
- Let the pudding cool for 10 minutes before layering to prevent the biscuits from becoming too soft too quickly.
- Chill overnight for the best texture.
- Use good-quality chocolate chips for a richer flavor.
- Stir the pudding constantly while cooking to prevent lumps.
- Dust cocoa powder right before serving for the freshest appearance.
Substitutions and Variations
- Use chocolate biscuits instead of tea biscuits.
- Replace instant coffee with espresso powder.
- Use dark chocolate chips for a deeper chocolate flavor.
- Add a layer of whipped cream between biscuit layers.
- Add chopped hazelnuts for crunch.
Make Ahead Tips
- Prepare up to 2 days ahead.
- Store covered in the refrigerator until serving.
- Garnish just before serving for the best presentation.
Common Mistakes
- Cooking the pudding over high heat can cause scorching.
- Not whisking enough may create lumps.
- Skipping the chilling time results in loose layers.
- Using brewed coffee instead of instant coffee may thin the pudding.
- Adding biscuits while pudding is extremely hot can make them mushy.
What to Serve With
- Fresh strawberries
- Raspberries
- Whipped cream
- Vanilla ice cream
- Hot coffee
- Cold brew coffee
Macros Information
Approximate per serving:
- Calories: 365
- Protein: 6g
- Carbohydrates: 48g
- Fat: 18g
- Saturated Fat: 10g
- Fiber: 3g
- Sugar: 27g
Leftovers and Storage
- Store covered in the refrigerator for up to 4 days.
- Do not freeze, as the pudding texture may become grainy.
- Keep garnishes separate if possible until serving.
- The flavor becomes even richer after the first day.
FAQ
Can I make this without coffee?
Yes. Simply leave out the instant coffee for a classic chocolate biscuit pudding.
Can I use digestive biscuits?
Absolutely. Digestive biscuits work very well and provide a slightly buttery flavor.
How do I know when the pudding is thick enough?
It should coat the back of a spoon and leave a clear line when you run your finger through it.
Can I make individual servings?
Yes. Layer the pudding and biscuits in small dessert glasses.
Can I use non-dairy milk?
Yes. Whole oat milk or almond milk can work, though the pudding may be slightly less rich.
Final Thoughts
Mocha Biscuit Pudding is the perfect combination of creamy chocolate pudding, coffee flavor, and soft layered biscuits. It’s simple enough for a weeknight dessert but impressive enough for guests. Once chilled, every spoonful is smooth, rich, and packed with mocha goodness. Give it a try, and don’t forget to leave a comment sharing how it turned out and any questions you may have.
