
This No Bake Biscoff Pie is one of those easy desserts that feels way fancier than it is.
It’s creamy, sweet, full of that caramel-y cookie flavor, and takes almost no time to put together.
It’s the perfect treat when you want something special without turning on the oven.

Why I Love This Recipe
The first time I made this pie, I was craving something cozy but didn’t want to bake. I had a jar of Biscoff spread and a pack of those famous cookies in the pantry. I just started playing around and… magic happened. This pie became one of my favorite go-to desserts because:
- It’s quick and no-bake
- Only takes a few ingredients
- Tastes like cookie heaven
- Easy to bring to potlucks or parties
- Looks fancy with barely any effort

Servings and Cook Time
Servings: 8
Chill Time: 4 hours
Prep Time: 15 minutes
Total Time: 4 hours 15 minutes
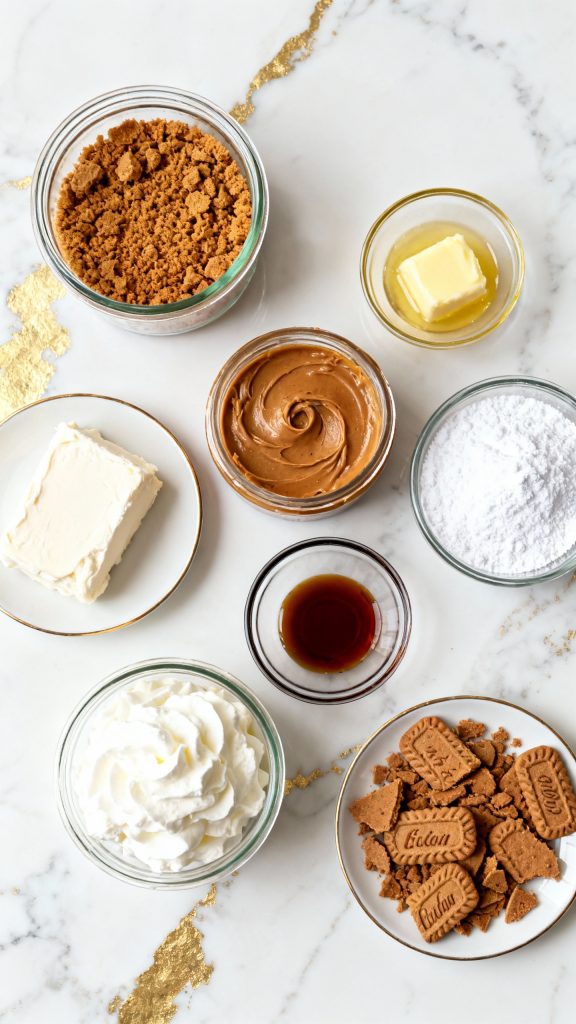
What You’ll Need
- 2 cups Biscoff cookie crumbs (about 26 cookies, crushed)
- 6 tablespoons unsalted butter, melted
- 1 cup Biscoff cookie spread (smooth)
- 8 oz cream cheese, softened
- 1/2 cup powdered sugar
- 1 teaspoon vanilla extract
- 1 1/2 cups heavy whipping cream, cold
- 1/2 cup whipped cream (for topping)
- 2 crushed Biscoff cookies (for garnish)
Pro Tips
- Make sure your cream cheese is fully softened so your filling mixes smooth.
- Chill your mixing bowl and beaters before whipping the cream—it helps it whip faster.
- Don’t skip chilling the pie for at least 4 hours so it sets well.
- You can crush the cookies in a zip bag with a rolling pin—no food processor needed!
- Garnish right before serving so the cookie crumbles stay crisp.
Tools Required
- Mixing bowls
- Hand mixer or stand mixer
- Rubber spatula
- Measuring cups and spoons
- Microwave-safe bowl
- 9-inch round pie dish
Substitutions and Variations
- Swap Biscoff cookies for graham crackers if needed (but flavor will change)
- Use Cool Whip instead of whipped cream if you’re short on time
- Add cinnamon or a pinch of nutmeg for a warm spice twist
- Make mini pies using muffin tins and cupcake liners
Make Ahead Tips
You can make this up to 2 days in advance. Just keep it covered in the fridge and don’t add the whipped topping or cookie garnish until you’re ready to serve.
Recipe & Instructions
Step 1: Make the crust
Ingredients:
- 2 cups Biscoff cookie crumbs
- 6 tablespoons unsalted butter, melted
In a medium bowl, stir together the cookie crumbs and melted butter until it looks like wet sand. Press the mixture into the bottom and slightly up the sides of a 9-inch pie dish. Pack it down firmly with the bottom of a glass or measuring cup. Place in the freezer while you make the filling.

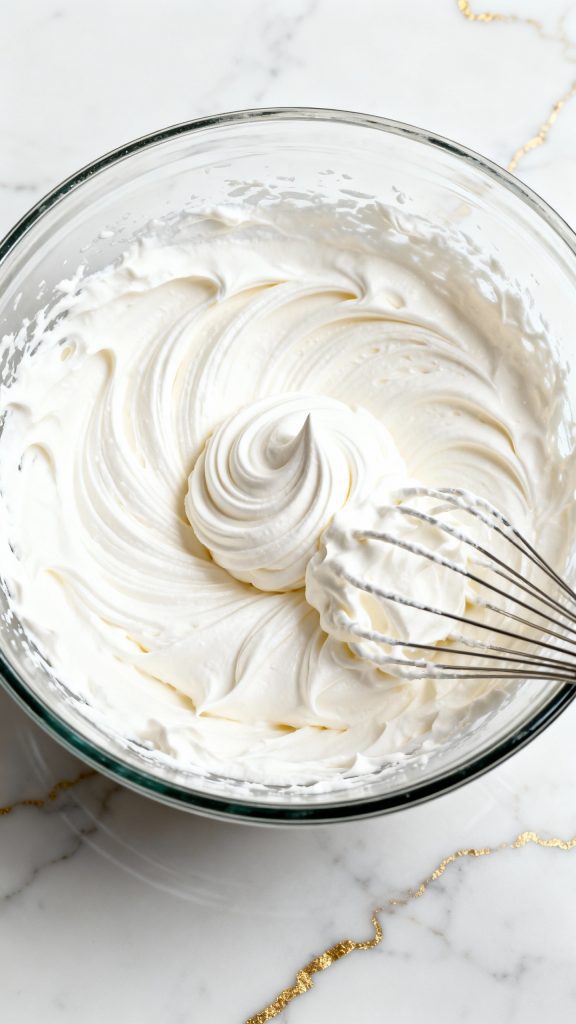
Step 2: Whip the cream
Ingredients:
- 1 1/2 cups cold heavy whipping cream
In a large chilled bowl, whip the heavy cream with a hand mixer until stiff peaks form. Set aside.
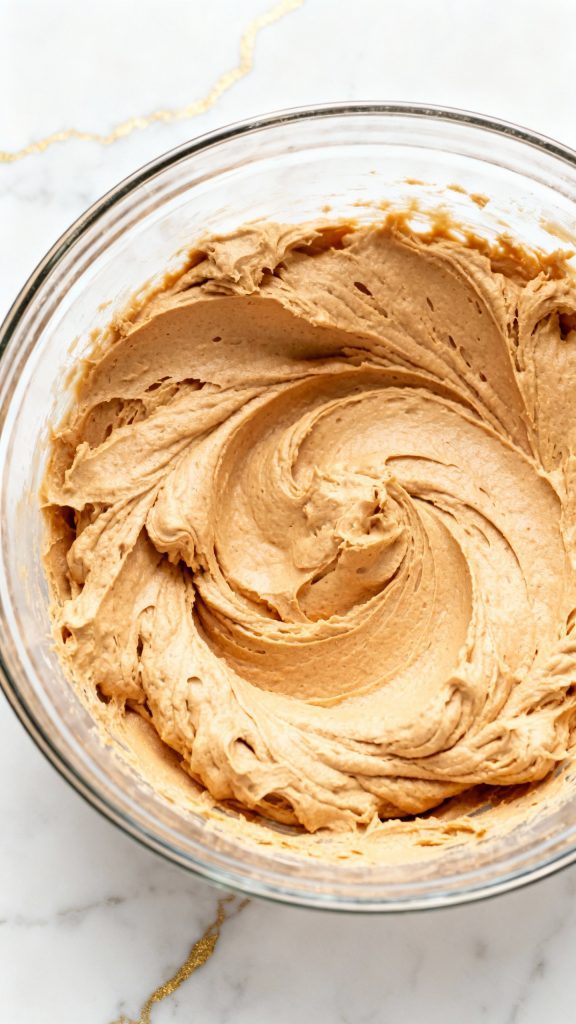
Step 3: Make the filling
Ingredients:
- 8 oz softened cream cheese
- 1 cup Biscoff spread
- 1/2 cup powdered sugar
- 1 teaspoon vanilla extract
In another bowl, beat the cream cheese until smooth. Add Biscoff spread, powdered sugar, and vanilla. Beat again until creamy and fully combined.

Step 4: Fold in the whipped cream
Ingredients:
- Biscoff filling mixture
- Whipped cream (from Step 2)
Gently fold the whipped cream into the Biscoff mixture with a spatula. Take your time so you don’t deflate the cream.
Step 5: Assemble and chill
Ingredients:
- Prepared crust (Step 1)
- Biscoff filling (Step 4)
Spoon the filling into the chilled crust and smooth the top. Cover with plastic wrap and refrigerate for at least 4 hours (or overnight).

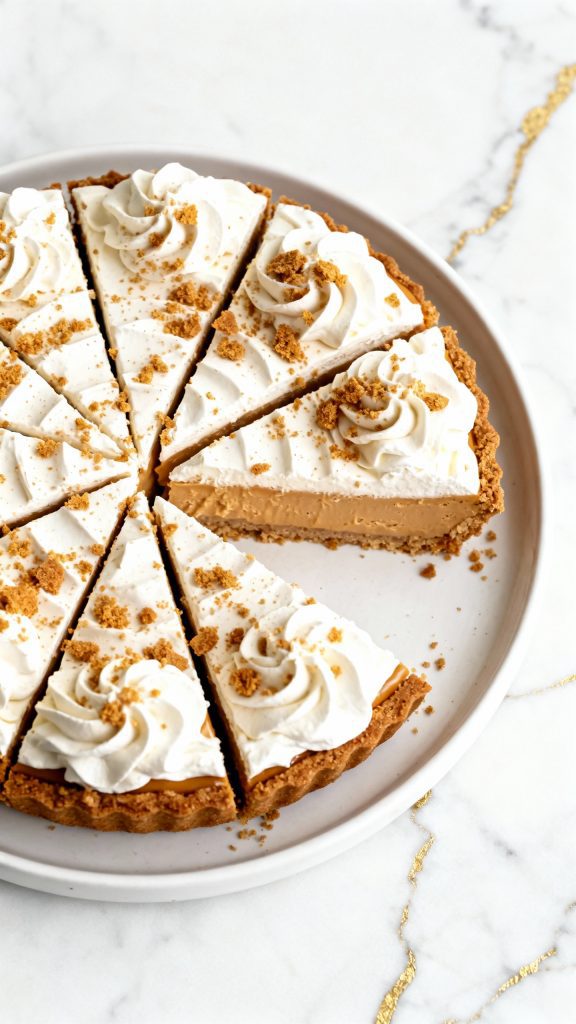
Step 6: Decorate and serve
Ingredients:
- 1/2 cup whipped cream
- 2 crushed Biscoff cookies
Before serving, top the pie with whipped cream and sprinkle with crushed Biscoff cookies.
Leftovers and Storage
Store leftovers covered in the fridge for up to 4 days. For best texture, don’t freeze. The crust may get too soft once thawed.
Why This Recipe Works (Quick Science)
- The Biscoff crust holds together with melted butter and firms up in the freezer—no oven needed.
- Whipped cream adds volume and lightness to the dense Biscoff spread and cream cheese.
- Chilling lets the pie set without using gelatin or other binders.
Common Mistakes
- Using warm cream cheese: Too warm = greasy texture
- Not chilling the crust: It will fall apart when slicing
- Overmixing the whipped cream into the filling: Makes it runny
- Skipping chill time: The pie won’t set properly
What to Serve With
- Hot coffee or a latte
- A scoop of vanilla ice cream
- Fresh berries for a little brightness
- A glass of cold milk
FAQ
Can I use crunchy Biscoff spread?
You can, but it won’t be as smooth. Still delicious, though!
Can I make this dairy-free?
Yes—use dairy-free cream cheese, whipped topping, and plant-based butter.
Can I freeze it?
You can, but the texture may change. Thaw in the fridge overnight before serving.
Final Thoughts
This No Bake Biscoff Pie is one of those desserts that always impresses. It’s easy, creamy, packed with that buttery spiced cookie flavor, and perfect for any gathering—or just because. Try it out and let me know how it goes in the comments!
