
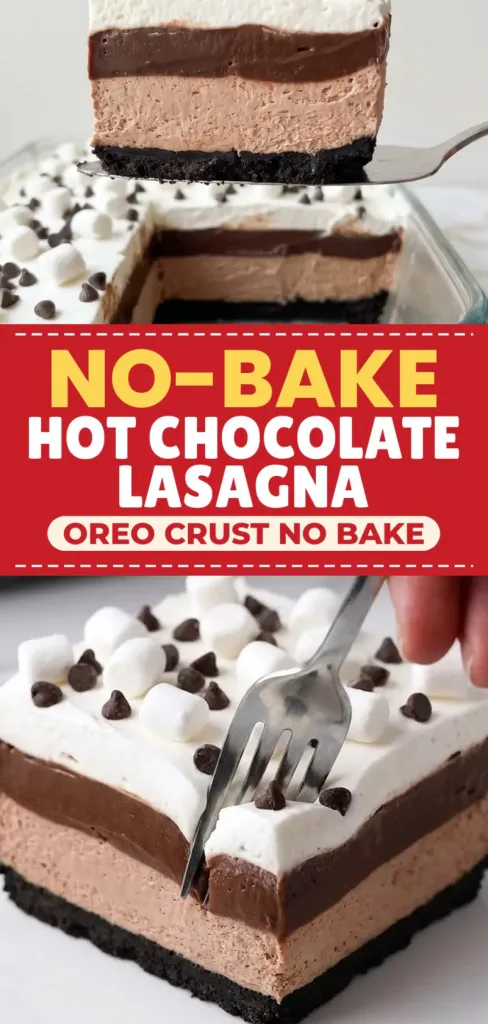
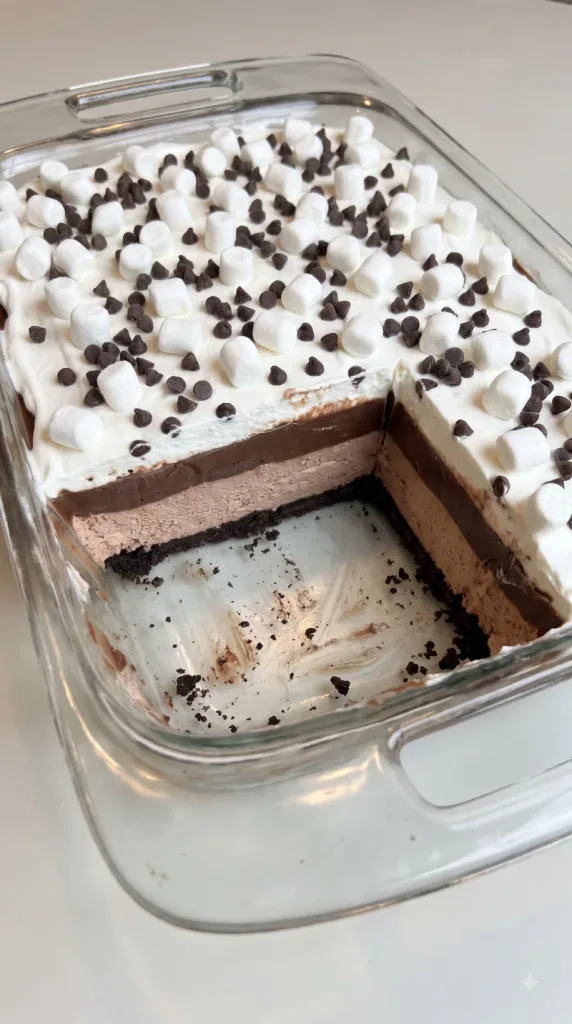
No-Bake Hot Chocolate Lasagna turns the flavor of a cozy mug of cocoa into a cool, creamy dessert. A chocolate cookie base holds hot cocoa cheesecake mousse, rich pudding, and a fluffy white top. Mini marshmallows and chocolate chips finish each slice. Make it ahead and let the fridge do the setting.
Why I Love This Recipe
There is plenty to enjoy in a dessert that needs no oven and can wait in the fridge until you need it. The cocoa filling brings a gentle tang, while the pudding makes each bite extra rich.
- Easy layers: Each filling comes together in a bowl with simple mixing.
- Make-ahead friendly: A long chill makes serving easier.
- A little crunch: The cookie base and mini chocolate chips balance the soft filling.
- Cocoa flavor: Sweetened hot cocoa mix gives the mousse its familiar milk-chocolate taste.
What You’ll Need
- Servings: 15
- Prep Time: 30 minutes
- Cook Time: 0 minutes
- Additional Chilling Time: 6 hours 40 minutes, including short layer chills
- Total Time: 7 hours 10 minutes
- Pan: 9×13-inch glass baking dish, at least 2 inches deep
- Oven: Not needed
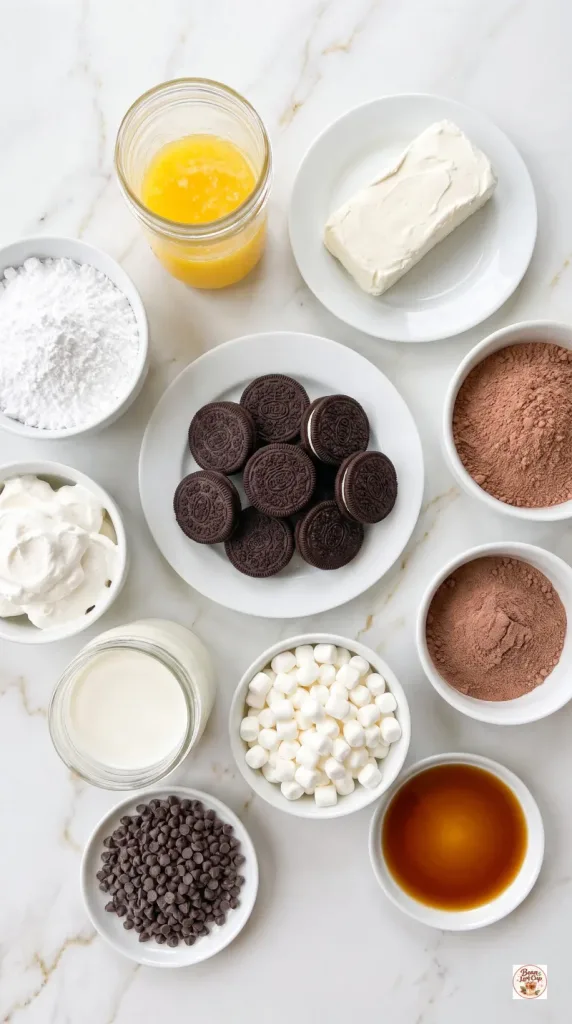
- 30 standard chocolate sandwich cookies, about 340 g, with filling
- 6 tablespoons (85 g) unsalted butter, melted and cooled slightly
- 8 ounces (226 g) full-fat block cream cheese, softened
- 1/4 cup (30 g) powdered sugar
- 1 teaspoon vanilla extract
- 1/2 cup (65 g) sweetened milk-chocolate hot cocoa mix, without marshmallows
- 16 ounces (453 g) frozen whipped topping, thawed in the refrigerator, divided
- 2 packages (3.9 ounces/110 g each) instant chocolate pudding mix, not cook-and-serve
- 3 cups (710 ml) cold whole milk
- 1 cup (50 g) mini marshmallows
- 1/4 cup (45 g) mini chocolate chips
Use standard sandwich cookies rather than double-filled cookies. Cocoa mix brands vary in sweetness; a plain milk-chocolate mix works well here. The pudding needs dairy milk for a reliable set with these amounts.
Tools You Need
- Unlined, ungreased 9×13-inch clear rectangular glass baking dish with transparent side handles
- Food processor, or a sturdy food bag and rolling pin
- Electric hand mixer
- Glass mixing bowls and whisk
- Measuring cups, spoons, and kitchen scale
- Silicone spatula and offset spatula
- Knife and thin serving spatula
- Cover for the baking dish
How to Make No-Bake Hot Chocolate Lasagna
Start with thawed whipped topping, softened cream cheese, and cold milk.
Step 1: Make the Cookie Base
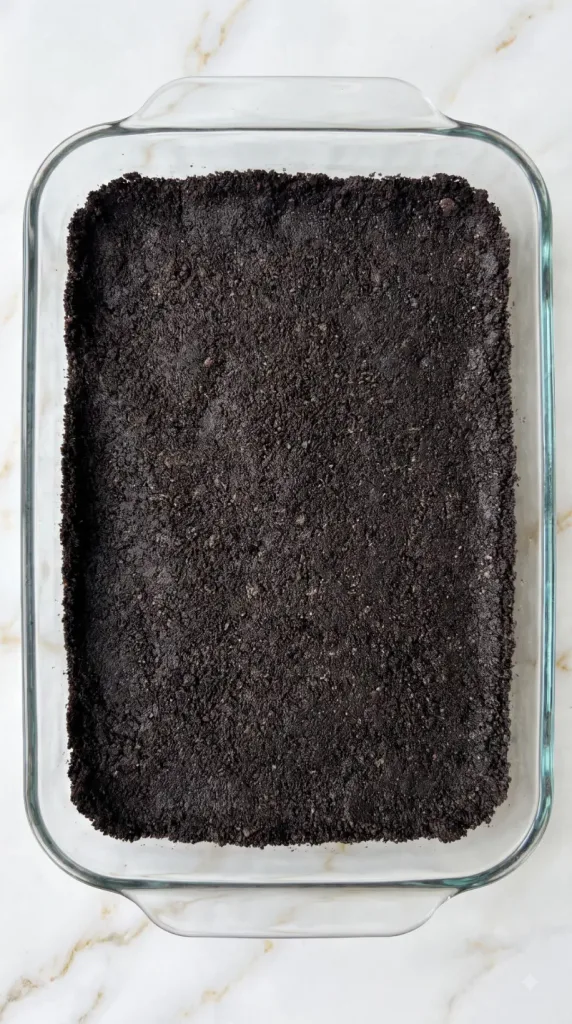
Crush 30 standard chocolate sandwich cookies (about 340 g), including the filling, into fine crumbs.
Stir in 6 tablespoons (85 g) melted unsalted butter, cooled until just warm, until the crumbs are evenly damp.
Press firmly into the bottom of an unlined, ungreased 9×13-inch glass baking dish with transparent side handles. Keep the crust level rather than pushing it up the sides.
Refrigerate for 15 minutes while you make the filling.
Step 2: Mix the Hot Cocoa Mousse
Beat 8 ounces (226 g) softened full-fat block cream cheese with 1/4 cup (30 g) powdered sugar and 1 teaspoon vanilla extract for 2 minutes, scraping the bowl, until smooth.
Beat in 1/2 cup (65 g) milk-chocolate hot cocoa mix without marshmallows until fully blended. Use sweetened drink mix, not plain cocoa powder.
Fold in 8 ounces (226 g) thawed whipped topping, half of the 16-ounce container, until the filling is fluffy and evenly light brown. Keep the remaining 8 ounces (226 g) whipped topping refrigerated.
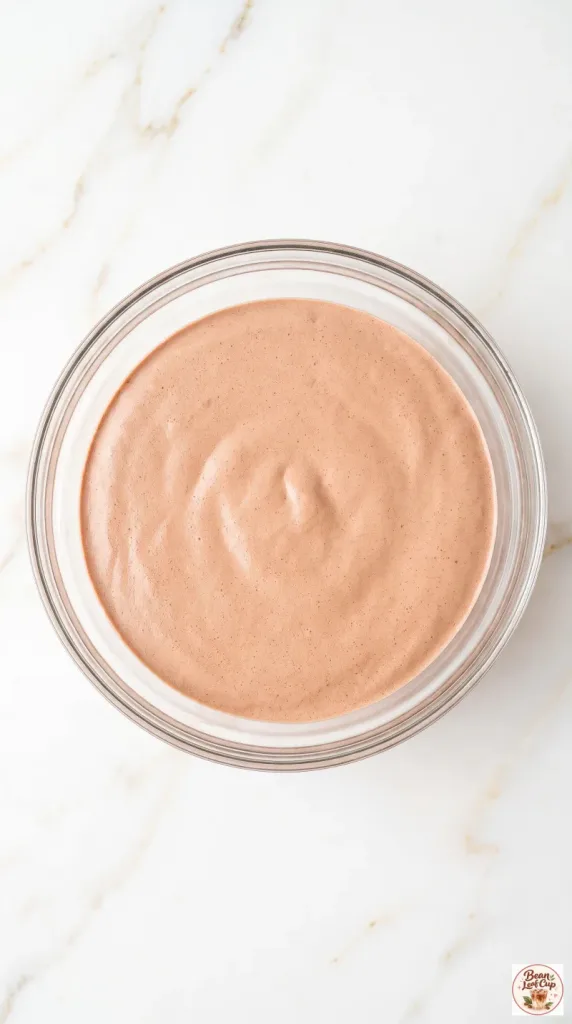
Step 3: Spread the Mousse
Spoon all the hot cocoa mousse from Step 2 over the chilled cookie base.
Spread gently to the edges with an offset spatula so you do not loosen the crumbs.
Refrigerate for 15 minutes while you prepare the pudding.
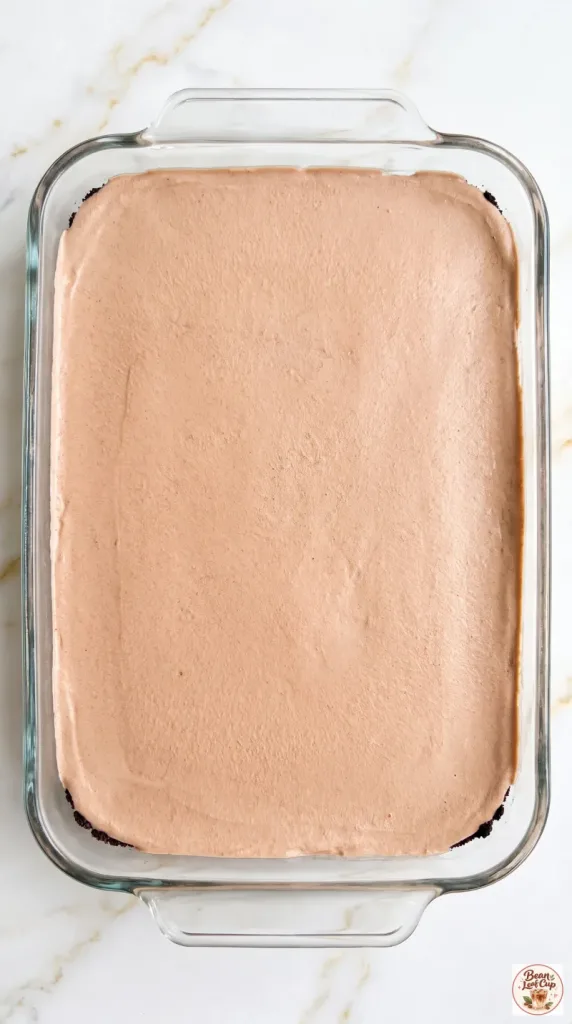
Step 4: Whisk the Pudding
Whisk 2 packages (3.9 ounces/110 g each) instant chocolate pudding mix with 3 cups (710 ml) cold whole milk for 2 minutes.
Let it stand for 5 minutes, until thick enough to mound softly on the whisk. Do not add the milk listed on the pudding packages in addition to the milk here.
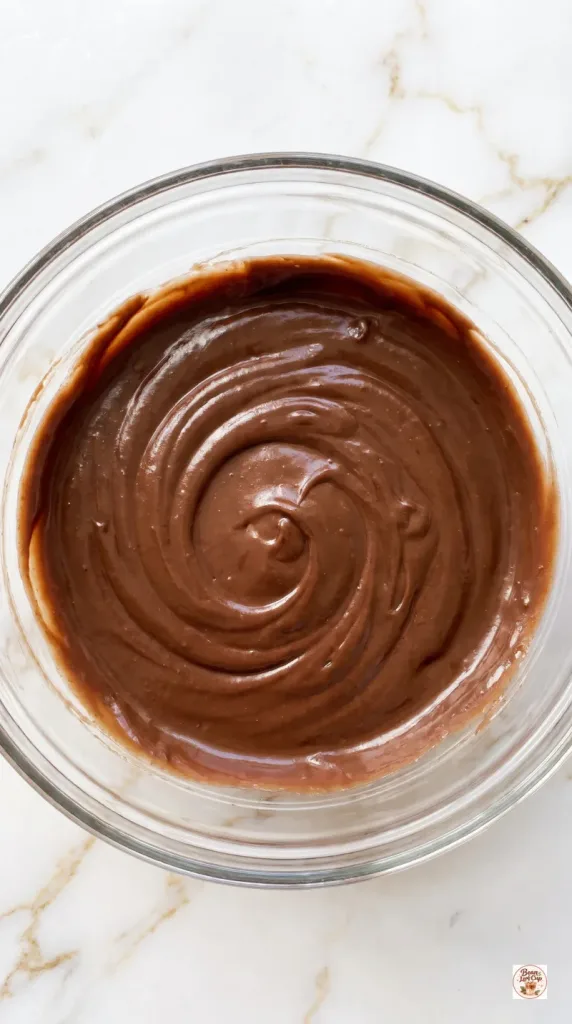
Step 5: Add the Chocolate Layer
Spread all the thickened pudding from Step 4 over the chilled mousse. Work lightly so the layers stay separate.
Refrigerate for 10 minutes, until the pudding surface holds its shape.
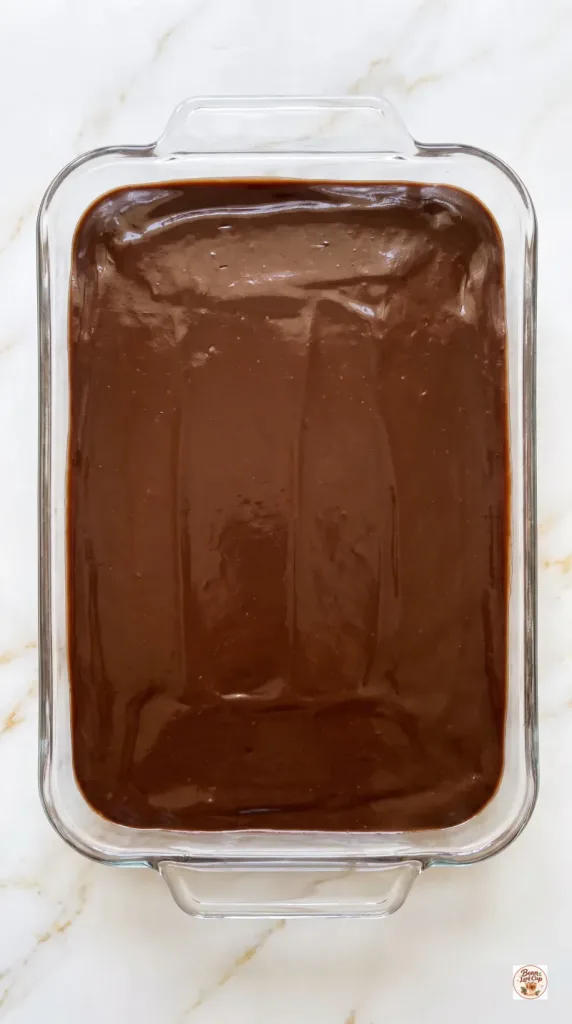
Step 6: Top and Chill
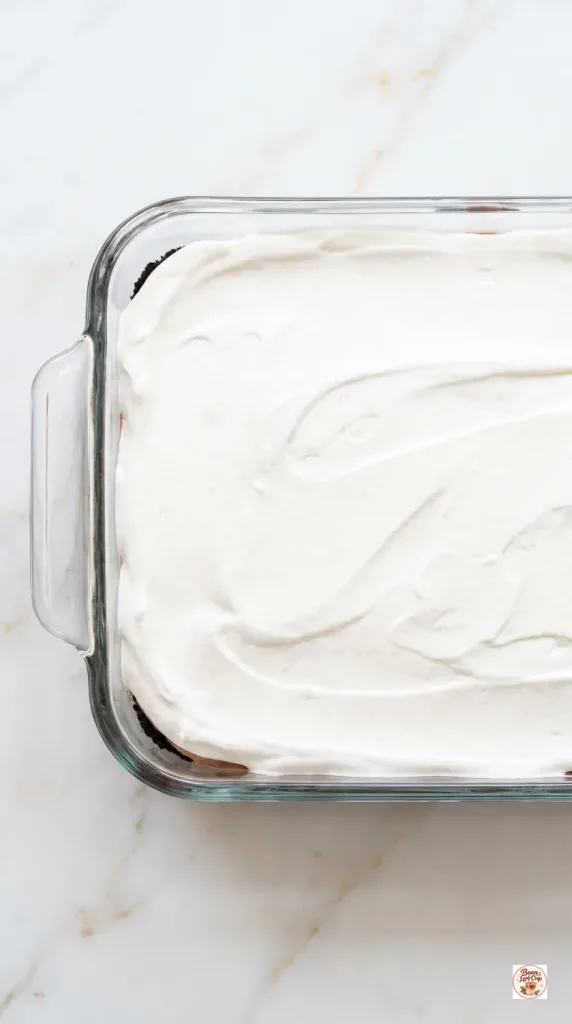
Spread the remaining 8 ounces (226 g) thawed whipped topping over the pudding in a soft, even layer.
Cover without touching the topping and refrigerate for at least 6 hours, preferably overnight, until the center is firm enough to slice. Keep the marshmallows and chips off until serving.
Step 7: Decorate, Slice, and Serve
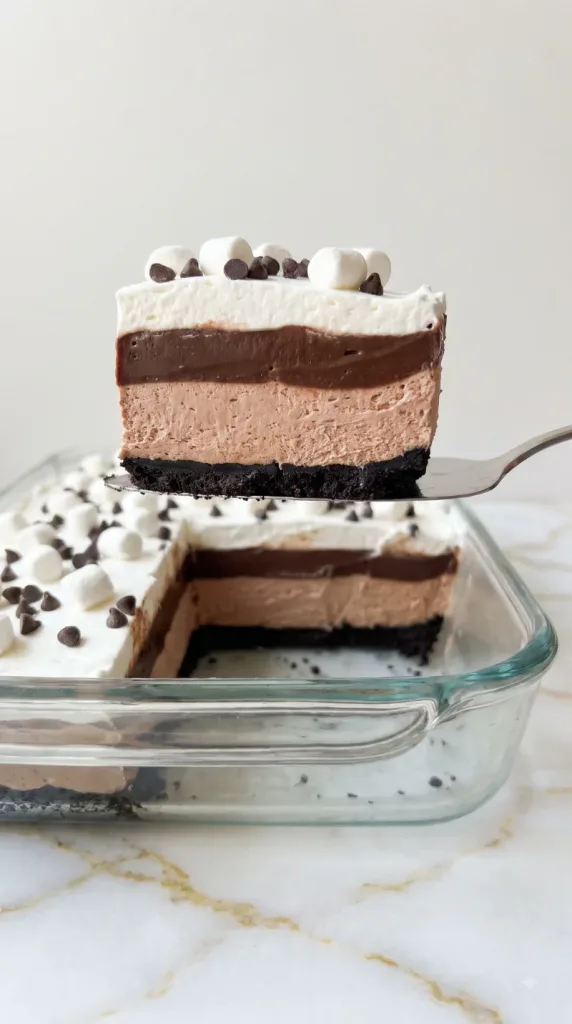
Scatter 1 cup (50 g) mini marshmallows and 1/4 cup (45 g) mini chocolate chips evenly over the chilled dessert just before serving.
Cut into 15 portions, making 3 rows by 5 columns. Wipe the knife between cuts, then lift each serving from underneath with a thin spatula.
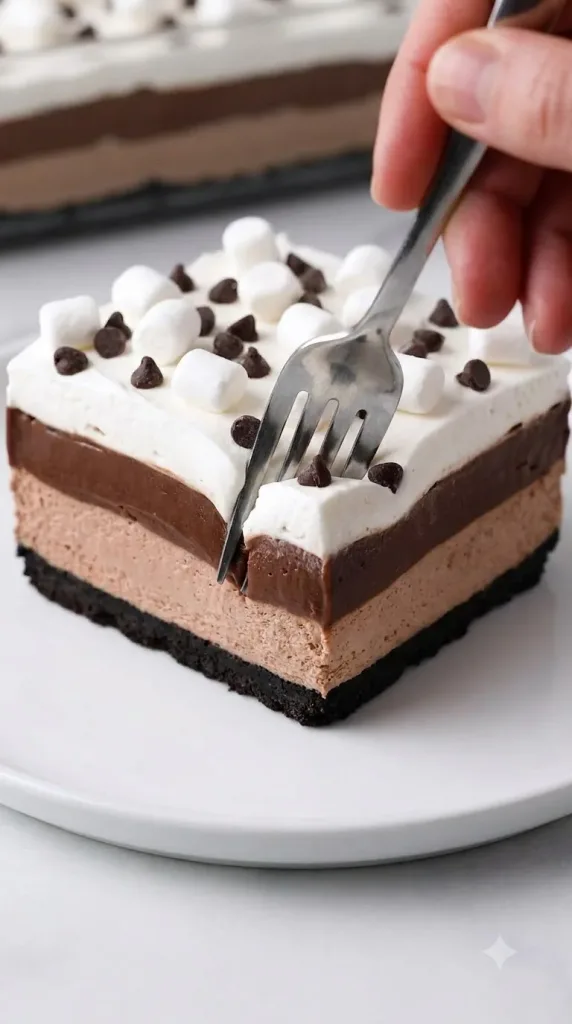
Serve cold on individual plates, with the remaining dessert kept refrigerated. The layers will be creamy and softly set, rather than firm like a baked cake.
Why This Recipe Works (Quick Science)
Melted butter coats the fine cookie crumbs, then firms as it cools. That helps the base hold together without baking. Cream cheese gives the cocoa filling body, while folded whipped topping keeps it light.
Instant pudding contains starch that thickens in cold milk. Using less milk than a loose dessert pudding helps it support another layer. The long chill firms the butter and filling and lets the layers settle, so a slice can hold together while staying creamy.
Common Mistakes to Avoid
- Using cook-and-serve pudding: It needs heat and will not work with this cold method.
- Adding extra milk: Follow this recipe’s milk amount rather than the pudding package directions.
- Starting with cold cream cheese: It can leave small lumps in the mousse.
- Pressing too hard on the filling: Spread gently to keep the layers separate.
- Skipping the final chill: A soft center will slump when lifted.
- Adding toppings too early: Marshmallows can turn sticky and lose their shape during storage.
Pro Tips
For neat cuts, chill overnight and clean the knife after each slice. Lift the first piece slowly; that first serving is often the least tidy.
If your whipped topping is still icy, let it finish thawing in the fridge. Do not microwave it. Fold it into the mousse with gentle strokes to keep the filling airy.
Make-Ahead and Storage
Assemble the dessert a day ahead and keep it covered in the refrigerator. Add the measured marshmallows and chocolate chips shortly before serving.
Refrigerate leftovers, covered, for up to 3 days. The cookie base softens as it sits, but the dessert should stay creamy. Keep it cold between servings.
For longer storage, freeze tightly covered individual portions for up to 1 month. Thaw overnight in the refrigerator. The pudding may release a little moisture, so fresh chilling gives the neatest texture.
Macros Information
Estimates per serving, based on 15 equal portions. Brands and portion sizes will change the numbers.
- Calories: 370 kcal
- Protein: 5 g
- Carbohydrates: 49 g
- Fat: 18 g
- Saturated Fat: 11 g
- Fiber: 1 g
- Sugar: 35 g
- Sodium: 390 mg
Frequently Asked Questions (FAQ)
Q: Is this dessert served hot?
A: No. The name comes from the hot cocoa mix and marshmallow topping. Serve it cold so the layers hold together.
Q: Can I use plain cocoa powder instead of hot cocoa mix?
A: Not as a direct swap. Hot cocoa mix also contains sugar and often milk powder. Plain cocoa would make this filling darker and much less sweet.
Q: Can I leave out the cream filling in the cookies?
A: Keep it in. It adds sweetness and helps bind the base with the butter.
Q: Can I use whipped cream instead of frozen whipped topping?
A: Stabilized whipped cream is a better choice than plain whipped cream for holding these layers. This version uses frozen whipped topping; a homemade swap may change the firmness and chill time.
Q: Why did my pudding stay runny?
A: Check that you used instant pudding, cold dairy milk, and the amount listed here. Plant milk and cook-and-serve mixes need different methods.
Q: Can I make it without a food processor?
A: Yes. Crush the cookies inside a sealed sturdy bag with a rolling pin. Work until the crumbs are fine, with no large chunks.
Q: Can I use a smaller dish?
A: A smaller pan makes deeper layers and may overflow. Use the listed pan for these amounts, or divide the mixture between smaller dishes without overfilling them.
Q: Can I make it the night before?
A: Yes. Overnight chilling is a good choice for cleaner slices. Wait to add the marshmallows and chocolate chips until serving.
Q: Does it contain pasta?
A: No. Lasagna describes the layered assembly. The base is made from chocolate sandwich cookies.
Final Thoughts
No-Bake Hot Chocolate Lasagna is a cheerful way to bring cocoa flavor to a chilled dessert. Give the layers time to set, add the little toppings at the end, and enjoy a creamy slice. Leave a comment with how you served yours. Happy cooking!