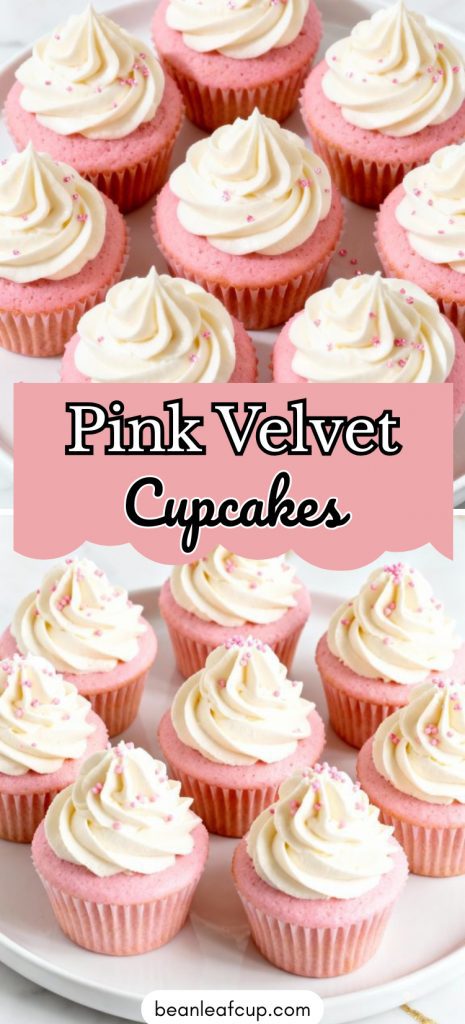
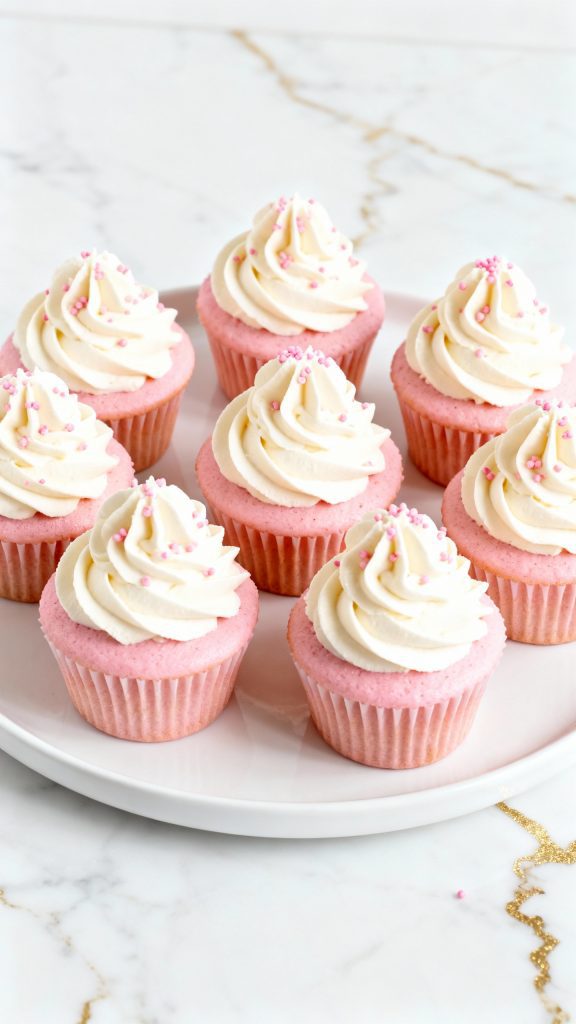
These Pink Velvet Cupcakes are soft, sweet, and so pretty they basically smile at you from the plate.
They’re not just tasty—they’re fun to make, and even more fun to eat.
Think of them as red velvet’s cheerful cousin: lighter in color, but just as rich and fluffy.
You’ll get that classic hint of cocoa, the creamy tang from buttermilk, and a smooth buttercream swirl on top.
They’re perfect for birthdays, holidays, or anytime you want a cupcake that looks as good as it tastes.
Why I Love This Recipe
This recipe started with a craving for red velvet, but I wanted something a little different—something brighter, softer, and just plain fun. I first made these for a friend’s baby shower and they were gone in minutes. I knew right then these were special.
- The color is fun and cheerful
- The texture is super fluffy and moist
- They have just a hint of cocoa
- The frosting is smooth and not overly sweet
- Great for parties, gifts, or just because

Servings + Cook Time
Makes: 12 cupcakes
Prep Time: 15 minutes
Cook Time: 18–20 minutes
Total Time: About 35 minutes
What You’ll Need
- 1 ¼ cups all-purpose flour
- ¾ cup granulated sugar
- 1 tbsp unsweetened cocoa powder
- ½ tsp baking soda
- ½ tsp salt
- 1 large egg, room temp
- ½ cup vegetable oil
- ½ cup buttermilk, room temp
- 1 tsp vanilla extract
- 1 tsp white vinegar
- 1 tbsp pink gel food coloring
For the Vanilla Buttercream:
- 1 cup unsalted butter, softened
- 2 ½ cups powdered sugar
- 2 tbsp heavy cream or milk
- 1 tsp vanilla extract
- pinch of salt

Pro Tips
- Use gel food coloring—liquid won’t give the same bright pink color
- Make sure the egg and buttermilk are room temp so the batter mixes evenly
- Don’t overmix once you add flour—just stir until combined
- Use an ice cream scoop to fill your cupcake liners evenly
- Let cupcakes cool completely before frosting or it’ll melt right off
Tools Required
- 12-cup muffin pan
- Cupcake liners
- Mixing bowls
- Whisk
- Rubber spatula
- Electric mixer (hand or stand)
- Ice cream scoop (optional but helpful)
- Piping bag or zip bag for frosting
Substitutions and Variations
- No buttermilk? Use ½ cup milk + 1 ½ tsp lemon juice or vinegar
- Coconut oil works instead of vegetable oil
- Add strawberry extract for a fruity twist
- Use cream cheese frosting if you want it more like traditional red velvet
Make Ahead Tips
You can bake the cupcakes a day ahead. Once cooled, store them in an airtight container at room temp. The frosting can also be made ahead and stored in the fridge—just re-whip before piping.
How to Make Pink Velvet Cupcakes
Step 1: Preheat oven and prep pan
Preheat oven to 350°F (175°C). Line a 12-cup muffin pan with cupcake liners.
Step 2: Mix dry ingredients
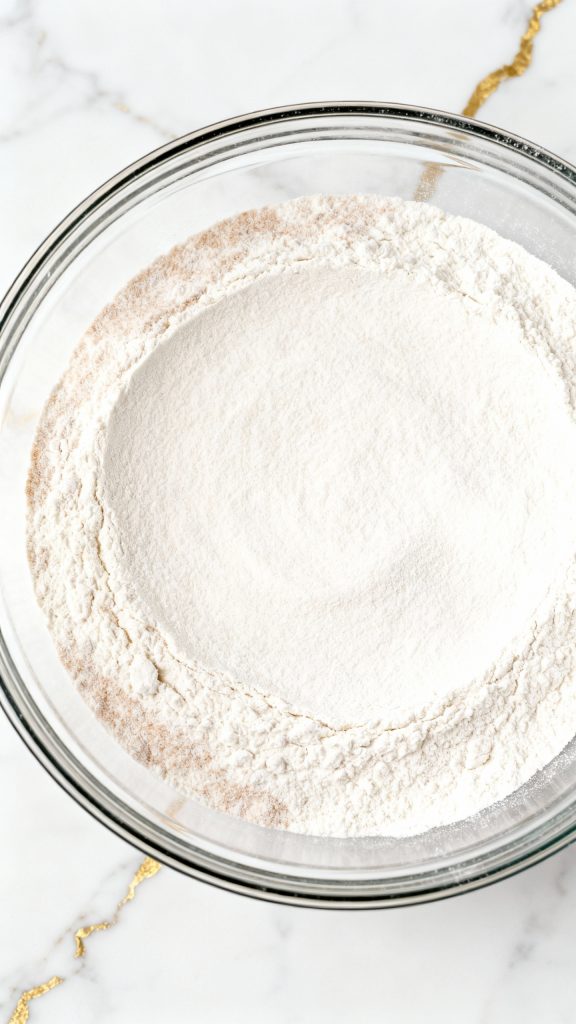
In a medium bowl, whisk together 1 ¼ cups all-purpose flour, ¾ cup sugar, 1 tbsp cocoa powder, ½ tsp baking soda, and ½ tsp salt.
Step 3: Mix wet ingredients
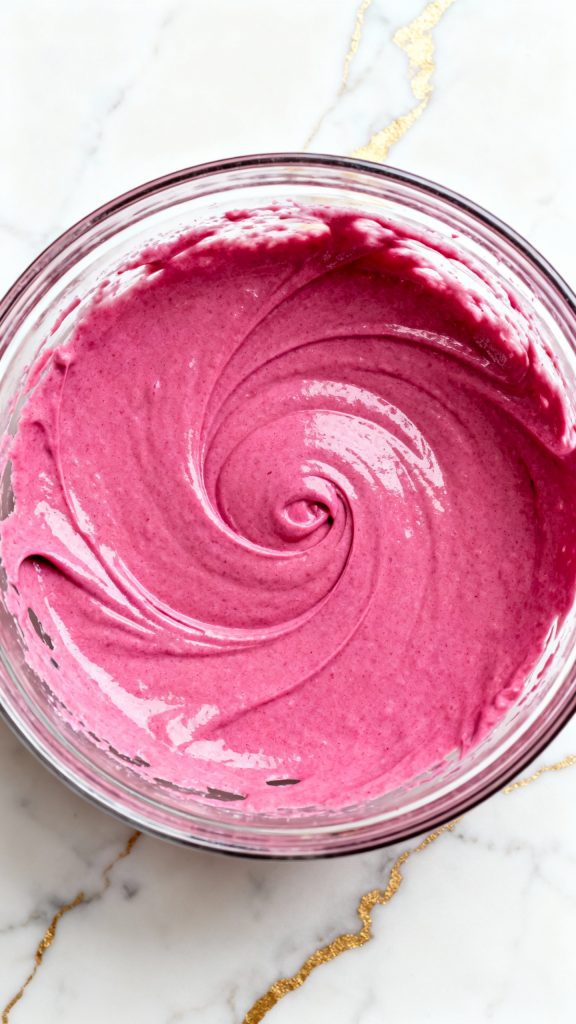
In another bowl, whisk together 1 large egg, ½ cup vegetable oil, ½ cup buttermilk, 1 tsp vanilla extract, 1 tsp vinegar, and 1 tbsp pink gel food coloring until smooth.
Step 4: Combine wet and dry
Pour the wet mixture into the dry ingredients. Stir gently with a spatula until just combined. Don’t overmix.

Step 5: Fill cupcake liners
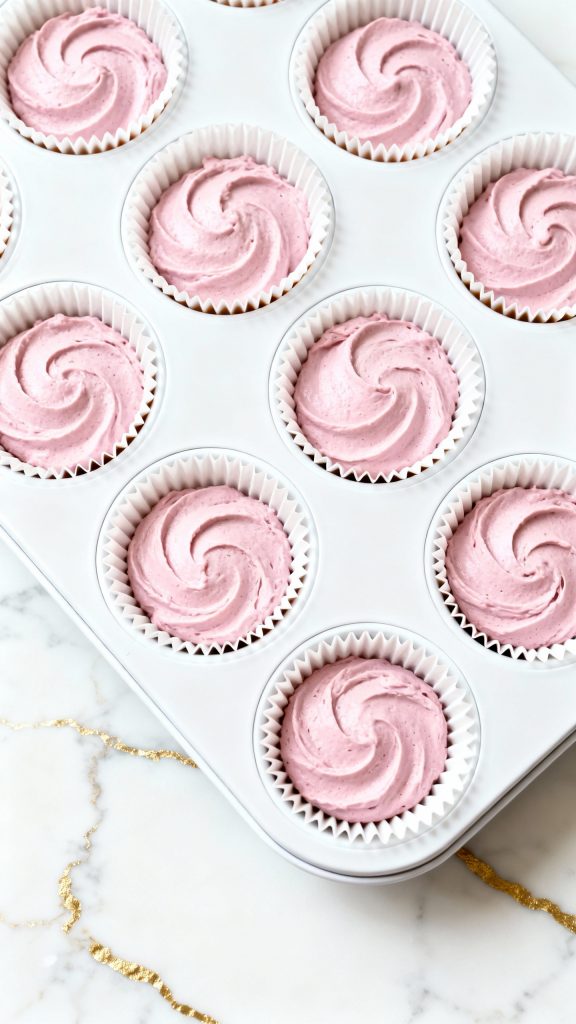
Use a spoon or scoop to fill each liner about ⅔ full with batter.
Step 6: Bake
Bake at 350°F for 18–20 minutes or until a toothpick comes out clean. Let cool completely.
Step 7: Make frosting
In a bowl, beat 1 cup softened butter until smooth. Add 2 ½ cups powdered sugar, 2 tbsp heavy cream, 1 tsp vanilla, and pinch of salt. Beat until fluffy.

Step 8: Frost cupcakes
Transfer frosting to piping bag and swirl onto cooled cupcakes. Add pink sprinkles if you want!
Leftovers & Storage
Store cupcakes in an airtight container at room temp for up to 2 days, or refrigerate for 4–5 days. If chilled, let them sit out for 15–20 minutes before eating so the frosting softens.
Macros Information (Per Cupcake, Approximate)
- Calories: 320
- Protein: 2g
- Carbs: 38g
- Fat: 18g
- Sugar: 28g
Why This Recipe Works (Quick Science)
- Vinegar + baking soda = natural lift and fluffiness
- Buttermilk’s acidity gives that tangy velvet texture
- Oil keeps the crumb super soft and moist
- Cocoa + food coloring gives that pink velvet signature shade
Common Mistakes
- Overmixing the batter—makes cupcakes dense
- Not using gel coloring—you’ll get a dull color
- Overbaking—keep an eye at the 18-minute mark
- Frosting warm cupcakes—wait until they’re totally cool
What to Serve With
- Cold milk or iced lattes
- Fresh berries
- Pink lemonade
- Sparkling water with lemon slices
- Light tea like chamomile or green tea
FAQ
Can I make these without food coloring?
Yes, they’ll still taste great—just won’t be pink.
Can I freeze them?
Yes! Freeze unfrosted cupcakes up to 2 months. Thaw, then frost fresh.
Do I need vinegar?
Yes—it helps the baking soda do its job and makes them tender.
Can I use cream cheese frosting instead?
Totally. It pairs really well with the pink velvet flavor.
Final Thoughts
These cupcakes are seriously fun. They’re soft, sweet, and look so good on any dessert table. Once you try them, you’ll want to make them again and again. If you give this recipe a go, come back and let me know how it turned out—or drop your questions in the comments!

