
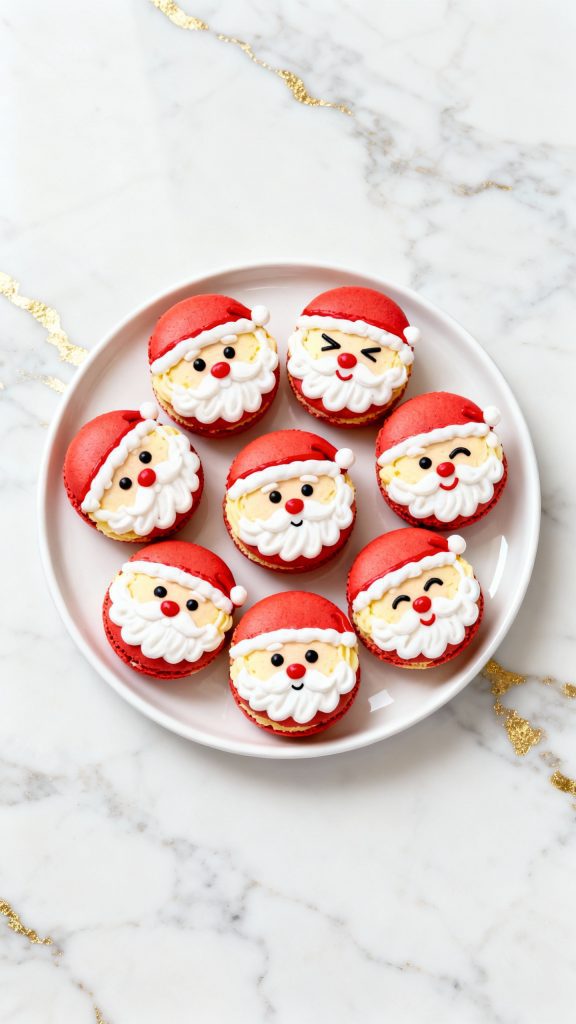
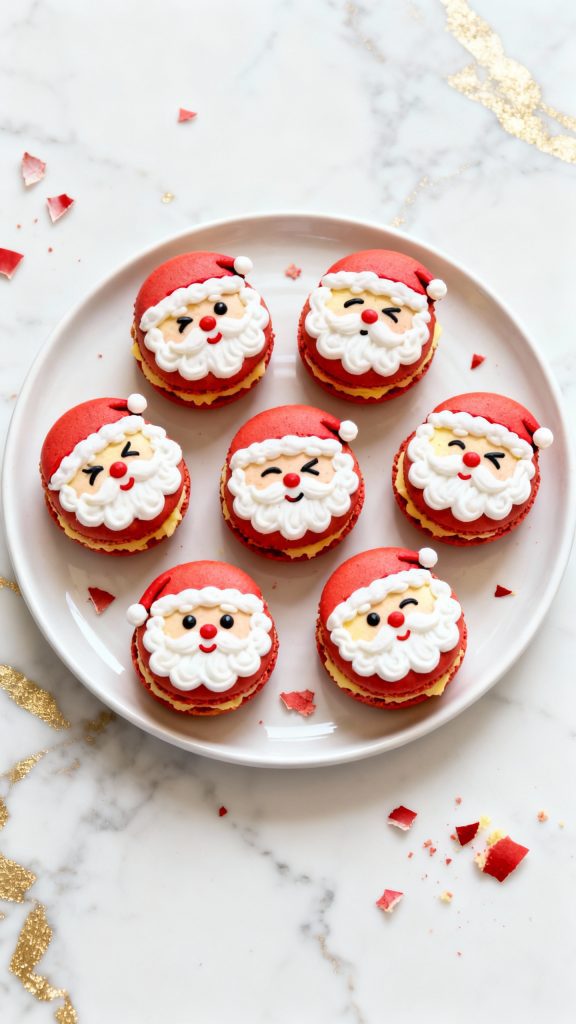
These Santa Claus macarons are the cutest holiday treat you’ll make this season.
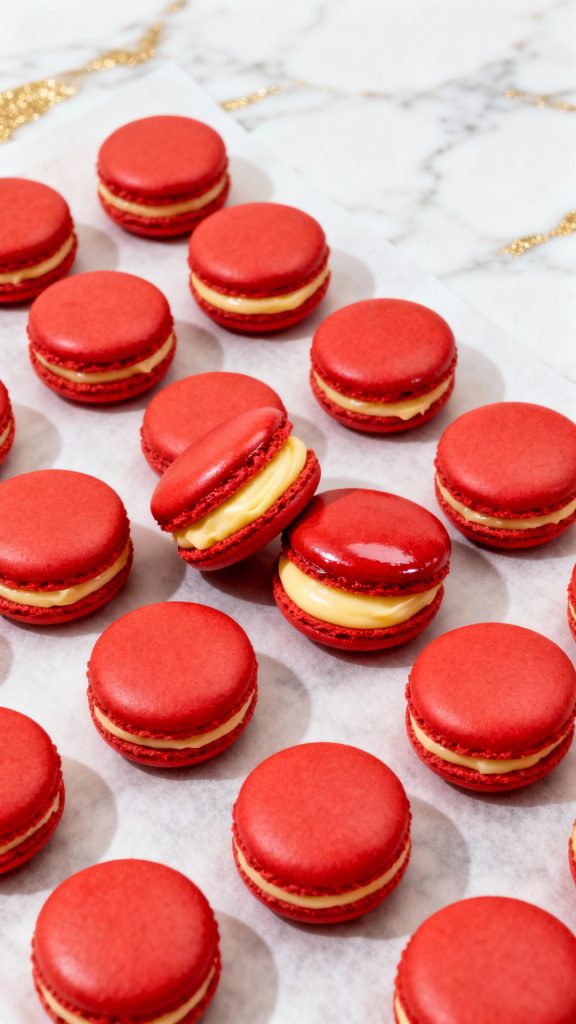
Light, crisp shells with a soft chewy center, filled with a sweet vanilla buttercream — and decorated to look like jolly old Saint Nick!
They’re fun to make, perfect for a festive cookie tray, and honestly?
They’re always a showstopper at holiday parties.

Why I Love This Recipe
I started making these for a holiday cookie swap a few years ago. Everyone thought they were store-bought! I love the joy on people’s faces when they realize they’re homemade. The process is a bit precise, but once you nail it, it becomes super fun.
- They’re adorable — people always gasp when they see them
- The flavor is classic vanilla with just the right sweetness
- Macarons keep really well, so you can make them ahead
- Perfect balance of texture — crisp outside, soft inside
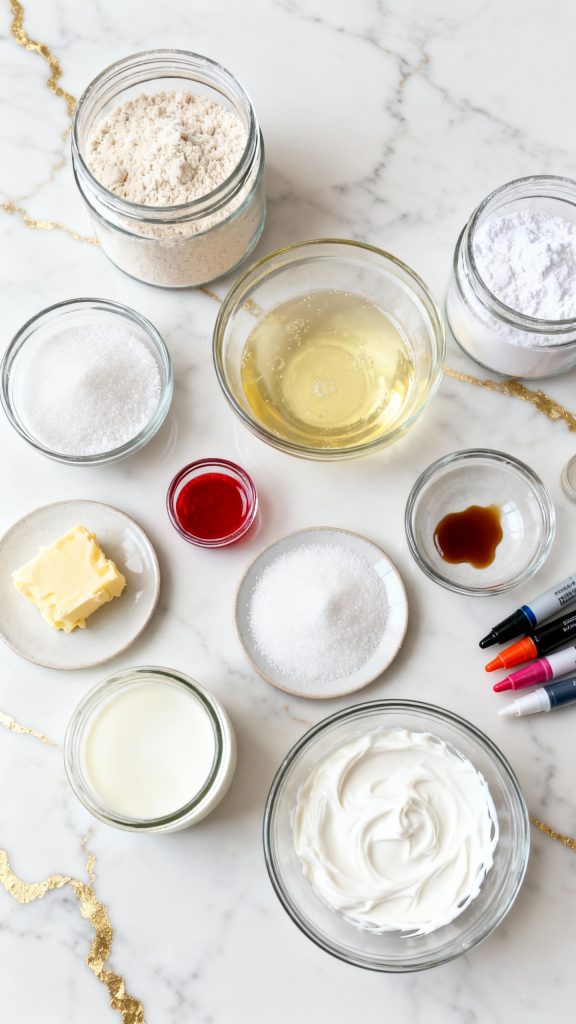
What You’ll Need
For the macaron shells:
- 100g almond flour (sifted)
- 100g powdered sugar
- 75g egg whites (room temperature)
- 70g granulated sugar
- Red gel food coloring
For the vanilla buttercream:
- 113g unsalted butter (softened)
- 180g powdered sugar
- 1 tsp vanilla extract
- 1–2 tsp milk (as needed)
For decorating:
- White royal icing
- Black and red edible food pens
- Small star piping tip
Pro Tips
- Sift the almond flour and powdered sugar twice — it helps with smooth shells
- Use gel food coloring only, not liquid — too much liquid messes with the batter
- Rest your piped macarons until they form a skin; don’t skip this step
- Use a kitchen scale — macarons are all about precision
- Let the filled macarons rest in the fridge overnight — the texture improves
Tools You’ll Need
- Fine mesh sifter
- Mixing bowls
- Electric hand mixer or stand mixer
- Kitchen scale
- Piping bags
- Round piping tip (for shells)
- Star tip (for beard detail)
- Silicone baking mat or parchment paper
- Baking sheet
- Food-safe pens
Substitutions and Variations
- Swap vanilla extract for almond or peppermint for a twist
- Use white chocolate ganache instead of buttercream
- Make them green and turn them into Elf macarons
- Skip the decorations if you just want pretty red shells
Make Ahead Tips
- Macaron shells can be made 2-3 days ahead — just store them in an airtight container
- The filled macarons get better after a night in the fridge — perfect for prep
- You can freeze unfilled shells for up to 2 months
Cooking Instructions
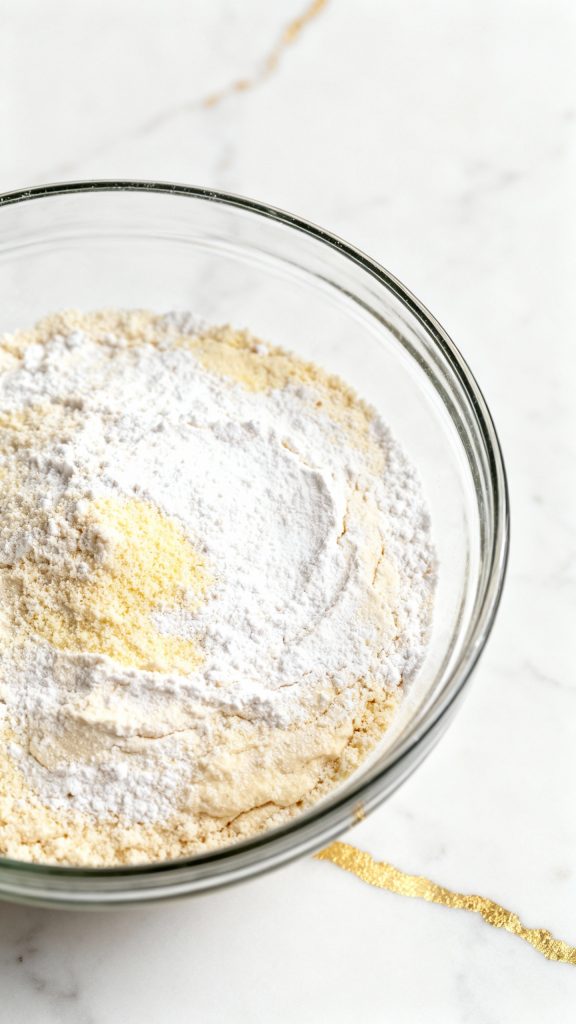
Step 1: Sift Dry Ingredients
Sift together 100g almond flour and 100g powdered sugar into a bowl. Repeat the sifting once more to remove lumps.
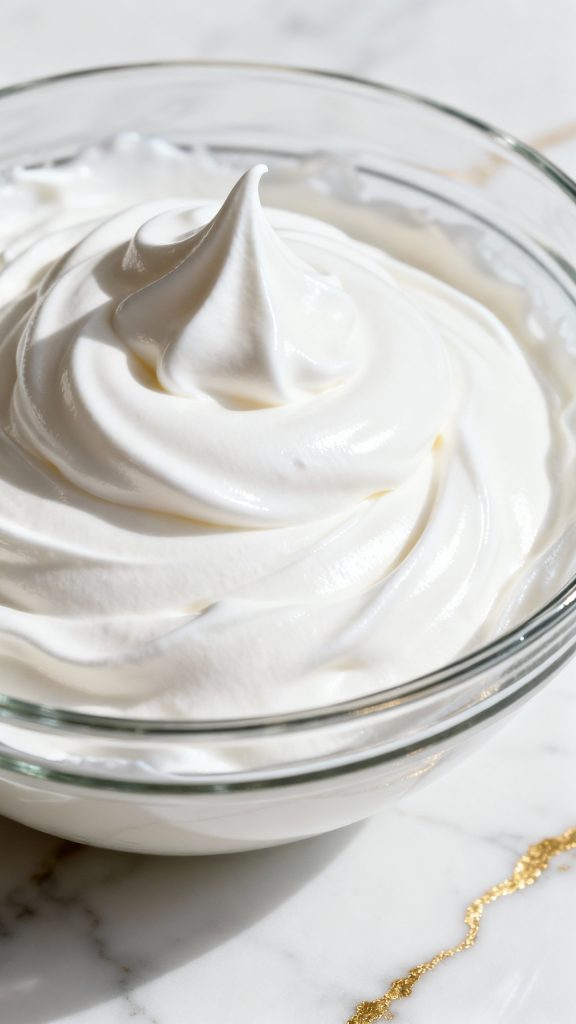
Step 2: Whip Egg Whites
In a separate bowl, whip 75g egg whites on medium speed until foamy. Slowly add in 70g granulated sugar. Whip until stiff, glossy peaks form.
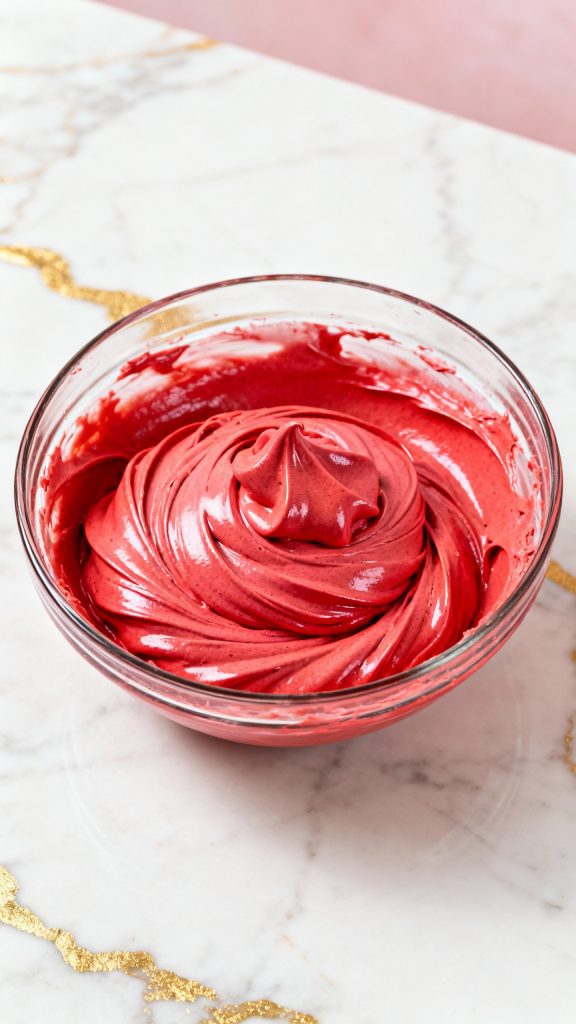
Step 3: Add Food Coloring
Add a small amount of red gel food coloring to the meringue. Whip briefly until fully incorporated and evenly red.
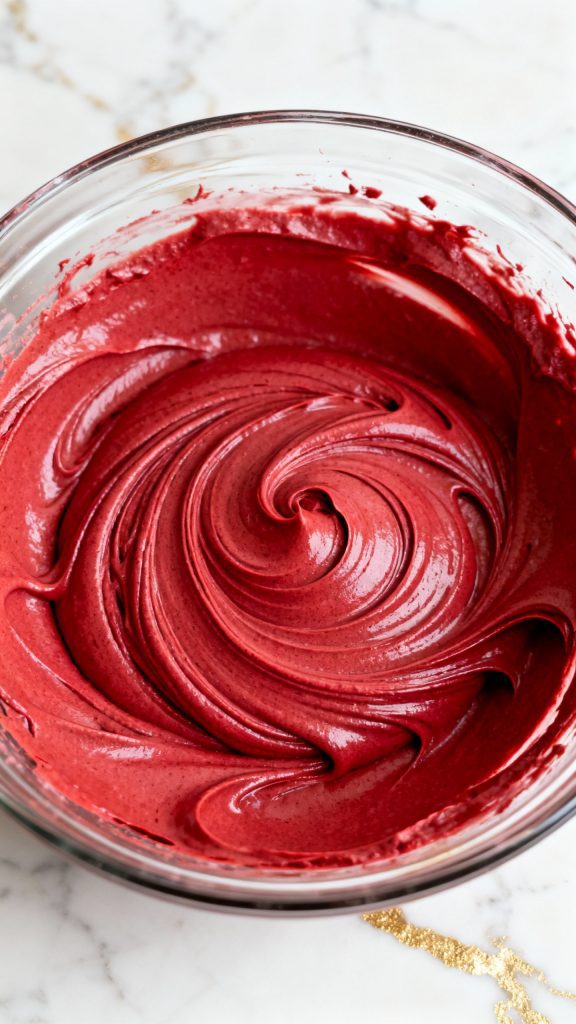
Step 4: Macaronage (Folding Batter)
Add sifted almond flour mixture into the red meringue in three parts. Fold gently with a spatula until batter flows in ribbons off the spatula — like lava.
Step 5: Pipe the Shells
Transfer batter into a piping bag with a round tip. Pipe small circles (about 1.5 inches wide) onto a silicone mat or parchment-lined baking sheet.
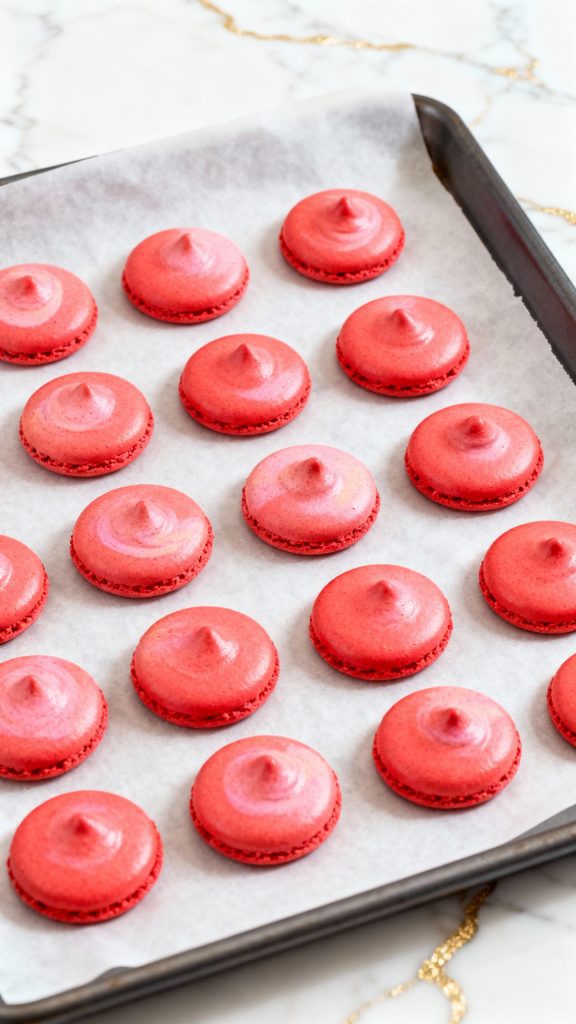
Step 6: Rest and Bake
Let the shells sit at room temp for 30–60 mins until they form a skin (you can touch them lightly without sticking). Bake at 300°F (150°C) for 14–16 minutes.
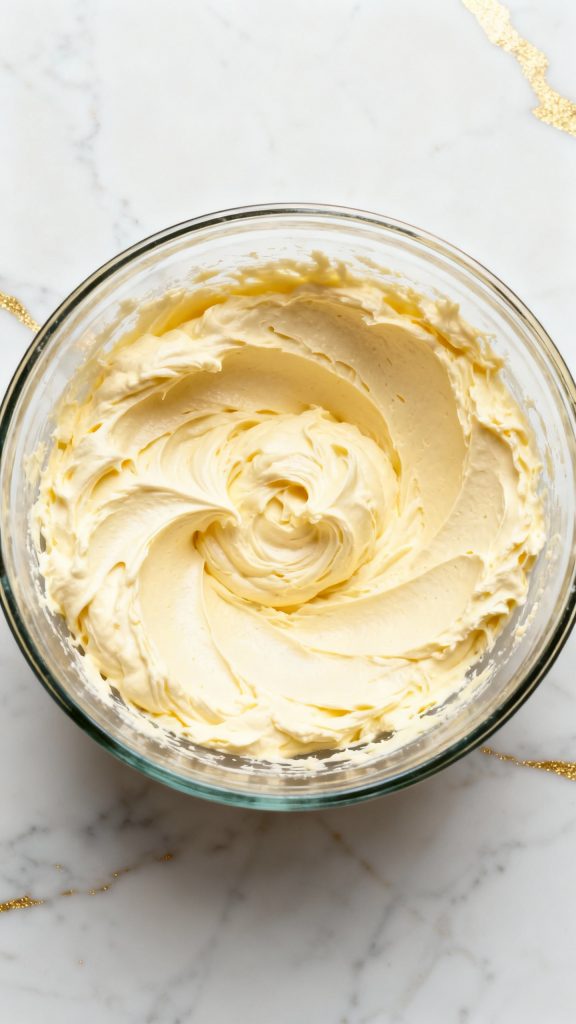
Step 7: Make Buttercream
Beat 113g softened butter until fluffy. Slowly add in 180g powdered sugar, 1 tsp vanilla extract, and 1–2 tsp milk as needed until smooth.
Step 8: Pipe and Sandwich
Pipe a small round of buttercream onto half the cooled macaron shells. Top with another shell and press gently to sandwich.
Step 9: Decorate the Santas
Use white royal icing and a star tip to pipe the beard. Add red and black details with edible pens for the eyes, nose, and hat trim. Let set.

Step 10: Plate and Serve
Place finished macarons on a round white plate. Let them rest in the fridge for 24 hours for best texture. Bring to room temp before serving.
Tips for Leftovers and Storage
- Store in an airtight container in the fridge for up to 5 days
- Let them come to room temp before eating
- You can freeze filled macarons for up to 1 month — defrost overnight in the fridge
Servings and Cook Time
Makes: About 20 macarons
Total time: 2 hours (including resting time)
Macros (Per macaron, approx.)
- Calories: 105
- Fat: 6g
- Carbs: 12g
- Protein: 1g
- Sugar: 10g
Why This Recipe Works (Quick Science)
- The meringue holds air, which gives macarons their lift
- Almond flour and powdered sugar create a smooth texture
- Resting creates a skin so the macarons rise up, not out
- The low oven temp prevents cracking and hollows
Common Mistakes
- Overmixing or undermixing the batter — aim for a lava-like flow
- Not resting the shells before baking — they’ll crack or spread
- Baking too hot or too long — use an oven thermometer
- Using liquid food coloring — too much moisture ruins the batter
What to Serve With
- A cozy mug of hot cocoa
- Peppermint tea or spiced chai
- Holiday cookie platter with sugar cookies and gingerbread
- Sparkling cranberry mocktail
FAQ
Can I make them without almond flour?
No, traditional macarons need almond flour for texture and flavor. You can try sunflower seed flour as a nut-free alternative.
Why are my macarons cracked?
Most likely: not rested long enough, oven too hot, or overmixed batter.
Can I use regular food coloring?
Only gel or powder — liquid adds too much moisture.
Do I really have to let them rest overnight in the fridge?
Yes! It makes the texture perfect. Crisp shell, soft middle, flavor melds better.
Can I double the recipe?
Yes, but weigh everything with a scale — precision matters!
