Hey there, friend! Let’s talk about coffee.
Specifically, making your morning coffee extra cozy, sweet, and a little fancy. Today, we’re whipping up a homemade Toffee Nut Coffee Creamer that tastes like you just stepped into a coffee shop but costs way less and feels way more special because YOU made it.
This creamer is perfect for those frosty mornings when all you want is a warm, nutty, caramel-like hug in a cup. The toffee and nut flavors blend beautifully with coffee, giving it that rich, slightly buttery flavor we all love in the fall and winter months.
Plus, it’s super easy to make, no weird ingredients, and you can tweak it to your liking. Let’s dive in!
What You’ll Need
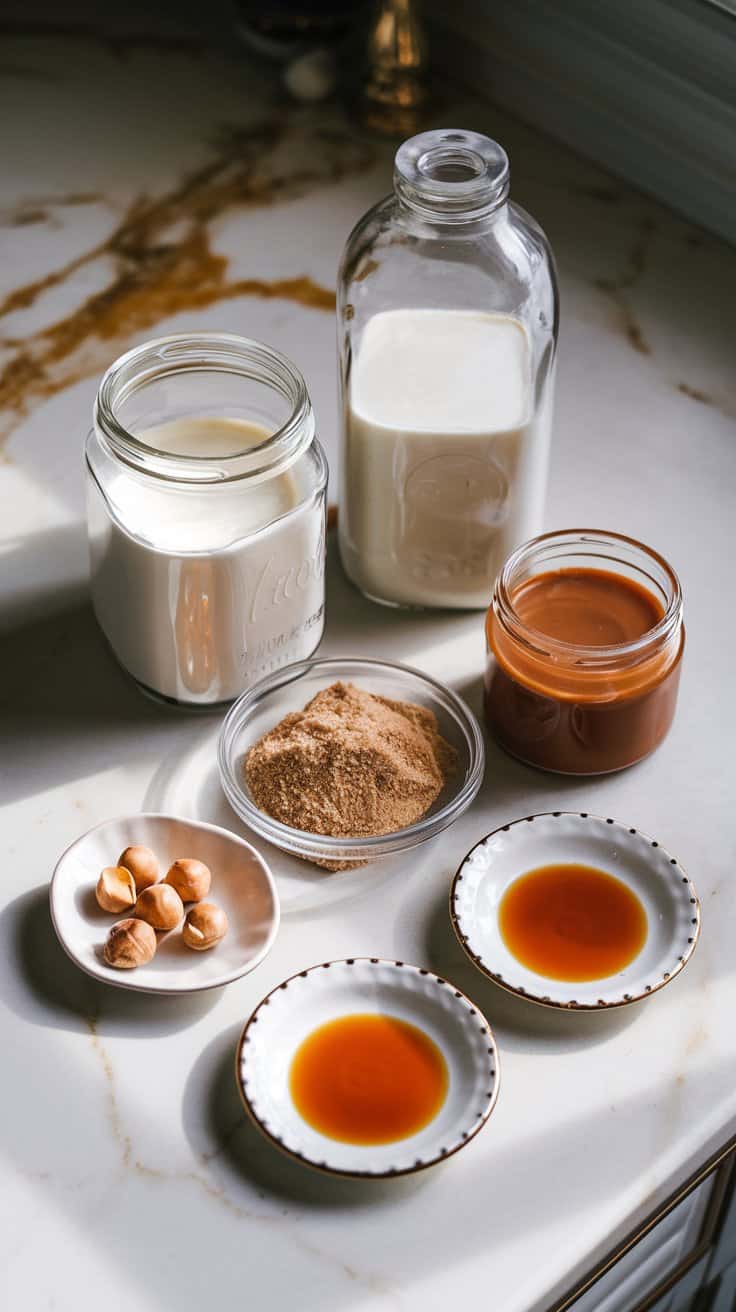
Here’s the beauty of this recipe: just a few simple ingredients and you’re on your way to creamy, toffee nut goodness.
- 1 cup heavy cream
- 1 cup whole milk (or any milk you love)
- 3 tablespoons brown sugar
- 2 tablespoons toffee sauce (store-bought or homemade)
- 1 teaspoon hazelnut extract
- 1 teaspoon vanilla extract

Pro Tips for Perfect Coffee Creamer
- Warm It Slowly: When heating the mixture, keep the heat low and stir often to avoid burning the milk or sugar. Burnt milk isn’t fun.
- Customize the Sweetness: If you like things less sweet, start with 2 tablespoons of brown sugar and add more after tasting.
- Use Fresh Extracts: Hazelnut and vanilla extracts are key for that nutty, cozy flavor—make sure they’re not expired!
- Double the Recipe: This creamer keeps for up to a week in the fridge, so make a bigger batch if you drink coffee daily.
- Shake It Before Use: Since the cream is thick, it might separate a little in the fridge. A quick shake in the jar will bring it right back.
Tools You’ll Need
- Medium saucepan
- Whisk
- Measuring cups and spoons
- Airtight glass jar or bottle for storing
Substitutions and Variations
- Dairy-Free Option: Use coconut milk or almond milk instead of heavy cream and whole milk.
- Sugar-Free Version: Swap the brown sugar for a sugar-free alternative like monk fruit or stevia.
- Nut-Free Alternative: Skip the hazelnut extract and just use vanilla for a simple toffee creamer.
- Extra Flavor: Add a pinch of sea salt or cinnamon for a salted toffee vibe!
Make-Ahead Tips
This creamer is a lifesaver when made ahead! It’ll keep for up to a week in an airtight container in the fridge. You can also make a double batch and freeze half in ice cube trays to thaw as needed.
How to Make Toffee Nut Coffee Creamer
Step 1: Combine the Ingredients
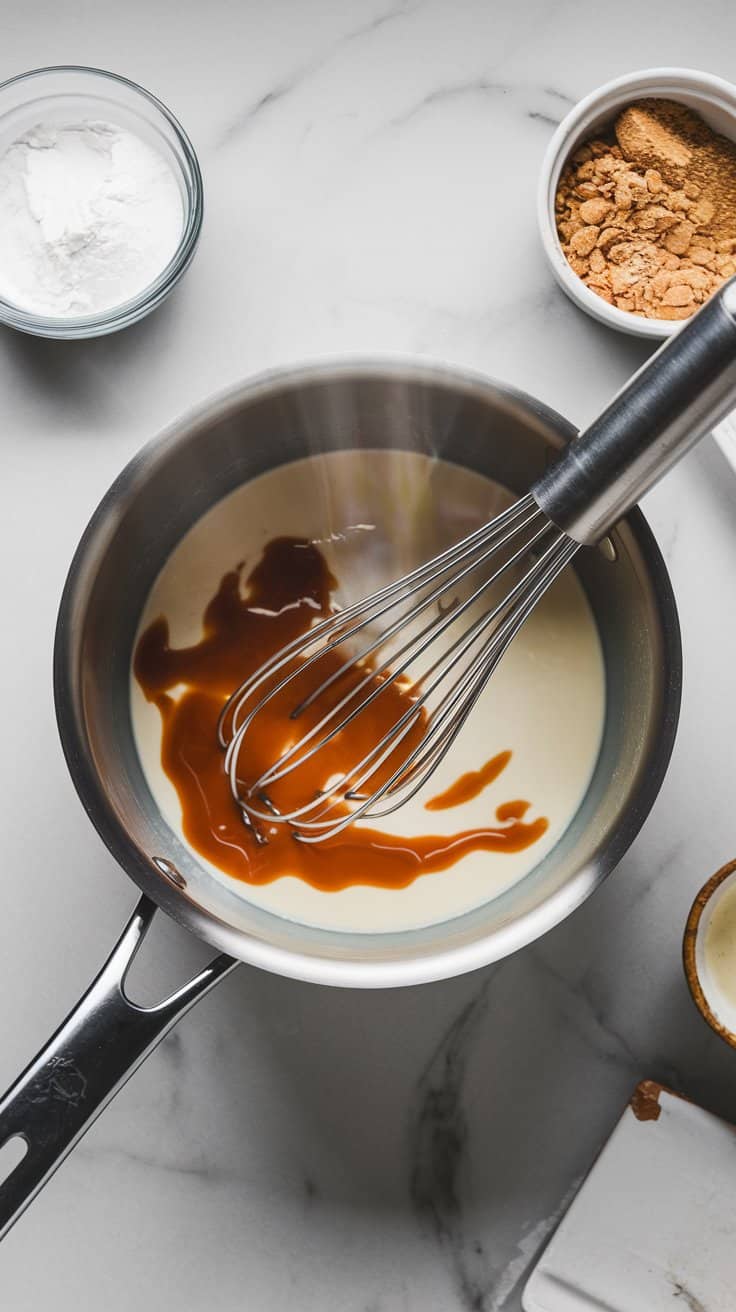
In a medium saucepan, whisk together the heavy cream, milk, brown sugar, and toffee sauce. Place it over low heat.
Step 2: Heat It Up
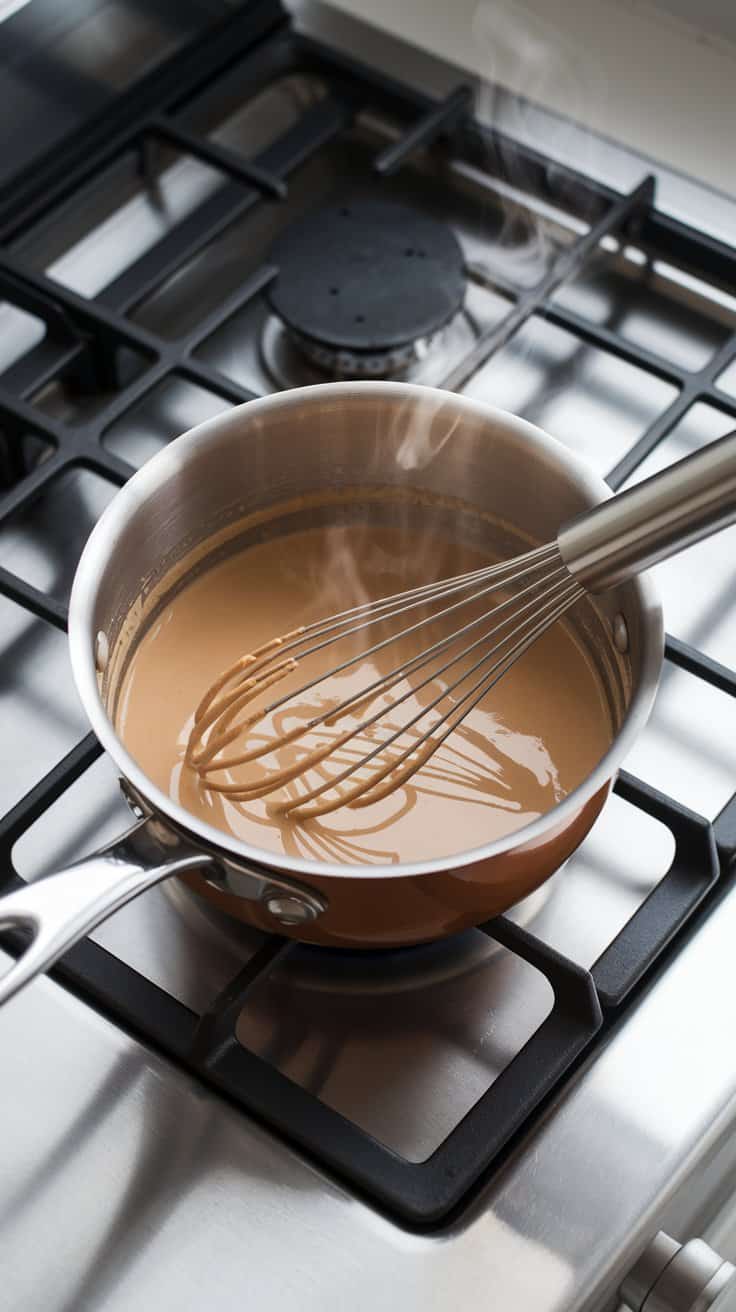
Warm the mixture over low heat, stirring frequently. You’ll want to heat it until the sugar is fully dissolved and the creamer is just warm, not boiling (about 5 minutes).
Step 3: Add the Extracts
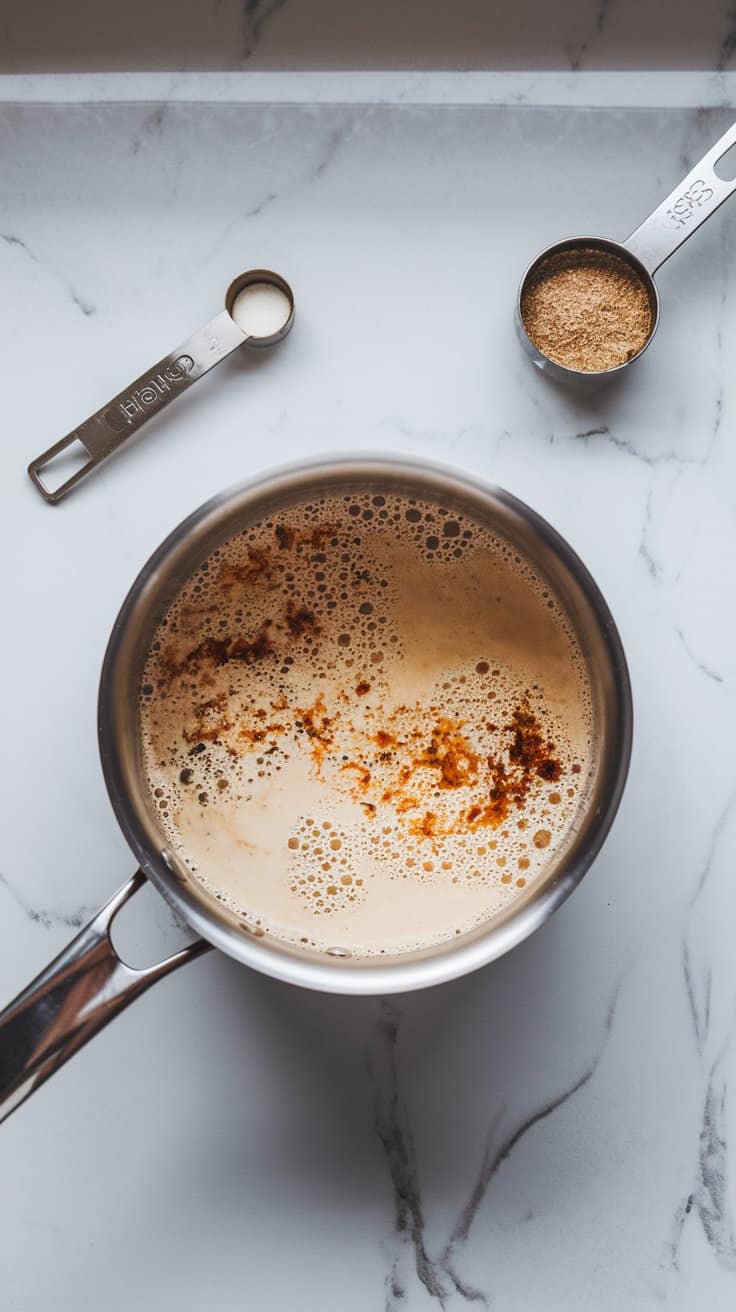
Once the mixture is warm and smooth, remove it from the heat and stir in the hazelnut and vanilla extracts.
Step 4: Cool and Store

Let the creamer cool completely before transferring it to a jar or bottle. Store in the fridge for up to a week. Shake well before each use!
Leftovers and Storage Tips
- Keep your creamer in an airtight jar or bottle in the fridge for up to 7 days.
- If you freeze it (I recommend using ice cube trays), let it thaw in the fridge overnight before using.
- Leftover creamer can also be stirred into hot chocolate or drizzled over desserts like brownies or ice cream for a little something extra.
Wrapping it Up
And there you have it—your very own homemade Toffee Nut Coffee Creamer! It’s so simple, so delicious, and makes every cup of coffee feel like a treat. Plus, it’s way better than those store-bought creamers loaded with preservatives and artificial flavors.
I’d love to hear how your creamer turns out! Leave a comment below and let me know if you tried any fun variations or how it made your morning coffee magical. Happy sipping! ☕✨


