Who doesn’t love red velvet cupcakes?
They’re soft, fluffy, and have just the right hint of chocolate with that classic tangy cream cheese frosting.
These cupcakes feel fancy but are super easy to make.
They’re perfect for birthday parties, Valentine’s Day, or just because you feel like baking something special!
My kids absolutely love helping with these – especially when it’s time to lick the frosting bowl (their favorite part).
Trust me, this recipe will be your go-to for crowd-pleasing cupcakes.
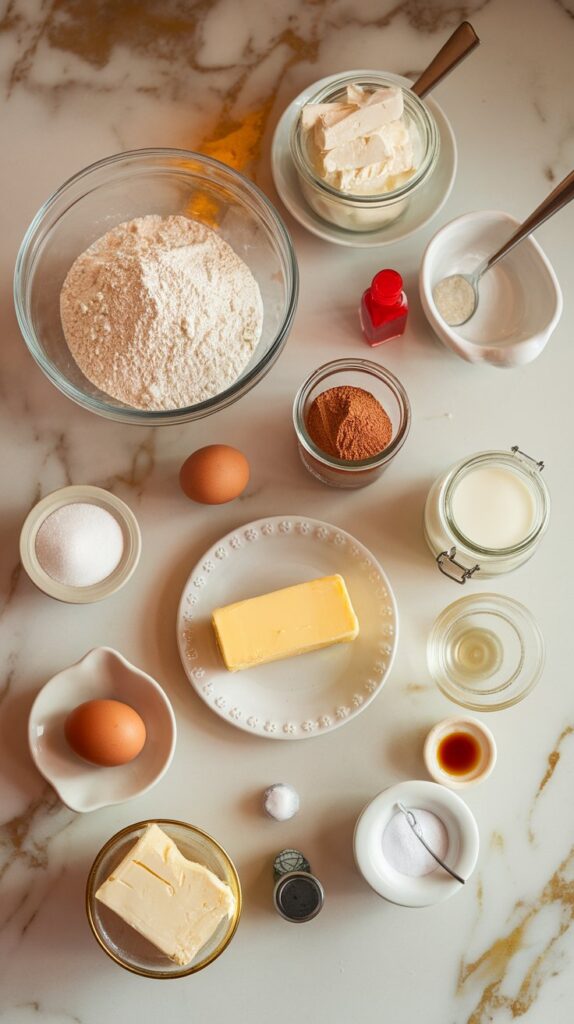
What You’ll Need
For the Cupcakes:
- 1 1/4 cups all-purpose flour
- 1 tbsp cocoa powder (unsweetened)
- 1/2 tsp baking soda
- 1/4 tsp salt
- 1/2 cup unsalted butter, softened
- 1 cup granulated sugar
- 1 large egg
- 1 tsp pure vanilla extract
- 1/2 cup buttermilk
- 1 tbsp red food coloring
- 1 tsp white vinegar
For the Cream Cheese Frosting:
- 8 oz cream cheese, softened
- 1/2 cup unsalted butter, softened
- 4 cups powdered sugar
- 1 tsp pure vanilla extract
Pro Tips
- Room Temp Ingredients: Make sure your butter, egg, and cream cheese are at room temp. This ensures a smoother batter and creamy frosting.
- Don’t Skip Sifting: Sifting the dry ingredients (especially the cocoa) gives your cupcakes a light, fluffy texture.
- Food Coloring: Use gel food coloring for a vibrant red hue without adding too much liquid.
- Pipe Like a Pro: Chill your frosting for 10-15 minutes before piping so it holds its shape beautifully.
- Buttermilk Substitute: No buttermilk? Mix 1/2 cup milk with 1/2 tbsp vinegar and let it sit for 5 minutes – works like a charm!
Tools You’ll Need
- Mixing bowls
- Whisk and spatula
- Stand or hand mixer
- Cupcake tin
- Cupcake liners
- Sifter
- Piping bag and tip (optional, for frosting)
Substitutions and Variations
- No Red Food Coloring? Use beet powder or skip it altogether for a “naked” velvet cupcake.
- Gluten-Free Option: Swap the flour for a 1:1 gluten-free baking blend.
- Dairy-Free Frosting: Use vegan cream cheese and butter for the frosting.
Make-Ahead Tips
- Bake the cupcakes a day ahead and store in an airtight container. Frost just before serving.
- Cream cheese frosting can be made up to 3 days ahead. Keep it in the fridge and whip it lightly before piping.
Instructions
Step 1: Prep
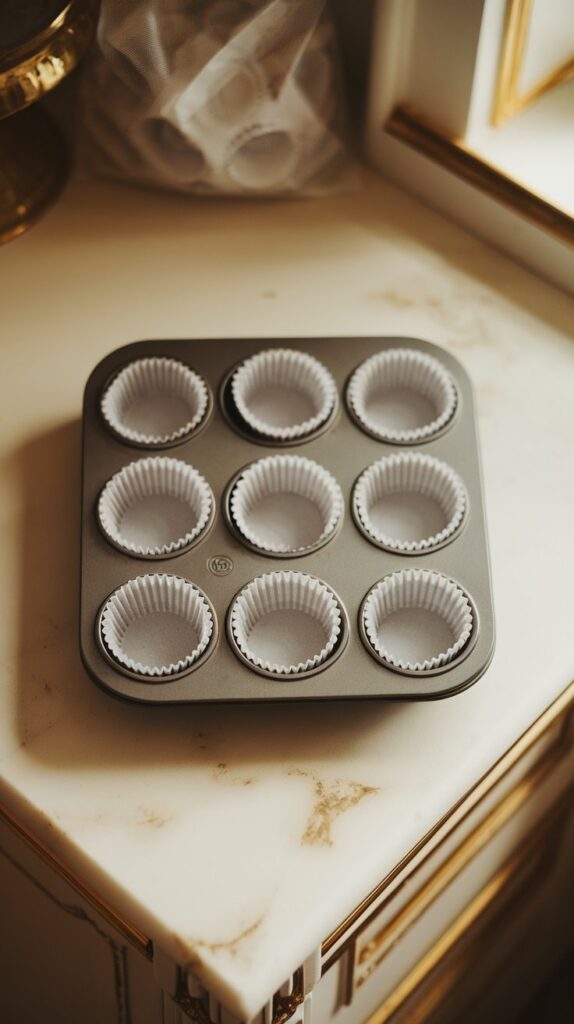
Preheat your oven to 350°F (175°C) and line your cupcake tin with cupcake liners.
Step 2: Mix Dry Ingredients
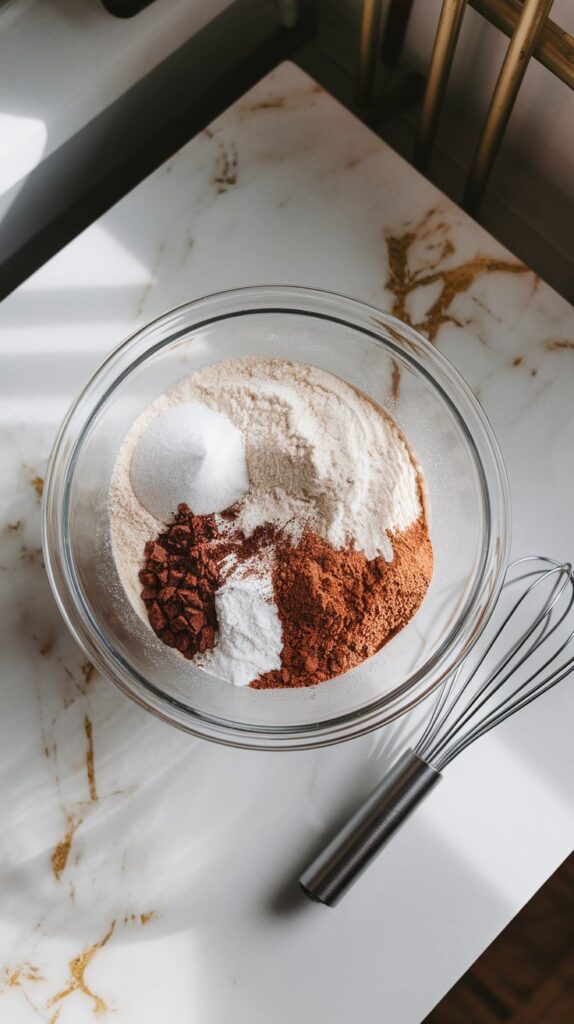
In a bowl, sift together flour, cocoa powder, baking soda, and salt. Set aside.
Step 3: Cream Butter and Sugar
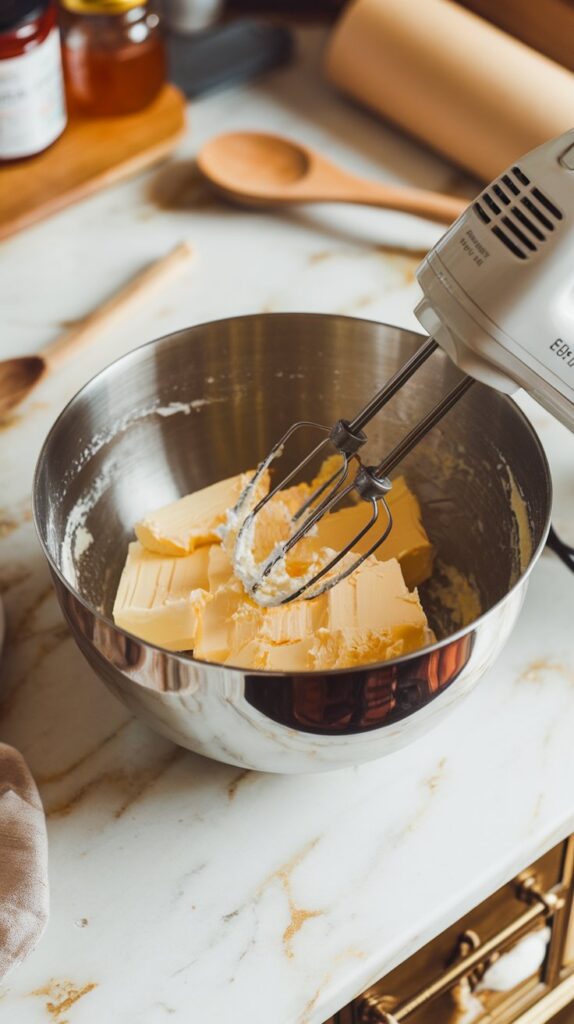
In another bowl, beat butter and sugar until fluffy (about 2-3 minutes). Add the egg and vanilla, and mix until combined.
Step 4: Combine Wet and Dry Ingredients
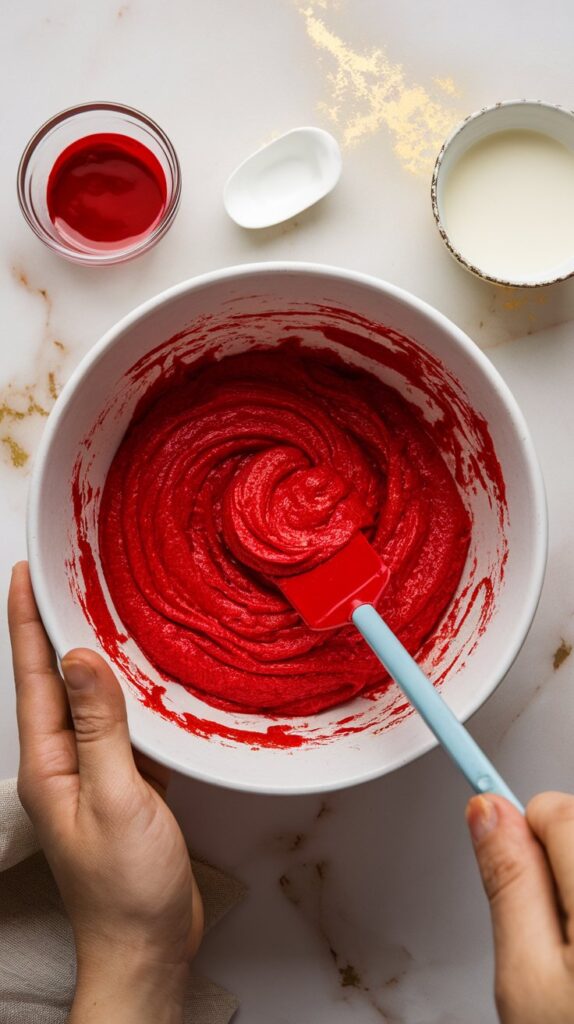
Add the dry ingredients to the butter mixture in 3 parts, alternating with buttermilk. Mix until just combined. Then, add red food coloring and vinegar. Mix gently.
Step 5: Fill Cupcake Liners
Divide the batter evenly among the liners, filling each about 2/3 full.

Step 6: Bake
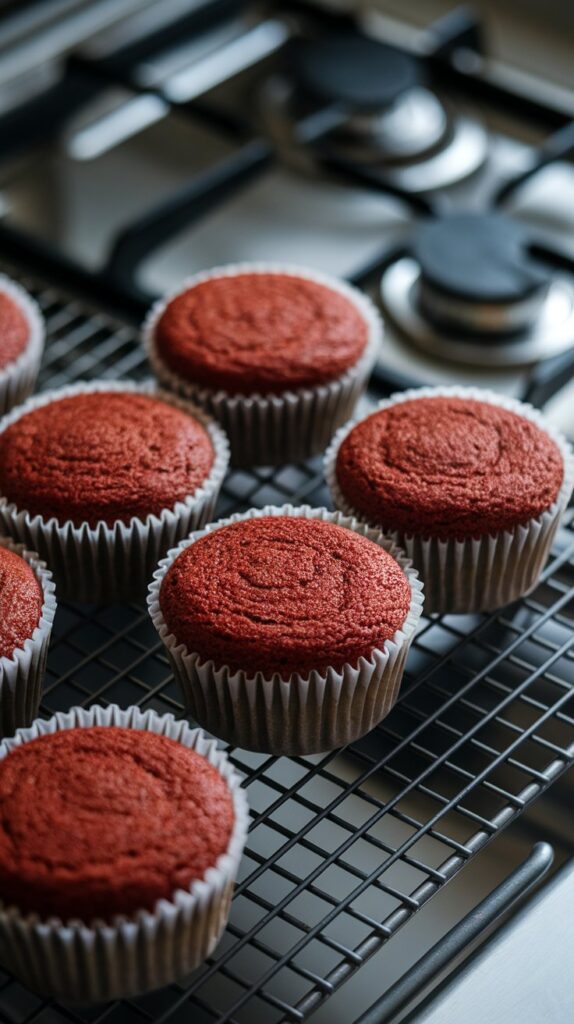
Bake for 18-20 minutes or until a toothpick inserted in the center comes out clean. Let them cool completely before frosting.
Step 7: Make Frosting
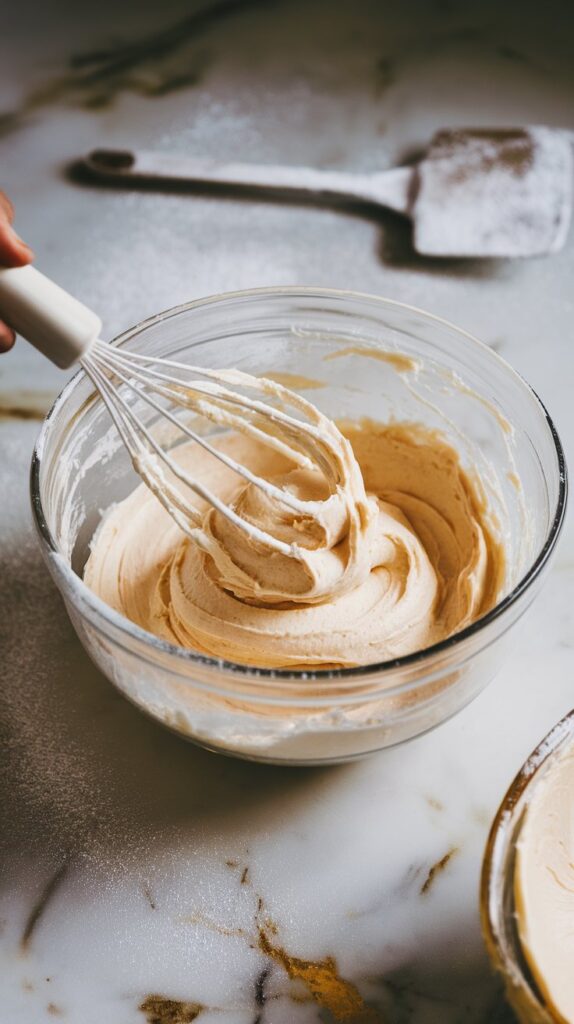
Beat cream cheese and butter together until smooth. Add powdered sugar one cup at a time, mixing well. Stir in vanilla extract.
Step 8: Frost Cupcakes
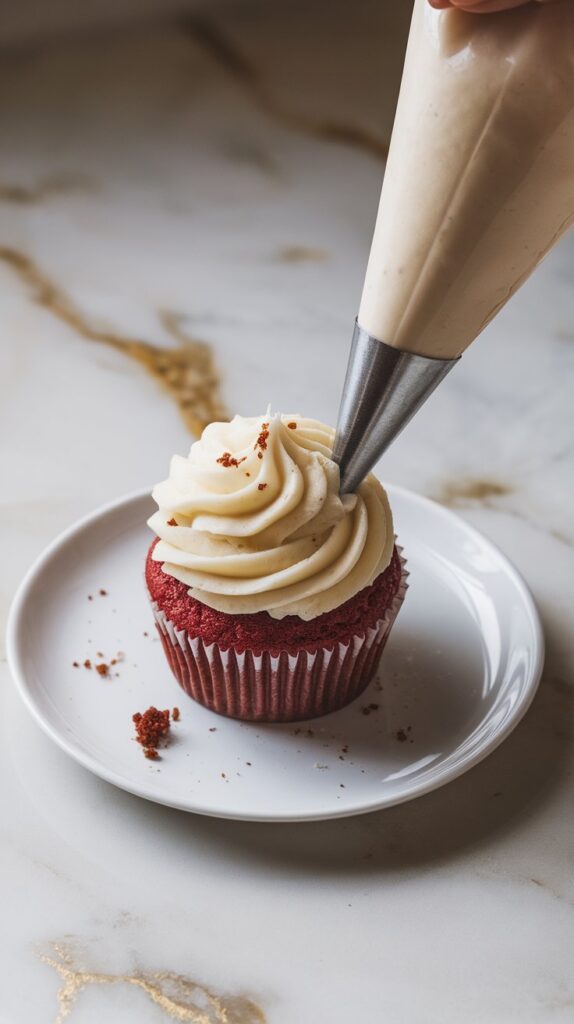
Pipe or spread frosting onto the cooled cupcakes. Garnish with red velvet crumbs, if desired.
Leftovers and Storage
- Store frosted cupcakes in an airtight container in the fridge for up to 3 days. Bring to room temperature before serving.
- Unfrosted cupcakes can be frozen for up to 3 months. Thaw, then frost when ready.
Conclusion
There you have it – the most gorgeous, delicious red velvet cupcakes you’ll ever bake!
They’re perfect for sharing, celebrating, or just treating yourself on a random Tuesday.
I’d love to hear how yours turn out – drop me a comment below and let me know if you tried any fun variations!
Happy baking! 😊


