These cookies are little bites of heaven—rich, fudgy chocolate with a deep espresso kick, all topped off with a gooey chocolate center.
They’re soft, chewy, and perfect for coffee lovers!
Plus, they look fancy but are super easy to make.
Whether you’re making them for a holiday, a bake sale, or just because you need some chocolate in your life (we’ve all been there), these will be a hit.
Let’s get baking!
What You’ll Need
Ingredients:
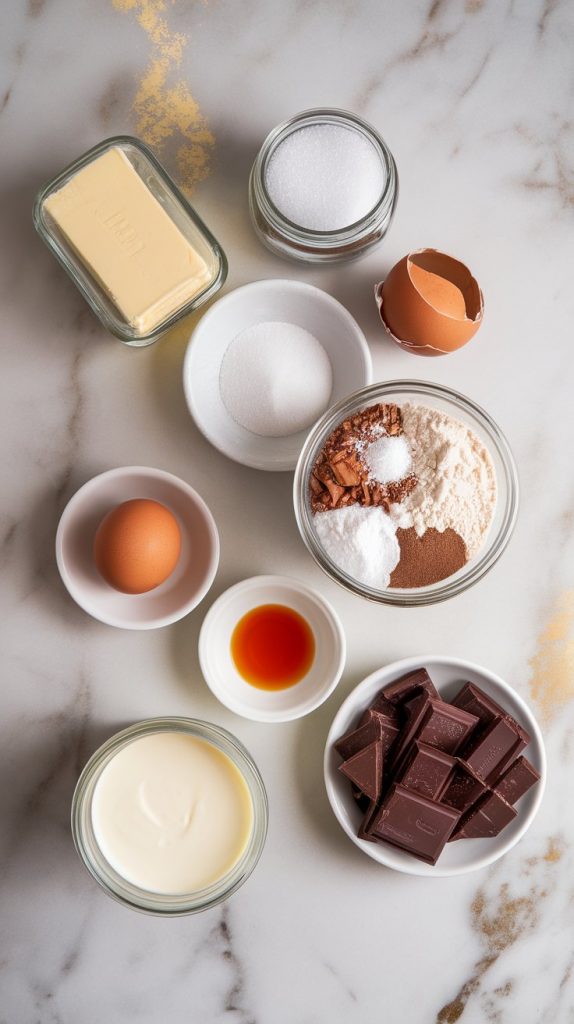
- 1 cup (2 sticks) unsalted butter, softened
- ¾ cup granulated sugar
- 1 large egg
- 1 tsp vanilla extract
- 2 cups all-purpose flour
- ½ cup unsweetened cocoa powder
- 1 tbsp instant espresso powder
- ½ tsp salt
- ½ tsp baking powder
- 4 oz semisweet chocolate, melted (for filling)
- 1 tbsp heavy cream (for filling)
Pro Tips
- Use room-temperature butter – This helps the dough come together smoothly and creates soft cookies.
- Chill the dough – If your kitchen is warm, pop the dough in the fridge for 15 minutes before rolling to prevent sticking.
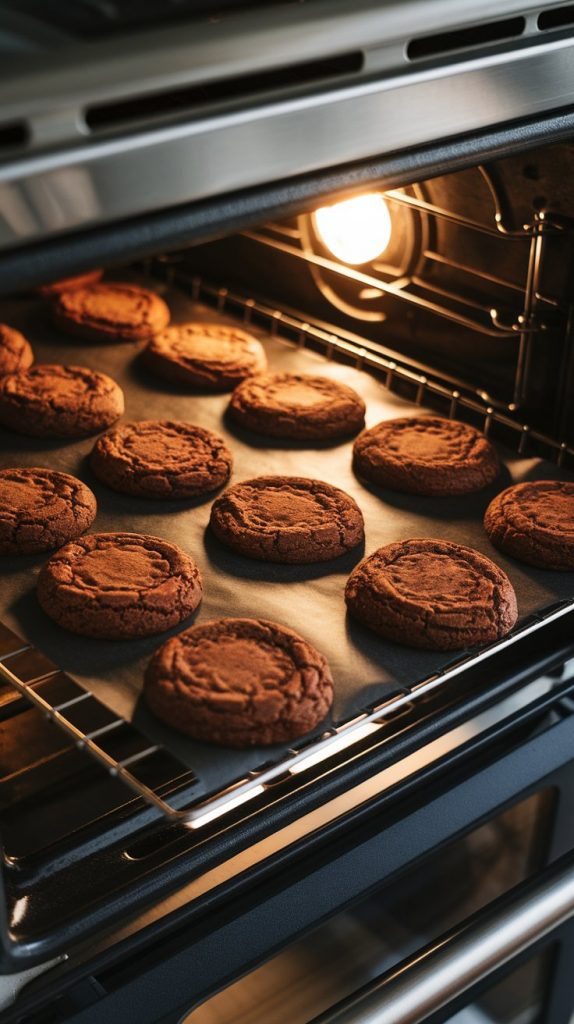
- Don’t overbake – These cookies should be just set; they’ll continue to firm up as they cool.
- Re-indent after baking – The thumbprint may puff up, so gently press again while they’re warm.
- Let the chocolate filling set – If you like a firmer center, let the cookies sit for 30 minutes before eating (if you can wait!).
Tools You’ll Need
- Mixing bowls
- Hand mixer or stand mixer
- Measuring cups and spoons
- Rubber spatula
- Baking sheet
- Parchment paper
- Small saucepan (for melting chocolate)
- Small spoon (for filling cookies)
Substitutions & Variations
- No espresso powder? Use finely ground coffee, though the flavor will be milder.
- Want it extra rich? Use dark chocolate instead of semisweet.
- Dairy-free? Swap butter for plant-based butter and use coconut cream instead of heavy cream.
- Nutty twist? Add a drizzle of hazelnut spread instead of chocolate filling.
Make-Ahead Tips
- The cookie dough can be made ahead and stored in the fridge for up to 3 days.
- You can also freeze the unbaked dough balls and bake them straight from the freezer—just add an extra minute or two to the baking time.
How to Make Chocolate Espresso Thumbprint Cookies
Step 1: Cream the Butter and Sugar
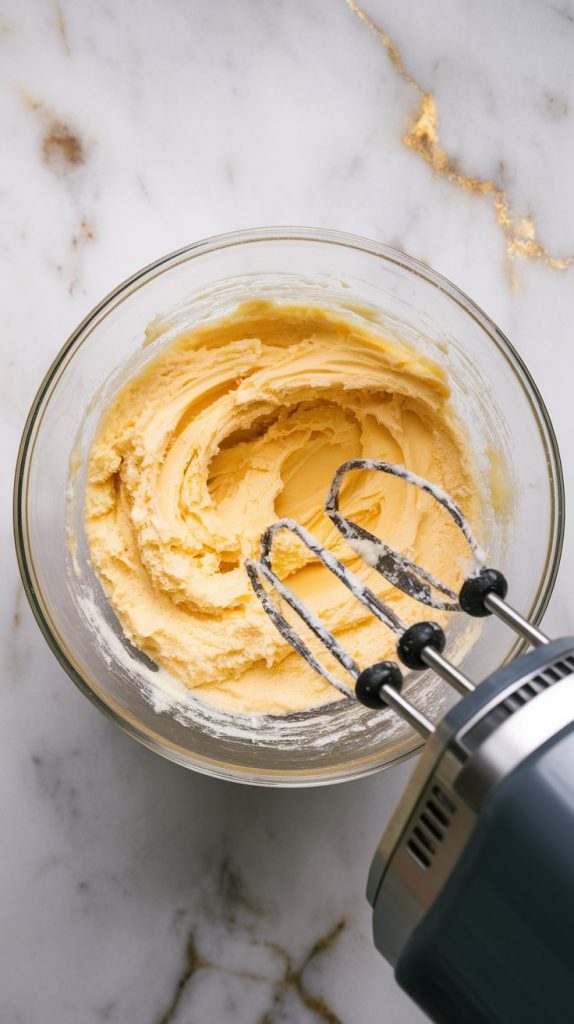
In a large mixing bowl, beat the softened butter and granulated sugar together until light and fluffy.
Step 2: Add Egg and Vanilla
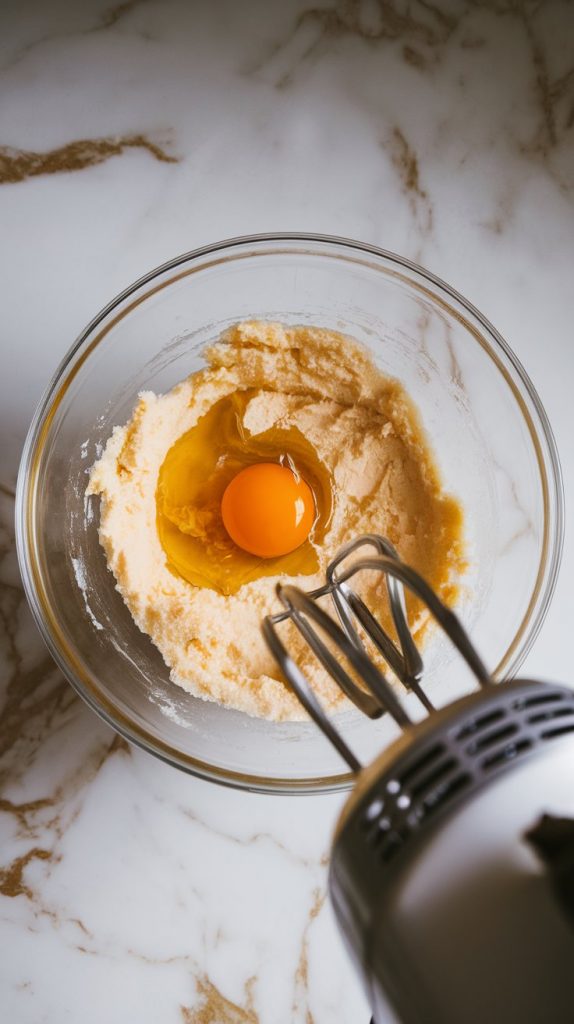
Beat in the egg and vanilla extract until smooth and combined.
Step 3: Mix Dry Ingredients
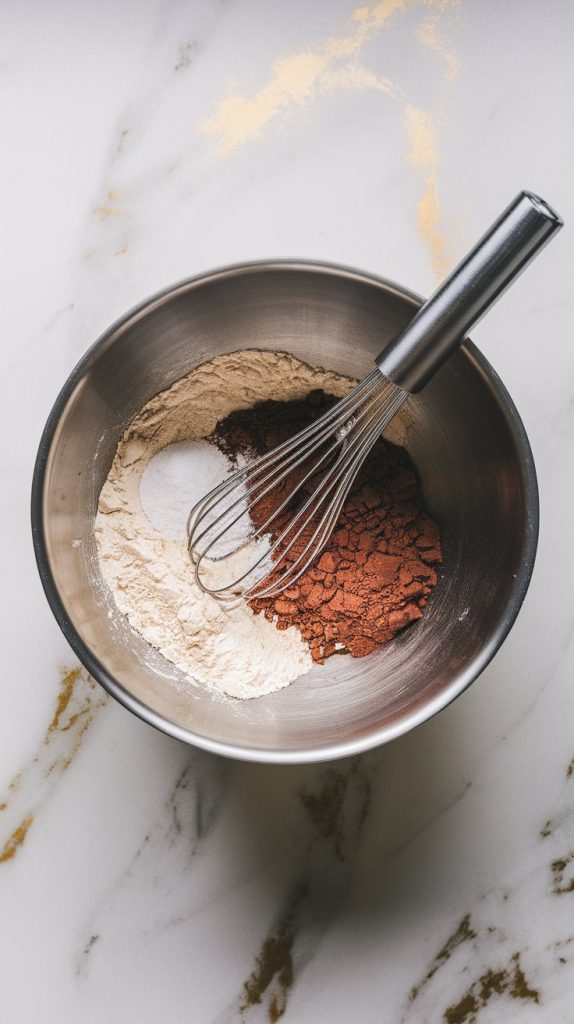
In a separate bowl, whisk together the flour, cocoa powder, espresso powder, salt, and baking powder.
Step 4: Combine Wet and Dry Ingredients
Gradually add the dry ingredients to the butter mixture, mixing until just combined.
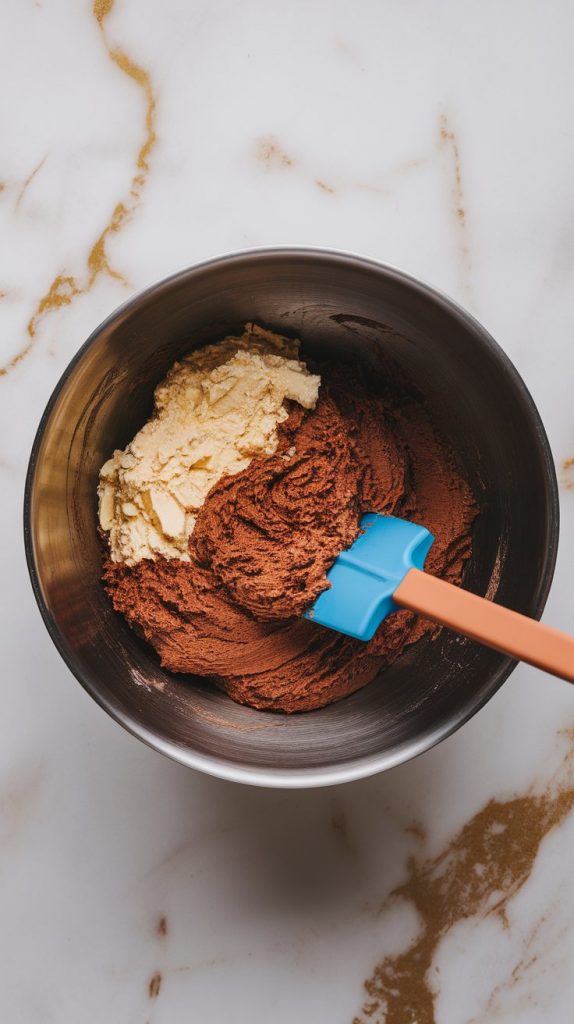
Step 5: Roll and Shape the Cookies
Roll the dough into small balls (about 1 inch) and place them on a parchment-lined baking sheet. Use your thumb or a spoon to press an indent in the center of each.

Step 6: Bake
Bake at 350°F (175°C) for 10-12 minutes until set.
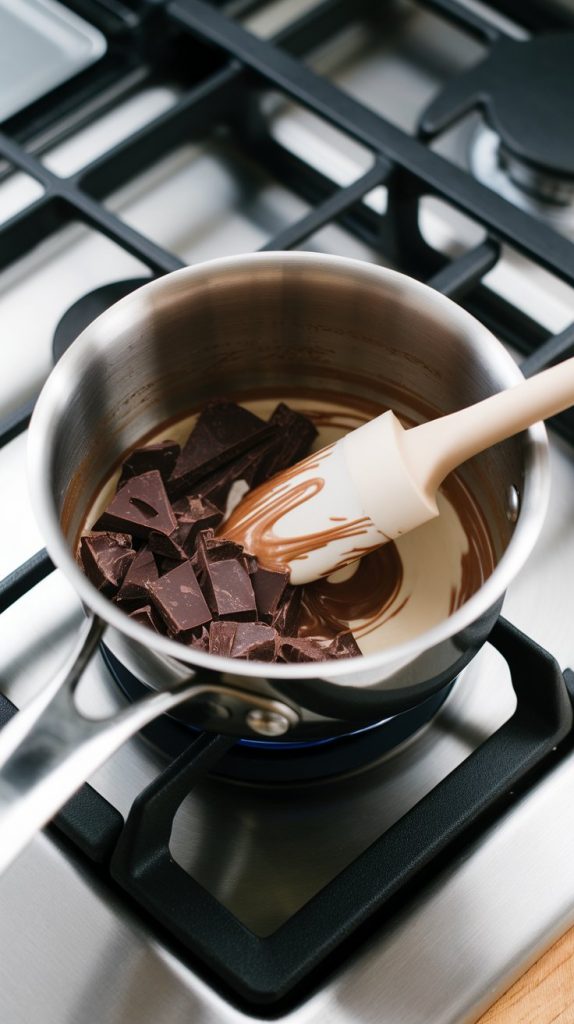
Step 7: Make the Chocolate Filling
Melt the semisweet chocolate with heavy cream until smooth.
Step 8: Fill the Cookies
Spoon the melted chocolate into the center of each cookie.

Leftovers & Storage
- Store cookies in an airtight container at room temperature for up to 4 days.
- If you want a firmer center, refrigerate them!
- You can also freeze the cookies (before or after baking) for up to 3 months.
Final Thoughts
These cookies are rich, decadent, and packed with espresso flavor—perfect with a cup of coffee or a glass of milk! Try them out and let me know in the comments how they turned out. Happy baking! 🍪☕


