
This is one of those drinks that feels like a treat but is super easy to make at home. It’s creamy, a little sweet, and has that rich caramel flavor that makes regular iced coffee feel boring. I started making this on hot afternoons when I wanted something coffee-shop level without leaving the house—and now it’s on repeat.

Why I Love This Recipe
I remember the first time I swapped regular cream for coconut cream in my iced coffee—it instantly felt richer and more special. Then I added caramel, and that was it. Hooked.
- It tastes like a fancy café drink at home
- The coconut cream makes it extra smooth and slightly tropical
- You can adjust the sweetness easily
- It comes together in minutes
- Perfect for warm days or an afternoon pick-me-up
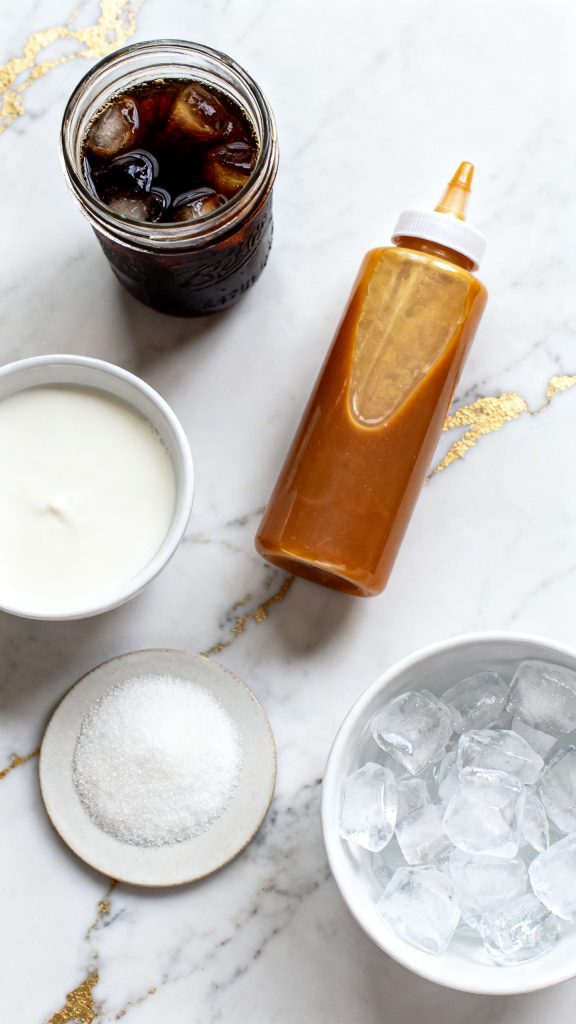
What You’ll Need
- 1 cup strong brewed coffee, chilled
- 1/3 cup canned coconut cream (thick, well mixed)
- 2 tablespoons caramel sauce (plus extra for drizzle)
- 1–2 teaspoons sugar (optional)
- 1 cup ice cubes
Tools Required
- Tall glass
- Spoon or small whisk
- Measuring cups and spoons
- Small bowl
Servings and Time
- Servings: 1 large iced coffee
- Time: 5 minutes
Recipe + Instructions
Step 1: Add Ice to Glass
Fill a tall glass with 1 cup of ice cubes.
Step 2: Pour in Coffee
Pour 1 cup of chilled strong brewed coffee over the ice.

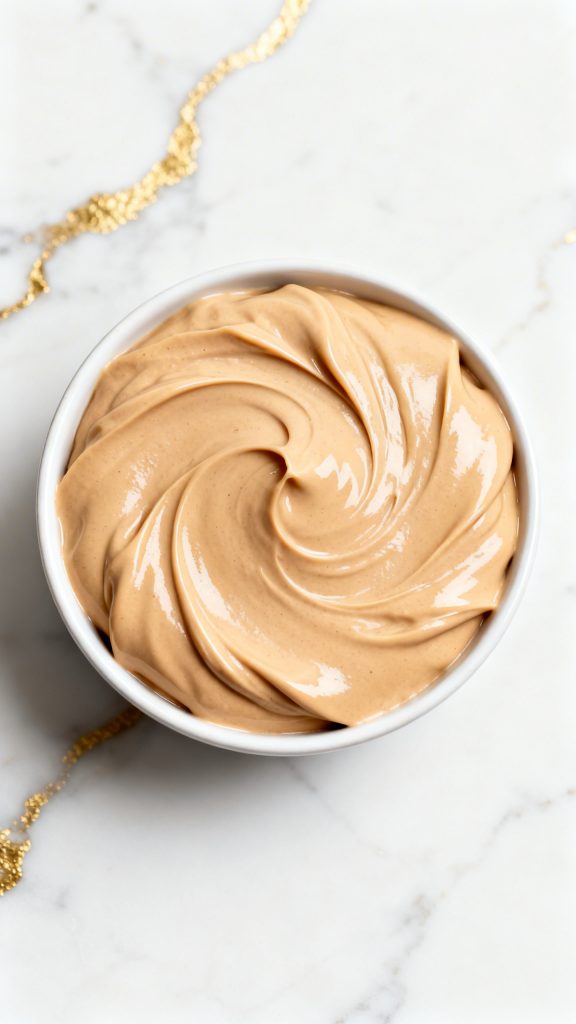
Step 3: Mix Coconut Cream and Caramel
In a small bowl, stir together 1/3 cup thick coconut cream and 2 tablespoons caramel sauce until smooth and creamy. Add 1–2 teaspoons sugar if you want it sweeter.
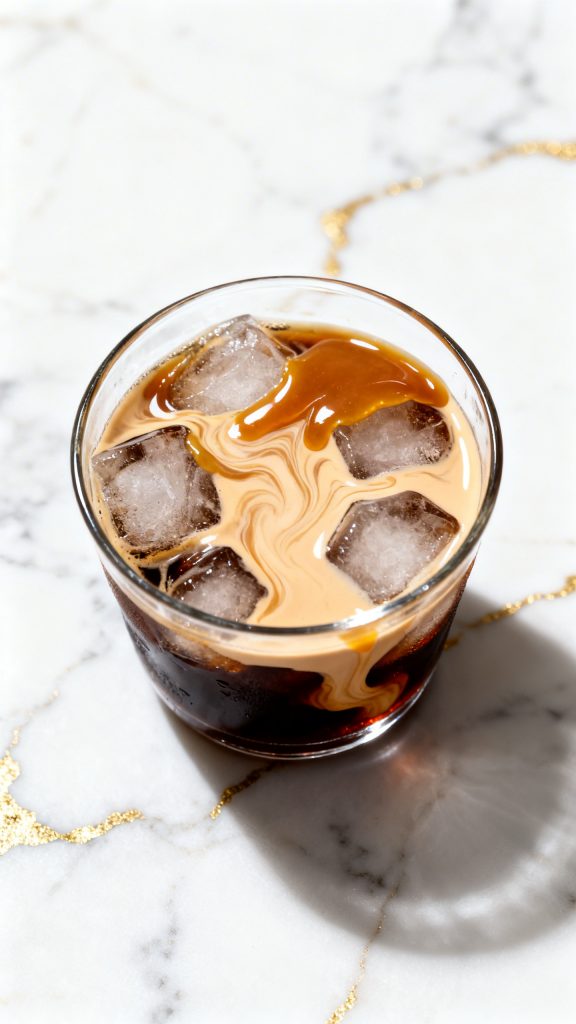
Step 4: Pour Coconut Caramel Cream
Slowly pour the coconut caramel cream mixture over the iced coffee.

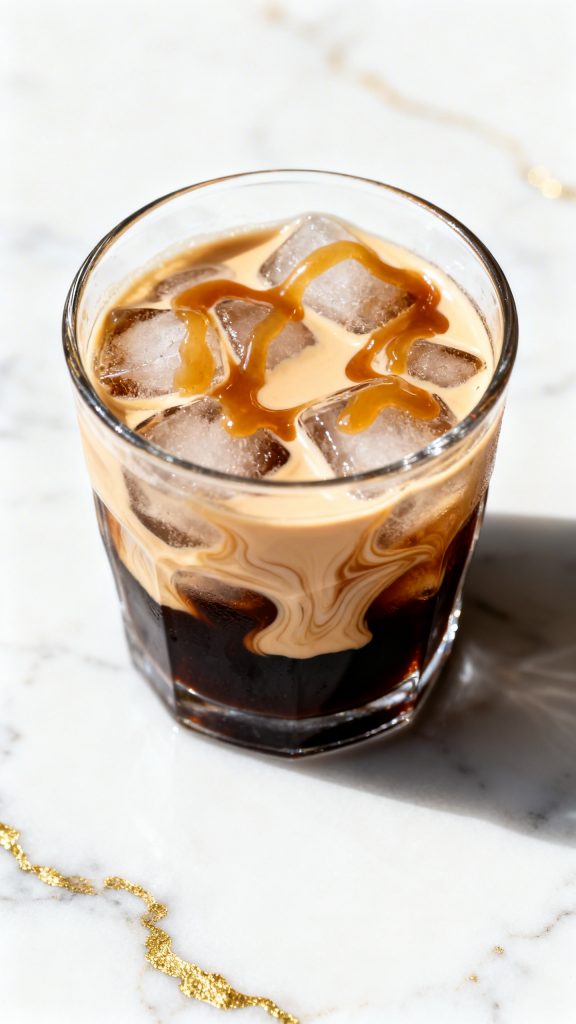
Step 5: Drizzle and Serve
Drizzle extra caramel sauce on top and give it a gentle stir if you like.
Pro Tips
- Use strong coffee so it doesn’t taste watered down over ice
- Shake the coconut cream well before using so it’s smooth
- Chill your coffee ahead of time to avoid melting the ice too fast
- Add the cream slowly for that pretty layered look
- Taste before adding sugar—caramel already adds sweetness
Substitutions and Variations
- Use oat milk or half-and-half instead of coconut cream
- Swap caramel for chocolate syrup or vanilla syrup
- Add a pinch of sea salt for a salted caramel version
- Use cold brew instead of regular coffee
Make Ahead Tips
- Brew and chill your coffee the night before
- Mix the coconut cream and caramel ahead and store in the fridge for up to 2 days
Why This Recipe Works (Quick Science)
Coconut cream is high in fat, which makes the drink feel richer and smoother. The fat also helps carry flavor, so the caramel tastes deeper and more balanced. Cold coffee keeps everything refreshing without diluting flavor too quickly.
Common Mistakes
- Using hot coffee (melts ice and weakens flavor)
- Not mixing the coconut cream (it can be clumpy)
- Adding too much sugar before tasting
- Using weak coffee
What to Serve With
- Butter cookies
- Banana bread
- Toast with honey or jam
- Light breakfast pastries
Macros Information (Approximate)
- Calories: 180–220
- Fat: 10–14g
- Carbs: 20–25g
- Sugar: 15–20g
- Protein: 1–2g
Leftovers and Storage
This is best fresh, but you can store the coffee and cream mixture separately in the fridge for up to 2 days. Stir well before using.
FAQ
Can I use coconut milk instead of coconut cream?
Yes, but it will be thinner and less rich.
Can I make it dairy-free?
It already is if you use dairy-free caramel.
How do I make it less sweet?
Use less caramel or skip the extra sugar.
Can I blend it?
Yes, blend with ice for a frozen version.
Final Thoughts
This caramel coconut cream iced coffee is simple, rich, and feels a little special every time you make it. Once you try it, it might just replace your usual iced coffee. Give it a go and tweak it to your taste—you’ll find your perfect version in no time.
