
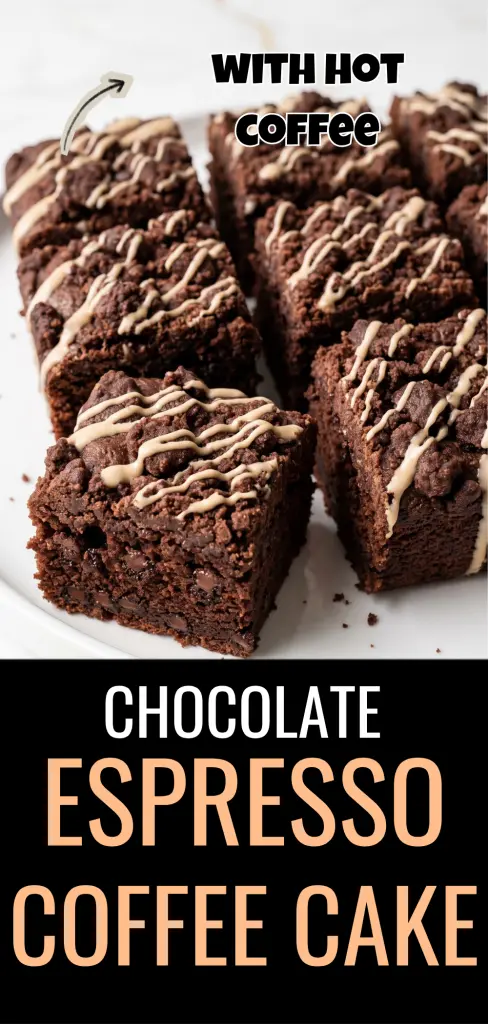
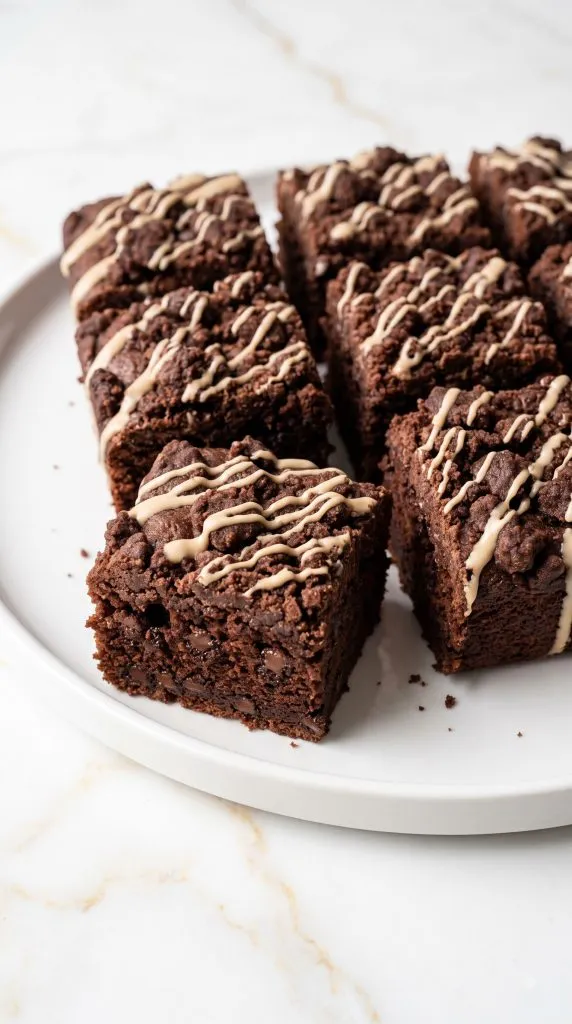
This Chocolate Espresso Coffee Cake is soft, rich, and packed with chocolate flavor.
Espresso makes the cocoa taste deeper, while a buttery chocolate crumb topping adds a little crunch.
Finish it with espresso glaze, and you have an easy coffee cake that feels like something from a bakery.
Makes: 9 servings
Prep Time: 20 minutes
Bake Time: 35–42 minutes
Cooling Time: 25–30 minutes
Total Time: About 1 hour 30 minutes
Why I Love This Recipe
Coffee cake always makes me think of slow mornings when there is no reason to rush. You make one simple cake, put the coffee on, and suddenly the kitchen feels a little more special.
This version takes that cozy idea in a chocolate direction. I love the moment you cut into it because you get three different textures at once: crisp chocolate crumbs on top, soft cake underneath, and little pockets of chocolate chips inside. Then the espresso glaze brings everything together.
The espresso is also one of my favorite parts. You can taste a little coffee, but it doesn’t take over the cake. Instead, it makes the chocolate taste darker and richer.
- Lots of chocolate flavor. Cocoa goes into both the cake and crumb topping, with chocolate chips inside.
- Soft and moist. Sour cream and butter keep the center tender.
- Great texture. The soft cake and chunky streusel are a really good match.
- Easy finish. There is no frosting or decorating to worry about.
- Espresso makes a difference. It brings out the roasted notes already found in cocoa.
- It looks bakery-style without complicated work. A simple glaze is all you need.
Why This Recipe Works (Quick Science)
Espresso makes chocolate taste richer. Coffee and cocoa have similar roasted flavor compounds. A little espresso powder strengthens those flavors without adding much extra liquid.
Sour cream helps keep the cake tender. It provides moisture and fat. Its acidity also reacts with the baking soda to help the cake rise.
Baking powder and baking soda work together. Baking powder provides reliable lift, while baking soda reacts with acidic ingredients such as sour cream.
Melted butter keeps things simple. There is no need to cream butter and sugar. It also gives the cake a rich buttery flavor.
Gentle mixing prevents toughness. Mixing flour with liquid develops gluten. Too much mixing can make a tender coffee cake become chewy.
Pro Tips
- Weigh the flour if you can. Too much flour is one of the easiest ways to end up with dry cake.
- Let the melted butter cool slightly. It should still be liquid, but it shouldn’t be piping hot when it meets the eggs and sour cream.
- Don’t overmix the batter. Stop once the flour disappears and the chocolate chips are evenly spread through it.
- Keep the streusel chunky. Some larger crumbs give the finished cake a much better texture.
- Start checking at 35 minutes. Chocolate cake is hard to judge by color, so use a toothpick instead.
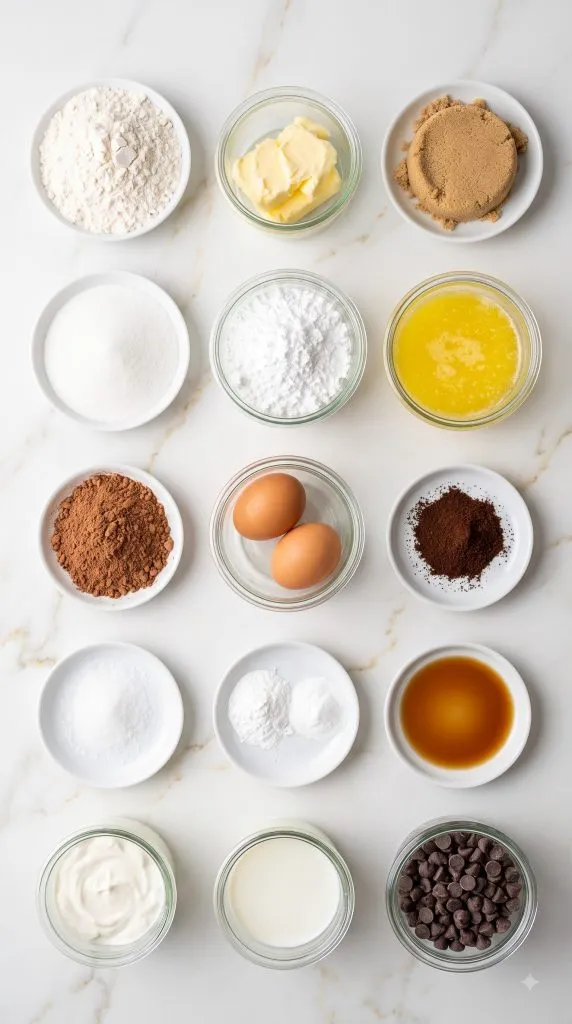
What You’ll Need
For the Pan
- 1 teaspoon softened unsalted butter
For the Chocolate Crumb Topping
- 3/4 cup (90 g) all-purpose flour
- 1/3 cup (67 g) packed light brown sugar
- 2 tablespoons (10 g) unsweetened cocoa powder
- 1/8 teaspoon fine salt
- 4 tablespoons (57 g) unsalted butter, melted
For the Chocolate Espresso Cake
- 1 1/2 cups (180 g) all-purpose flour
- 1/2 cup (43 g) unsweetened cocoa powder
- 3/4 cup (150 g) granulated sugar
- 1 teaspoon baking powder
- 1/2 teaspoon baking soda
- 1/2 teaspoon fine salt
- 2 teaspoons instant espresso powder
- 2 large eggs
- 1/2 cup (120 g) sour cream
- 1/2 cup (120 ml) whole milk
- 1/2 cup (113 g) unsalted butter, melted and slightly cooled
- 2 teaspoons vanilla extract
- 1/2 cup (85 g) semisweet chocolate chips
For the Espresso Glaze
- 3/4 cup (90 g) powdered sugar
- 1 teaspoon instant espresso powder
- 1 tablespoon whole milk
- 1/2 teaspoon vanilla extract
- Up to 1 additional teaspoon whole milk, if needed
Tools You’ll Need
- 8 x 8-inch or 9 x 9-inch square metal baking pan
- Parchment paper
- Large mixing bowl
- Medium mixing bowl
- Small mixing bowl
- Measuring cups and spoons
- Digital kitchen scale, optional but recommended
- Stainless steel whisk
- Fork
- Rubber spatula
- Toothpick
- Cooling rack
- Sharp knife
- Round white serving plate
Recipe and Instructions
Step 1: Prepare the Pan and Oven
Heat your oven to 350°F (175°C).
Spread 1 teaspoon softened unsalted butter over the inside of an 8 x 8-inch or 9 x 9-inch square metal baking pan. Line the pan with parchment paper, leaving enough paper hanging over two sides to help lift out the cake later.
Step 2: Make the Chocolate Crumb Topping
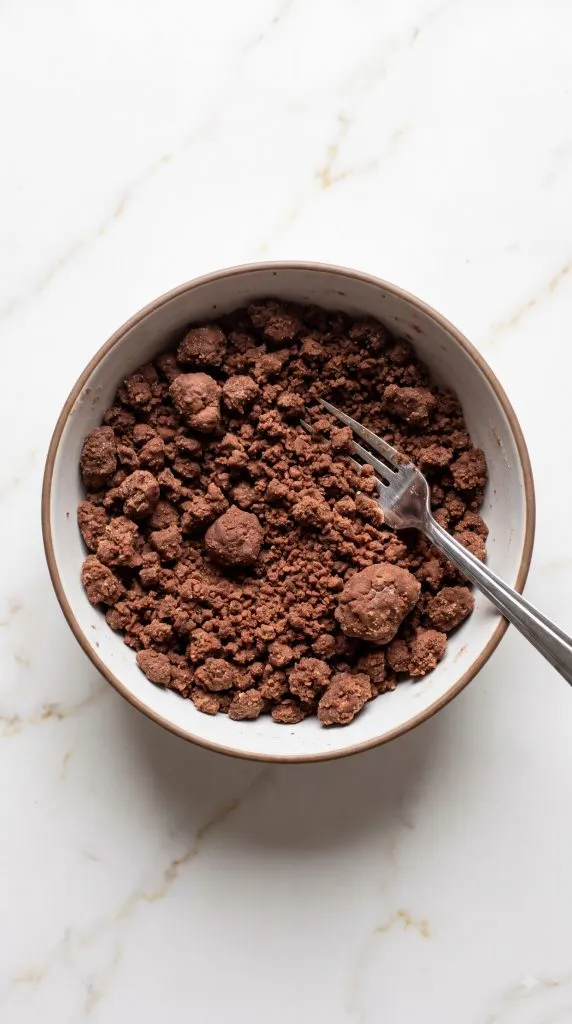
Add 3/4 cup (90 g) all-purpose flour, 1/3 cup (67 g) packed light brown sugar, 2 tablespoons (10 g) unsweetened cocoa powder, and 1/8 teaspoon fine salt to a medium mixing bowl.
Stir with a fork until evenly mixed.
Pour in 4 tablespoons (57 g) melted unsalted butter. Stir again until moist chocolate crumbs form.
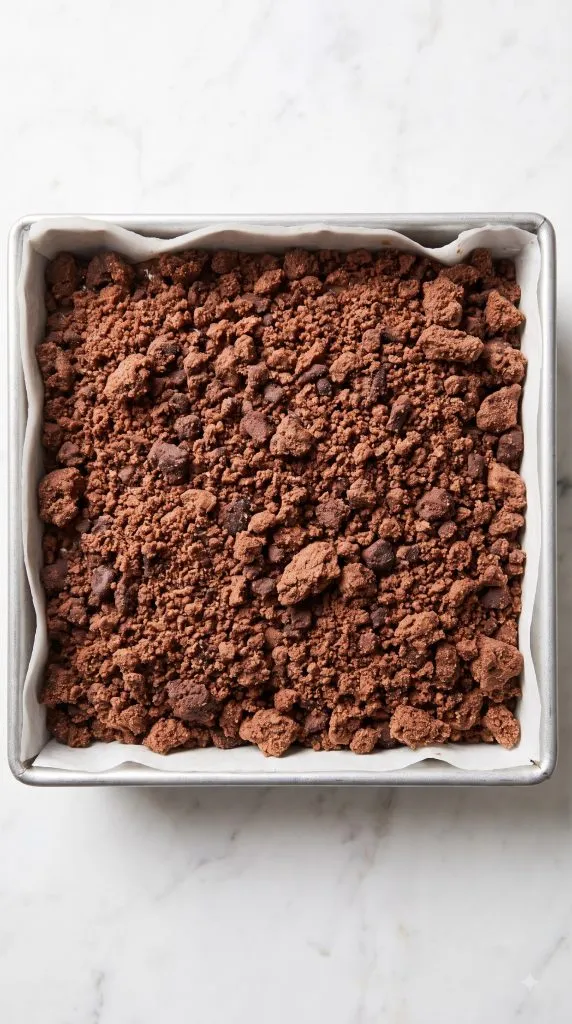
Don’t make every crumb tiny. Leave plenty of small marble-sized pieces for a chunky topping.
Set the bowl aside.
Step 3: Mix the Dry Cake Ingredients
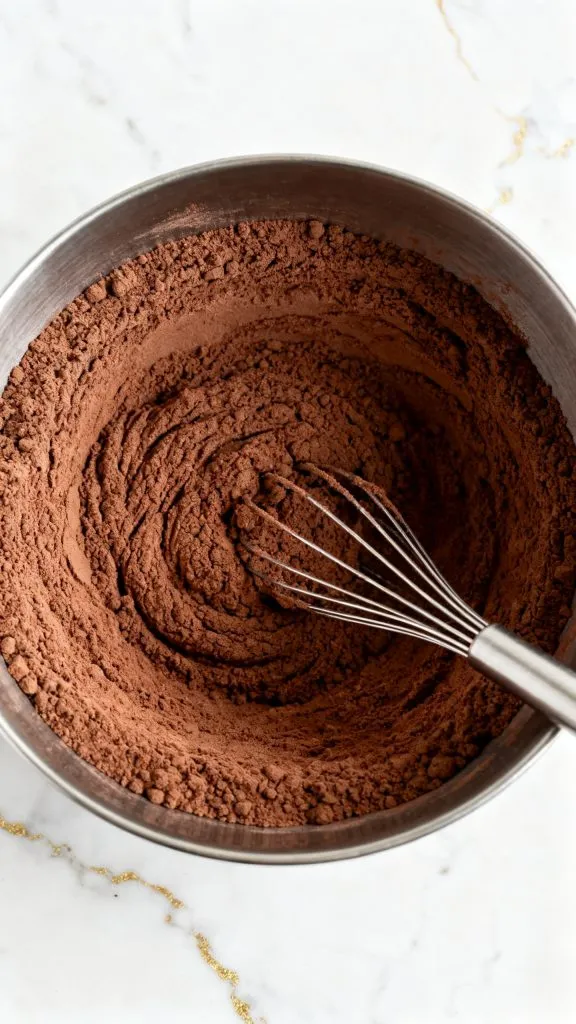
Add 1 1/2 cups (180 g) all-purpose flour, 1/2 cup (43 g) unsweetened cocoa powder, 3/4 cup (150 g) granulated sugar, 1 teaspoon baking powder, 1/2 teaspoon baking soda, 1/2 teaspoon fine salt, and 2 teaspoons instant espresso powder to a large mixing bowl.
Whisk well. Make sure there are no big lumps of cocoa or espresso powder.
Step 4: Mix the Wet Ingredients
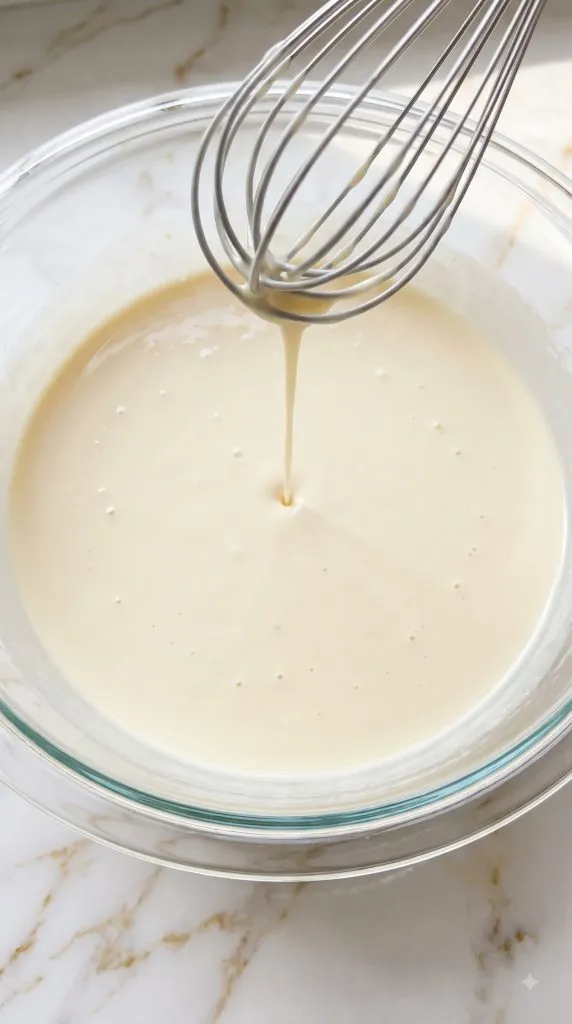
In another mixing bowl, add 2 large eggs, 1/2 cup (120 g) sour cream, 1/2 cup (120 ml) whole milk, 1/2 cup (113 g) melted and slightly cooled unsalted butter, and 2 teaspoons vanilla extract.
Whisk until the eggs are fully broken up and the mixture looks smooth and creamy.
Step 5: Make the Chocolate Espresso Batter
Pour the wet mixture from Step 4 into the dry mixture from Step 3.
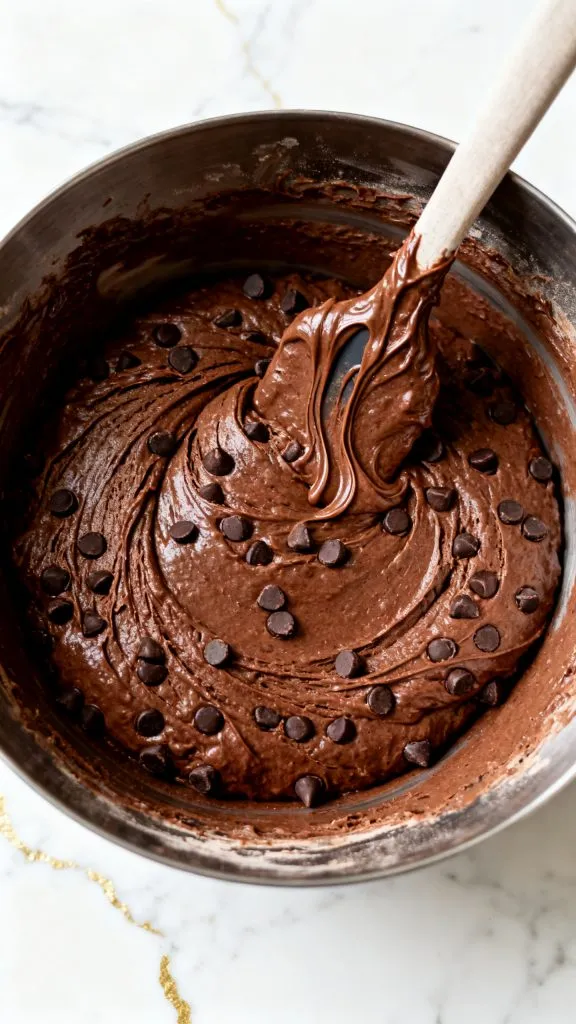
Use a rubber spatula to gently fold everything together.
Once you can barely see any dry flour, add 1/2 cup (85 g) semisweet chocolate chips.
Fold just until the chips are spread through the batter. The batter should be thick and chocolatey. Don’t keep mixing once everything is combined.
Step 6: Add the Batter and Crumb Topping
Transfer all of the chocolate espresso batter from Step 5 into the prepared pan from Step 1.
Use your spatula to spread it into an even layer and into the corners.
Scatter all of the chocolate crumb topping from Step 2 evenly over the batter. Don’t press the crumbs down. Keeping them loose helps them stay crumbly while baking.
Step 7: Bake the Coffee Cake
Bake at 350°F (175°C) for 35–42 minutes.
Begin checking at 35 minutes. Insert a toothpick into the cake part near the center. It should come out with a few moist crumbs but no raw batter.
If the toothpick hits a melted chocolate chip, try another spot.
Remove the cake and let it cool in the pan for at least 25–30 minutes.
Step 8: Make the Espresso Glaze
Add 3/4 cup (90 g) powdered sugar, 1 teaspoon instant espresso powder, 1 tablespoon whole milk, and 1/2 teaspoon vanilla extract to a small bowl.
Whisk until smooth.
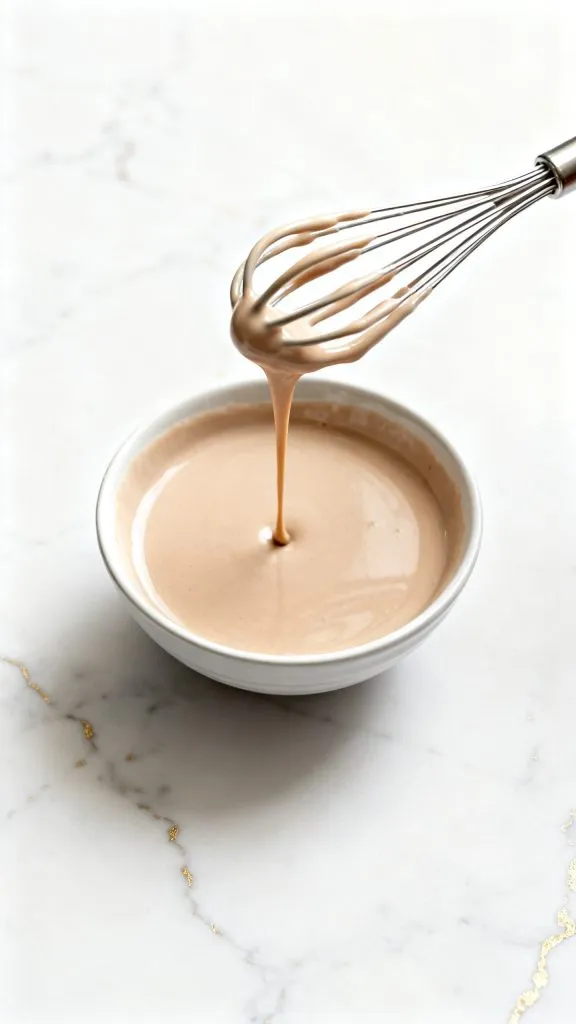
If the glaze is too thick to drizzle, add up to 1 additional teaspoon whole milk, a few drops at a time. You want a thick glaze that falls slowly from the whisk.
Step 9: Glaze, Slice, and Serve
Use the parchment paper to lift the cooled cake from the pan.
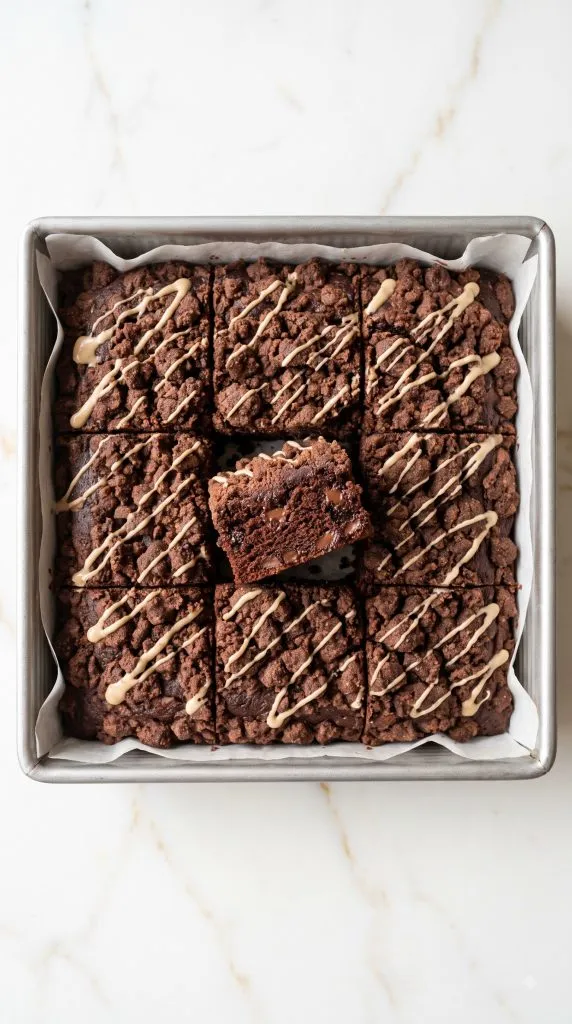
Place the cake on a round white serving plate. Slowly drizzle all of the espresso glaze from Step 8 over the chocolate crumb topping.
Let the glaze set for about 5–10 minutes, then cut the cake into 9 squares.
Common Mistakes
Overmixing the batter: Once you add the wet ingredients to the flour, mix only until everything comes together. Overmixing can make the cake tougher.
Packing flour into the measuring cup: This can add much more flour than the recipe needs. Spoon and level the flour or, even better, weigh it.
Using brewed coffee instead of espresso powder: Brewed coffee introduces extra liquid. Instant espresso powder gives concentrated coffee flavor without changing the batter’s moisture balance.
Making the streusel too fine: You want a mix of smaller crumbs and larger clusters. Don’t turn it into chocolate sand.
Pressing the topping into the batter: Sprinkle it loosely over the surface. Pressing it down can cause more of the topping to sink.
Overbaking: A toothpick with a few moist crumbs is fine. Waiting for a perfectly clean toothpick can leave you with dry cake.
Glazing while the cake is hot: A hot cake will absorb or melt the glaze. Cool it first if you want those pretty drizzle lines.
Substitutions and Variations
For the sour cream, you can use the same amount of full-fat plain Greek yogurt.
You can replace semisweet chocolate chips with dark chocolate chips for a deeper chocolate flavor or milk chocolate chips for something sweeter.
For extra crunch, fold 1/2 cup chopped toasted pecans or walnuts into the batter with the chocolate chips.
If you want less coffee flavor, reduce the espresso powder in the cake from 2 teaspoons to 1 teaspoon.
If you don’t want coffee flavor at all, leave the espresso powder out of both the cake and glaze. You’ll have a rich chocolate crumb cake instead.
Make-Ahead Tips
You can prepare the chocolate crumb topping up to 2 days ahead. Keep it covered in the refrigerator until you’re ready to bake.
The entire cake can also be baked 1 day ahead. Let it cool completely, cover it tightly, and keep it at room temperature. For the best appearance, wait to add the espresso glaze until closer to serving.
What to Serve With
A warm mug of coffee or cappuccino is the natural choice. Cold milk is also great with the rich chocolate flavor.
For something fresher, serve each slice with strawberries or raspberries. The slightly tart berries balance the sweetness of the cake.
For dessert, add a spoonful of lightly sweetened whipped cream or a small scoop of vanilla ice cream.
Macros Information
Approximate nutrition per serving when the cake is cut into 9 servings:
- Calories: About 540
- Protein: About 7 g
- Carbohydrates: About 73 g
- Fat: About 27 g
- Fiber: About 4 g
- Sugar: About 43 g
Nutrition is an estimate. The exact numbers will vary depending on your ingredient brands and serving sizes.
Leftovers and Storage
Let the cake cool completely before storing it.
Keep it in an airtight container at room temperature for up to 2 days. For longer storage, refrigerate it for up to 5 days.
Cold cake will be firmer, so let a slice sit at room temperature before eating. You can also microwave one piece for about 10–15 seconds if you like it soft and slightly warm.
For freezing, wrap individual unglazed slices tightly and place them in a freezer-safe container. Freeze for up to 2 months. Thaw at room temperature and add fresh glaze before serving when possible.
FAQ
Does this cake taste strongly like coffee?
It has a noticeable espresso note, but chocolate is still the main flavor. For a milder coffee flavor, use only 1 teaspoon espresso powder in the cake.
Can I use instant coffee instead of espresso powder?
Yes. Instant espresso powder gives a stronger flavor, but finely crushed instant coffee can work in a pinch.
Can I leave out the espresso powder?
Yes. Leave it out of both the cake and glaze for a chocolate crumb coffee cake without coffee flavor.
Why is it called coffee cake?
Coffee cake usually means a simple cake made to enjoy alongside coffee. It doesn’t always contain coffee. This version happens to include espresso too.
How do I know when the cake is baked?
Insert a toothpick near the center. Look for a few moist cake crumbs without raw batter. If you hit melted chocolate, test another spot.
Why did my crumb topping sink?
The crumbs may have been pressed into the batter, or the batter may have been overmixed. Sprinkle the topping loosely over the surface before baking.
Can I make this in a 9 x 13-inch pan?
For a 9 x 13-inch pan, it is better to double the recipe rather than spreading one batch too thin. Begin checking the cake before assuming the original baking time will apply.
Final Thoughts
This Chocolate Espresso Coffee Cake gives you a little bit of everything: soft chocolate cake, melted chocolate chips, buttery crumbs, espresso, and a sweet glaze on top. It looks special without requiring complicated decorating or baking techniques.
Give the cake enough time to cool before adding that final espresso drizzle, then cut yourself a generous square and enjoy it with your favorite drink. If you make it, leave a comment and share how it turned out, any variations you tried, or any questions you have.