
There’s something magical about starting your morning with coffee that feels just a little extra special.
That’s exactly what this Chocolate Hazelnut Creamer does! It’s creamy, rich, nutty, and just the right amount of sweet.
If you’re a fan of that chocolate-hazelnut spread we all know and love (cough, Nutella, cough), then this creamer will have you practically skipping to the coffee pot every morning.
What I love most? It’s made with simple ingredients, no weird additives, and it comes together in minutes.
Plus, it’s so much better (and cheaper!) than the store-bought stuff. Even better—kids love adding a splash to their hot cocoa or steamed milk.
It’s basically a little hug in a mug.
Let’s make your mornings a little sweeter, shall we?

What You’ll Need
- 1 cup milk (whole milk works best, but you can use non-dairy milk like almond or oat milk)
- 1 cup heavy cream
- 3 tablespoons unsweetened cocoa powder
- 2 tablespoons hazelnut spread (like Nutella, or use a dairy-free version if needed)
- 2 tablespoons maple syrup (or honey for a slightly different flavor)
- 1 teaspoon vanilla extract

Pro Tips
- Heat gently: Don’t boil the mixture! A gentle simmer is enough to combine everything without scorching the milk or cream.
- Whisk well: Cocoa powder can clump, so give it some love with your whisk. No one wants powdery bits in their coffee!
- Taste as you go: If you like your creamer sweeter, feel free to add an extra drizzle of maple syrup or hazelnut spread.
- Cool completely before storing: This helps avoid a film forming on top. Pour it into a bottle or jar only once it’s cooled.
- Double the batch: If you’re a coffee enthusiast or have a larger household, you’ll go through this fast.
Tools You’ll Need
- Medium saucepan
- Whisk
- Measuring cups and spoons
- Glass bottle or jar for storing
- Funnel (optional but handy!)
Substitutions and Variations
- Milk: Swap regular milk for almond, oat, or coconut milk for a dairy-free option.
- Sweetener: Use honey, agave, or even sugar if you don’t have maple syrup.
- Extra chocolatey: Add an extra tablespoon of cocoa powder for a richer chocolate flavor.
- Nut-free: If hazelnuts aren’t your thing, swap the hazelnut spread for almond butter or peanut butter.
Make-Ahead Tips
This creamer lasts up to a week in the fridge, so feel free to make it on the weekend and enjoy it all week long.
Instructions
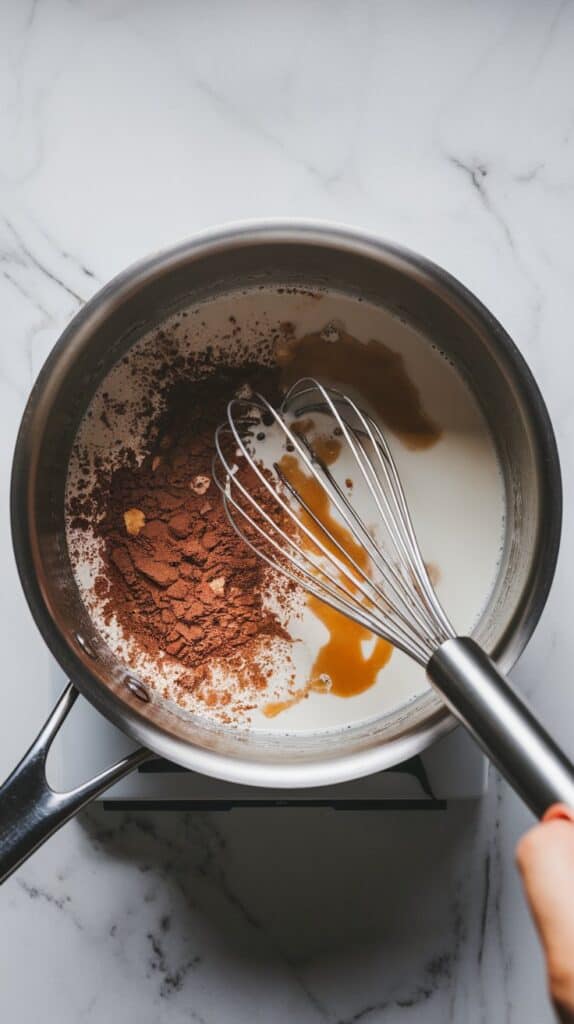
1. Combine the ingredients:
In a medium saucepan, add the milk, heavy cream, cocoa powder, hazelnut spread, and maple syrup. Whisk to combine.
2. Heat the mixture:
Place the saucepan on medium-low heat. Whisk constantly and gently heat until the cocoa powder dissolves, the hazelnut spread melts, and everything is smooth and combined (about 5–7 minutes). Do not let it boil.

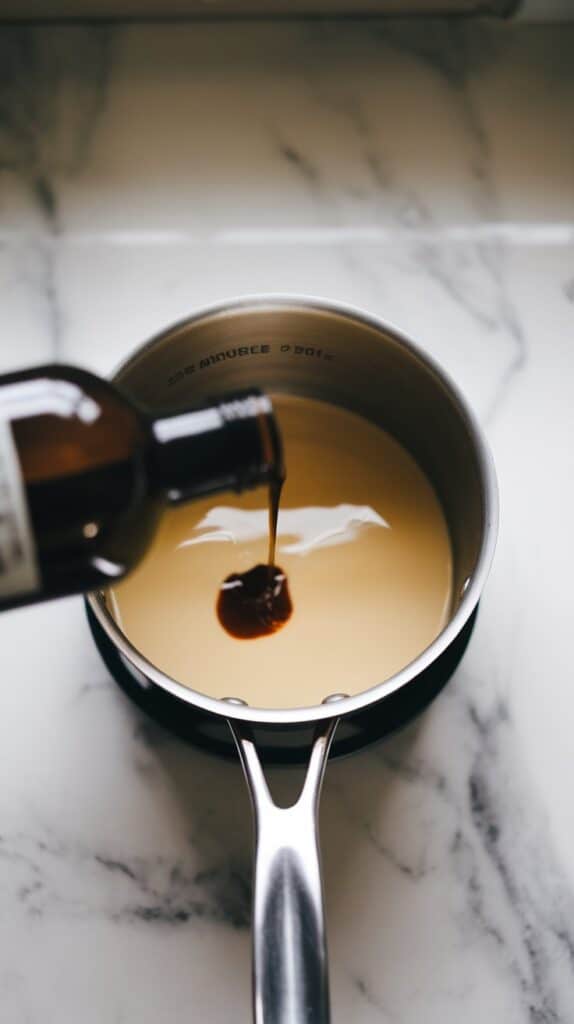
3. Add the vanilla:
Remove from heat and stir in the vanilla extract.
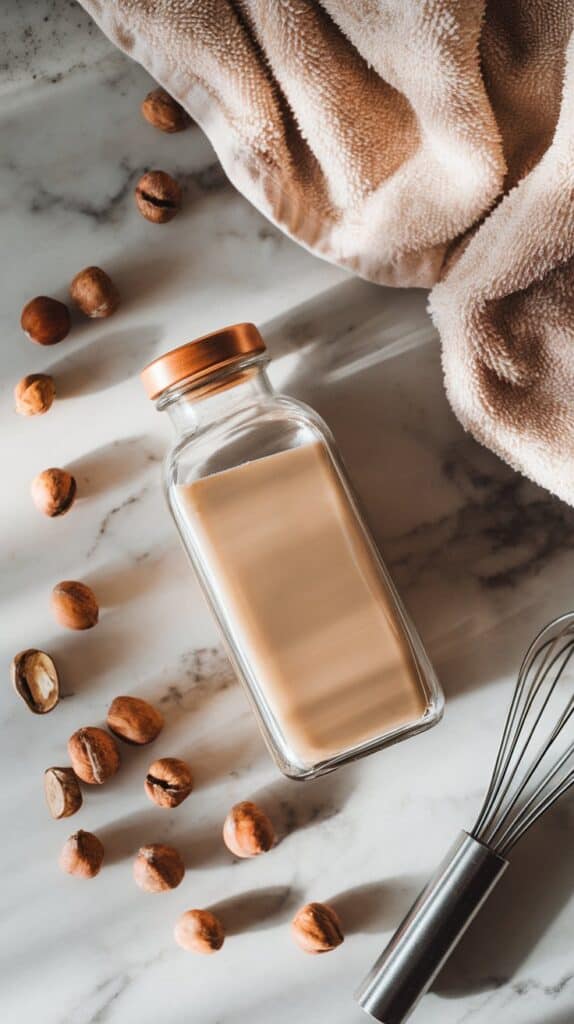
4. Cool and store:
Let the creamer cool completely before pouring it into a bottle or jar. Store in the refrigerator. Shake well before each use.
Leftovers and Storage
- Store the creamer in the fridge for up to 7 days.
- Shake well before using, as natural separation can occur.
- This creamer also works great in hot cocoa or as a drizzle over desserts!
Conclusion
And that’s it! In just a few simple steps, you’ve got your own creamy, dreamy Chocolate Hazelnut Creamer.
Your coffee just leveled up in a BIG way, and mornings are going to feel a whole lot cozier.
Give this recipe a try and let me know in the comments how you liked it—or how your family enjoyed it! Did you make any tweaks? Got questions?
