
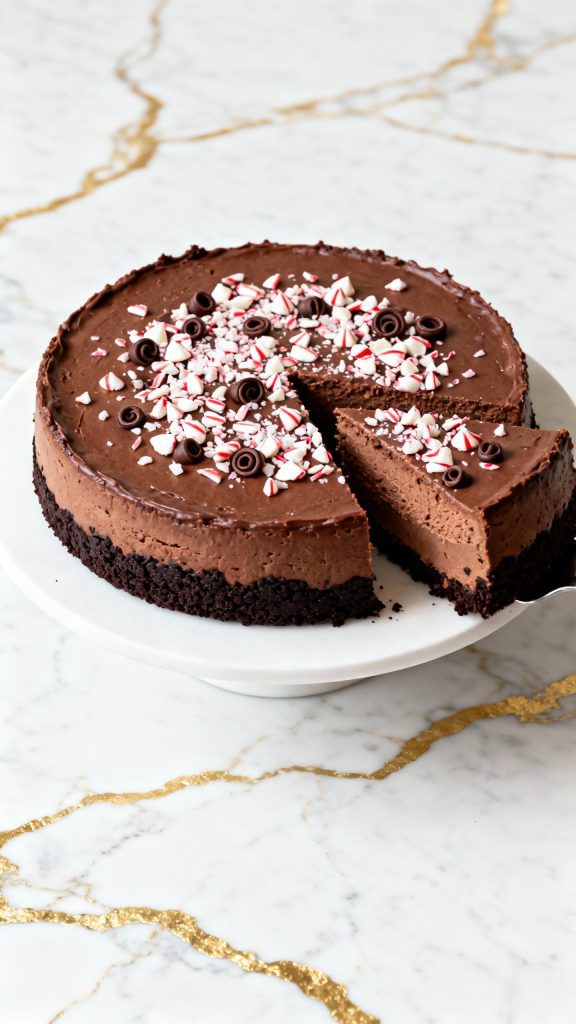
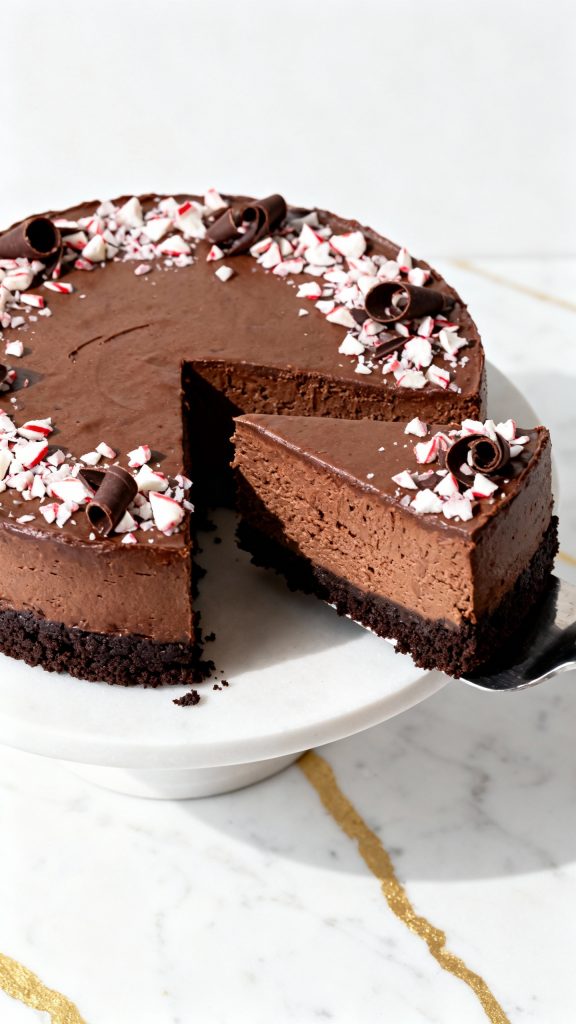
This Chocolate Peppermint Cheesecake is rich, creamy, and totally indulgent—like your favorite holiday dessert turned into a showstopper.
It’s got a chocolate cookie crust, silky chocolate cheesecake filling, and crushed peppermint on top for a festive crunch.
The peppermint gives just enough freshness to cut through the richness, and the whole thing feels like a slice of December. If you love chocolate and peppermint together, this one’s for you.

Why I Love This Recipe
I made this one year for a holiday party, and people still talk about it. It’s rich like a classic chocolate cheesecake but with a minty twist that just works. It’s festive without being over the top, and that crunchy peppermint topping? So satisfying.
- It’s make-ahead friendly
- The texture is silky smooth
- Mint + chocolate = perfect winter combo
- The crust stays crisp and chocolaty
- It looks fancy, but it’s actually simple
Makes
12 servings
Total Time
Prep: 30 minutes
Bake: 1 hour
Chill: at least 6 hours (preferably overnight)
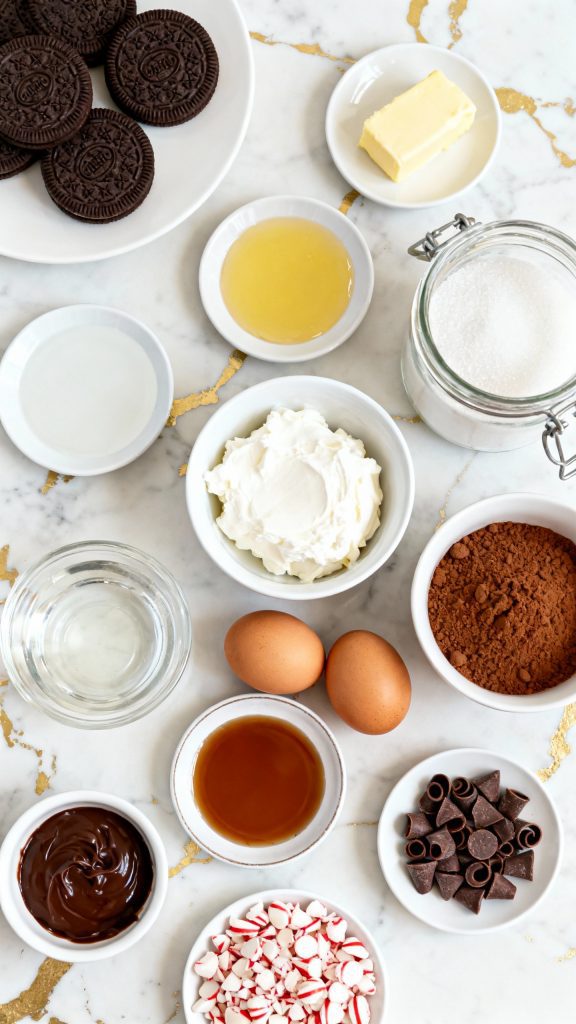
What You’ll Need
- 24 chocolate sandwich cookies (like Oreos)
- 1/4 cup unsalted butter, melted
- 3 (8 oz) blocks cream cheese, softened
- 1 cup granulated sugar
- 1 cup sour cream
- 1/2 teaspoon peppermint extract
- 1 teaspoon vanilla extract
- 1/4 cup unsweetened cocoa powder
- 8 oz semi-sweet chocolate, melted and cooled slightly
- 3 large eggs
- 1/3 cup crushed peppermint candies (for topping)
- Optional: mini chocolate curls for garnish
Tools You’ll Need
- 9-inch springform pan
- Food processor or zip bag + rolling pin
- Mixing bowls
- Electric mixer (hand or stand)
- Rubber spatula
- Small saucepan (to melt chocolate)
- Wire rack
- Foil (for water bath)
- Roasting pan or large baking dish (for water bath)
Pro Tips
- Use room temp cream cheese for a smoother filling
- Melt the chocolate first so it has time to cool slightly before adding
- Wrap your springform pan tightly in foil to prevent leaks during the water bath
- Don’t skip the water bath—it prevents cracks
- Chill the cheesecake overnight for best texture
Substitutions and Variations
- Use gluten-free cookies for a gluten-free version
- Swap peppermint extract for more vanilla if you don’t like mint
- Use dark chocolate instead of semi-sweet for a richer flavor
- Top with whipped cream instead of crushed peppermint
Make Ahead Tips
Make the cheesecake 1–2 days in advance and keep it chilled until ready to serve. Add the crushed peppermint topping just before serving to keep it crunchy.
How to Make Chocolate Peppermint Cheesecake
Step 1: Make the Crust
Crush 24 chocolate sandwich cookies into fine crumbs. Mix with 1/4 cup melted unsalted butter. Press into the bottom of a 9-inch springform pan. Bake at 325°F for 10 minutes.

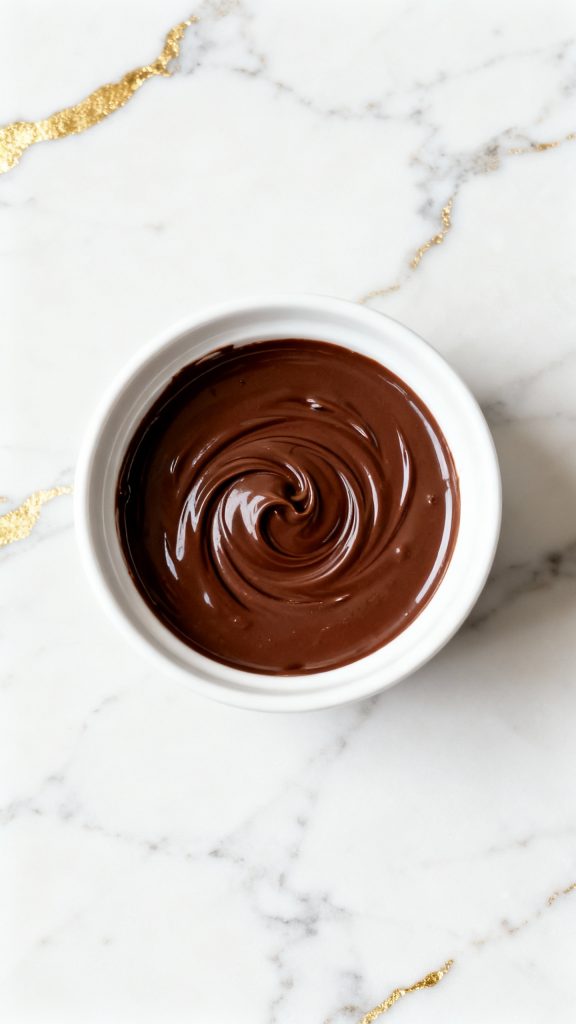
Step 2: Melt the Chocolate
Melt 8 oz semi-sweet chocolate in a small saucepan over low heat, stirring until smooth. Set aside to cool slightly.
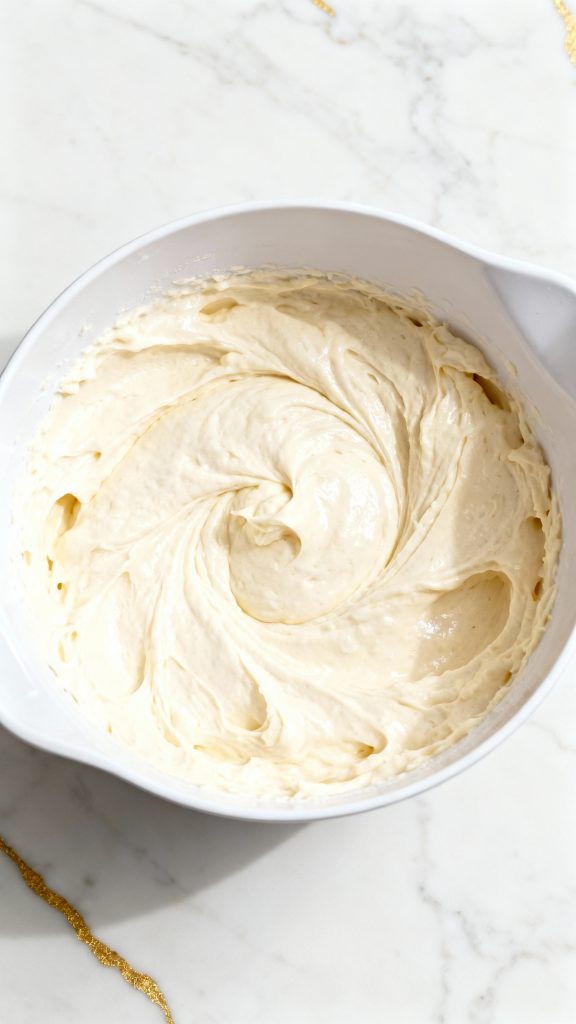
Step 3: Beat the Cream Cheese and Sugar
In a large bowl, beat 3 blocks of softened cream cheese with 1 cup granulated sugar until light and fluffy.
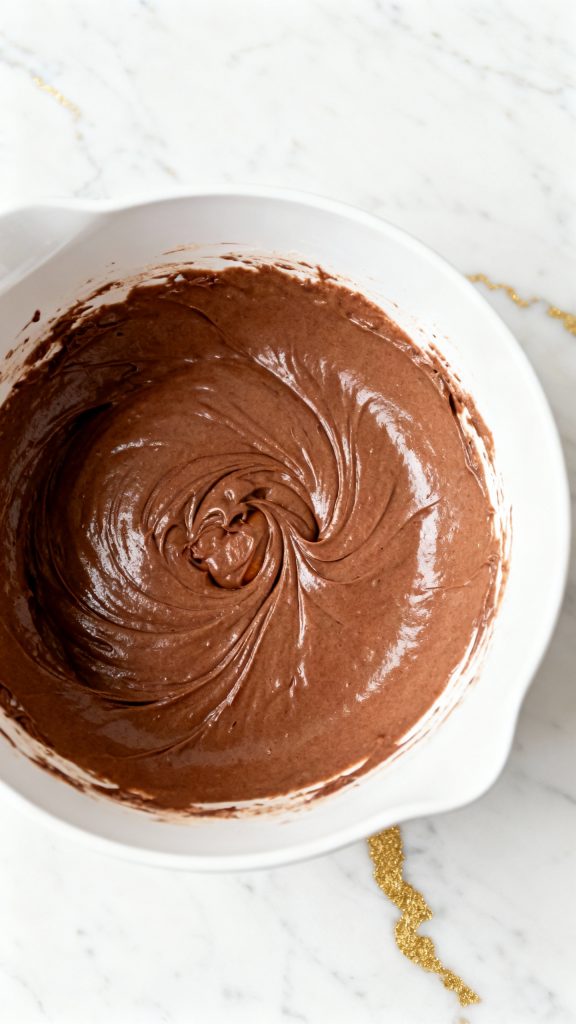
Step 4: Add Sour Cream, Cocoa, and Extracts
Add 1 cup sour cream, 1/4 cup unsweetened cocoa powder, 1/2 teaspoon peppermint extract, and 1 teaspoon vanilla extract to the cream cheese mixture. Beat until smooth.
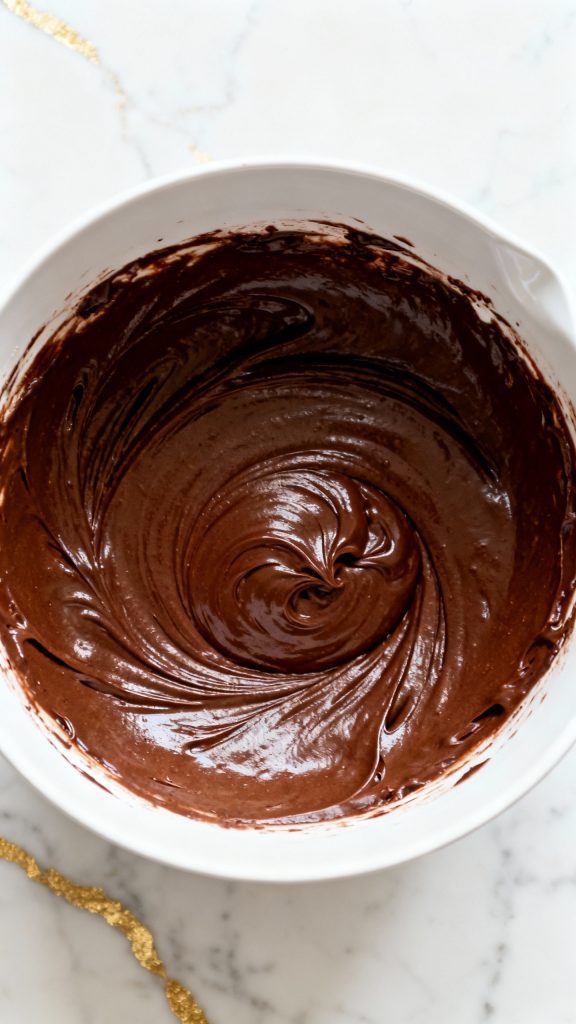
Step 5: Add Melted Chocolate
Pour in the cooled melted chocolate and mix until fully combined.
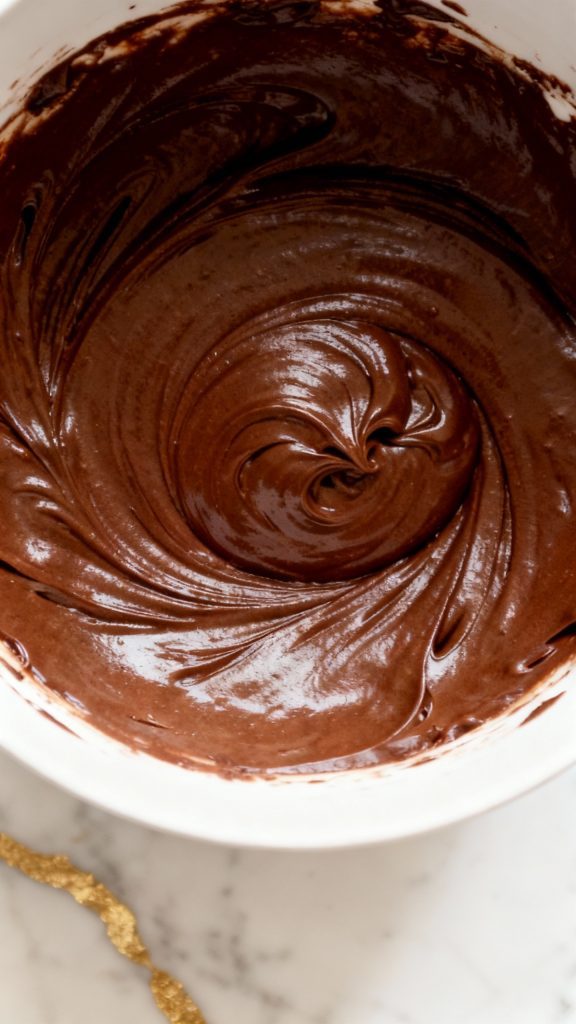
Step 6: Add Eggs
Add 3 large eggs, one at a time, mixing on low speed just until blended. Don’t overmix.
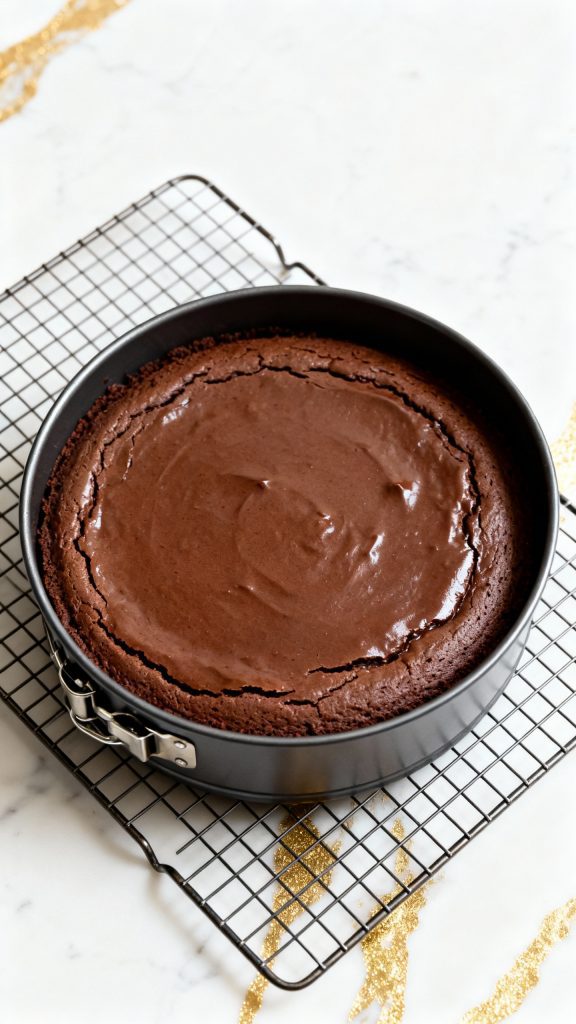
Step 7: Pour and Bake
Pour the batter into the cooled crust. Wrap the springform pan in foil and place in a roasting pan. Fill halfway up the sides with hot water. Bake at 325°F for 55–65 minutes until the center is just set.
Step 8: Cool and Chill
Let cheesecake cool completely on a wire rack, then chill in the fridge for at least 6 hours or overnight.
Step 9: Add Toppings and Serve
Top the chilled cheesecake with 1/3 cup crushed peppermint candies and optional mini chocolate curls. Slice and serve.
Leftovers & Storage
Store leftover cheesecake covered in the fridge for up to 5 days. You can also freeze individual slices—just wrap tightly and store in a freezer-safe bag for up to 2 months. Thaw overnight in the fridge before serving.
Macros (Per Serving – Approximate)
- Calories: 480
- Protein: 7g
- Fat: 34g
- Carbs: 38g
- Sugar: 28g
- Fiber: 2g
Why This Recipe Works (Quick Science)
The water bath keeps the cheesecake from cracking by gently baking it with even heat. The cream cheese and sour cream balance each other for a silky-smooth texture, and the melted chocolate creates richness without needing too much extra sugar. The peppermint lifts the heaviness of the chocolate just enough to keep it balanced.
Common Mistakes
- Not using a water bath: This can lead to cracks and dry edges
- Overmixing the batter: Adds air and can make the cheesecake rise and fall unevenly
- Not chilling long enough: It needs time to fully set and develop flavor
- Adding peppermint candies too early: They can melt or get sticky—add just before serving
What to Serve With
- Hot chocolate or peppermint mocha
- A dollop of whipped cream
- Chocolate-dipped pretzels on the side
- A holiday cookie platter
FAQ
Can I make this without a springform pan?
A regular pan won’t release the cheesecake cleanly. A springform is best.
What kind of chocolate should I use?
Semi-sweet chocolate works best, but dark chocolate is great if you like it richer.
Can I skip the water bath?
You can, but the texture might not be as smooth, and it could crack.
Is it too minty?
Nope! The peppermint is subtle—just enough to feel festive, not overpowering.
Final Thoughts
If you’re looking for a holiday dessert that feels special but totally doable, this Chocolate Peppermint Cheesecake is it. It’s smooth, rich, and just the right amount of minty. You’ll wow anyone who tries it. If you give it a go, let me know how it turned out in the comments!
