
Hey there! 🍑
Let’s talk plum jam—sweet, tangy, and so easy to make.
This is the jam I make every summer when plums are super juicy and cheap at the market.
It’s just a few ingredients, no fancy tools, and no pectin needed. Just fruit, sugar, lemon, and a little love.
This recipe is perfect for beginners, and kids love it spread on toast or swirled into yogurt. Let’s do it!

🥄 Why I Love This Recipe
There’s something super comforting about homemade jam. This recipe has saved me many times when I needed a quick gift or just wanted something homemade on my morning toast.
- Only 3 ingredients!
- No pectin or preservatives
- Great way to use up ripe plums
- It smells amazing while cooking
- Makes a thoughtful homemade gift
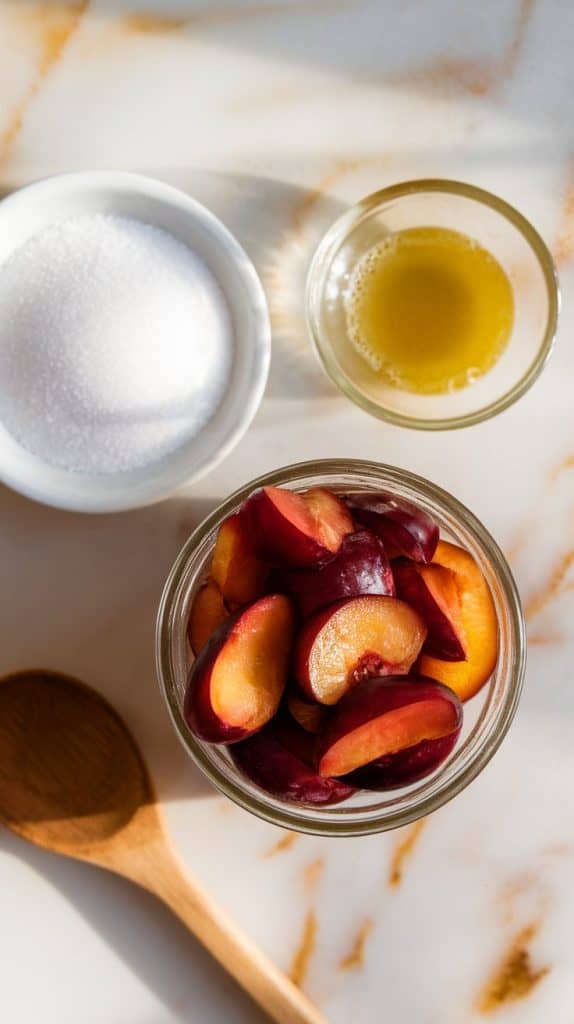
🍑 What You’ll Need
- 2 pounds ripe plums (about 8–10 medium), pitted and chopped
- 1 ½ cups granulated sugar
- 2 tablespoons fresh lemon juice
👩🍳 Pro Tips
- Use ripe (even slightly overripe) plums—they have the best flavor and natural sweetness.
- Don’t skip the lemon juice! It helps thicken the jam and balances the sweetness.
- Want it smooth? Use an immersion blender at the end to puree the jam.
- Keep a small plate in the freezer to test for doneness (I’ll explain below!).
- Let the kids help with washing and pitting the plums—it’s sticky fun!
🔧 Tools You’ll Need
- Medium saucepan
- Wooden spoon or silicone spatula
- Knife and cutting board
- Measuring cups
- Citrus juicer (or just squeeze by hand)
- Clean jars for storing
- Small plate for jam test
🔄 Substitutions & Variations
- Sugar: You can reduce to 1 cup for a more tart jam.
- Add-ins: Try a pinch of cinnamon or vanilla for extra flavor.
- Other fruit: This works great with apricots or cherries, too!
⏱️ Make Ahead Tips
You can prep the plums ahead of time—just chop and freeze them until you’re ready to jam!
👩🍳 How to Make Easy Plum Jam
Step 1: Wash, Pit & Chop the Plums
Rinse your plums well, cut them in half, remove the pits, and roughly chop. No need to peel!

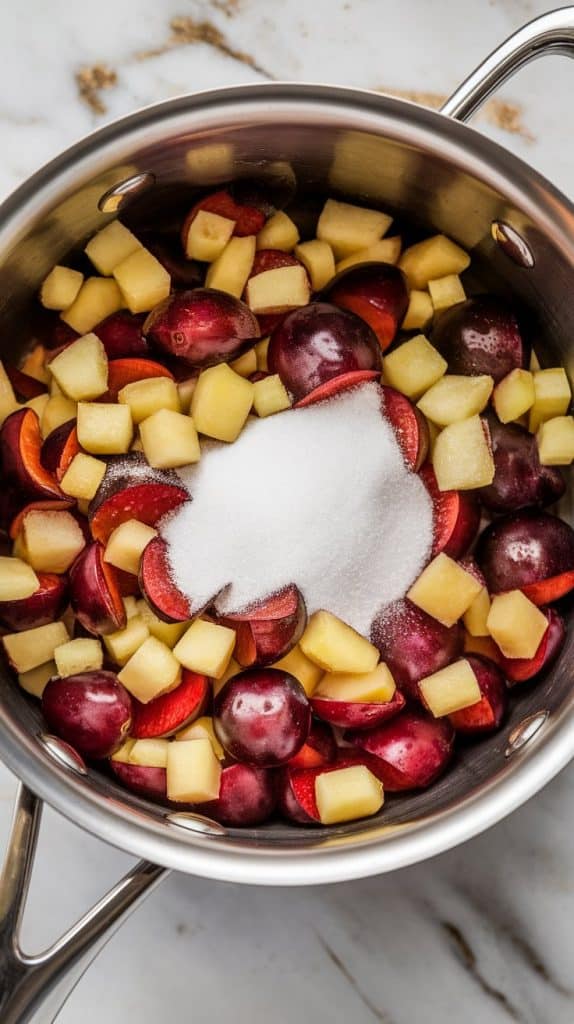
Step 2: Combine Ingredients in the Pot
Add the chopped plums, sugar, and lemon juice to a medium saucepan.
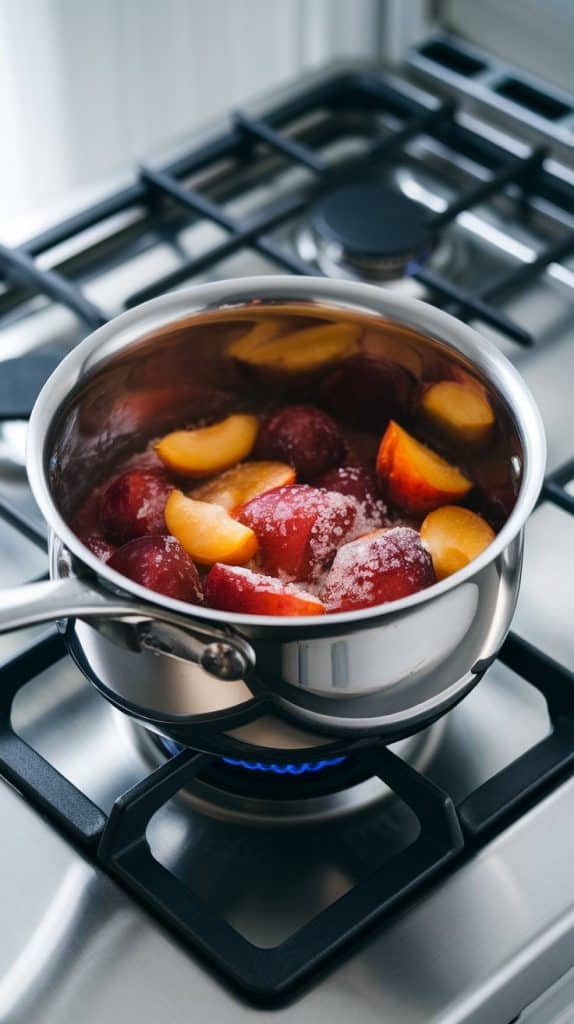
Step 3: Start Cooking
Place the pan on the stove over medium heat. Stir occasionally as the fruit breaks down.
Step 4: Simmer and Stir
Keep simmering for 30–40 minutes, stirring often so it doesn’t stick. The jam should thicken and turn glossy.

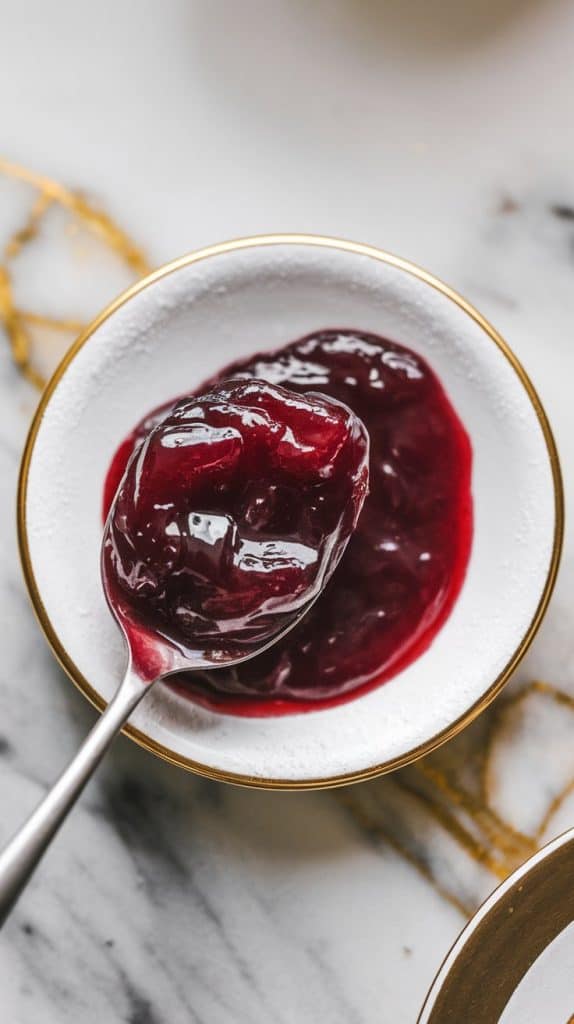
Step 5: Test for Doneness
Take that cold plate from the freezer and drop a spoonful of jam on it. Wait 30 seconds, then push it with your finger. If it wrinkles, it’s ready!
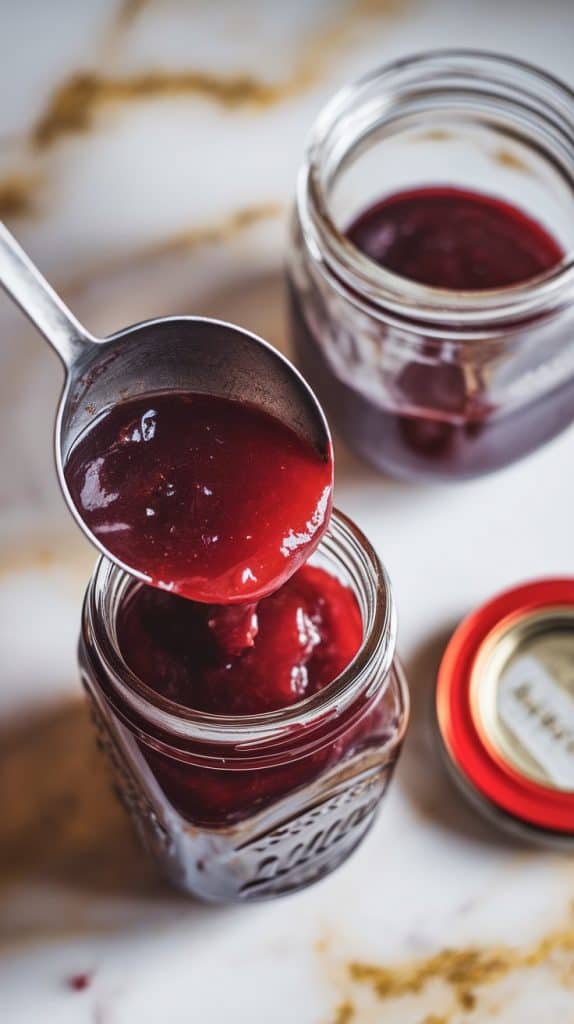
Step 6: Cool & Jar It Up
Let it cool slightly, then spoon into clean jars. Store in the fridge for up to 3 weeks or freeze for longer.
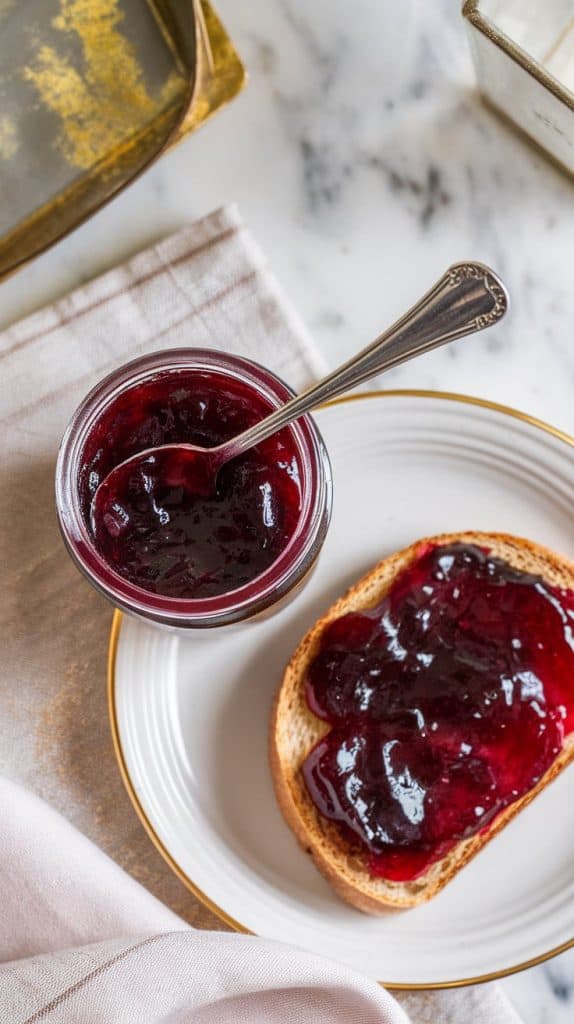
🍞 What to Serve With
- Spread on toast, biscuits, or English muffins
- Swirled into oatmeal or yogurt
- On a cheese board (SO good with brie or goat cheese)
- Use it as a filling for thumbprint cookies or cake layers
❓ FAQ
Can I use frozen plums?
Yes! Just thaw them first and drain off excess liquid.
How long does it last?
About 3 weeks in the fridge, or up to 3 months in the freezer.
Do I need to peel the plums?
Nope! The skins melt right in and add lovely texture.
Can I can this jam?
This recipe is best for fridge or freezer storage unless you adjust it for safe canning.
🧊 Leftovers & Storage Tips
- Keep in the fridge for up to 3 weeks
- Freeze in jars or freezer-safe containers for up to 3 months
- Let thaw in the fridge before using
- Use leftover jam as a glaze for chicken or pork (trust me—it’s awesome!)
🥰 Let’s Wrap It Up
I hope you try this easy plum jam and love it as much as I do. It’s cozy, simple, and brings a little homemade sunshine to your toast. Got a question? Want to share how yours turned out? Drop a comment—I’d love to hear from you!
Happy jamming! 🍇💜
