
Let’s talk chocolate milk—but better. This is a creamy, chocolatey treat that skips the sugar overload but keeps all the yum.
It’s quick to mix up, perfect cold from the fridge, and made with real ingredients you probably already have. No fancy stuff. Just simple, good chocolate milk.

💛 Why I Love This Recipe
This one brings me back. My grandma used to make a version of this after school with just a spoon and a jar of cocoa. I’ve updated it with a little less sugar but kept the feel-good flavor.

- Tastes rich and chocolatey—without being too sweet
- Only 5 simple ingredients
- Easy to mix and store in the fridge
- Works great with any kind of milk
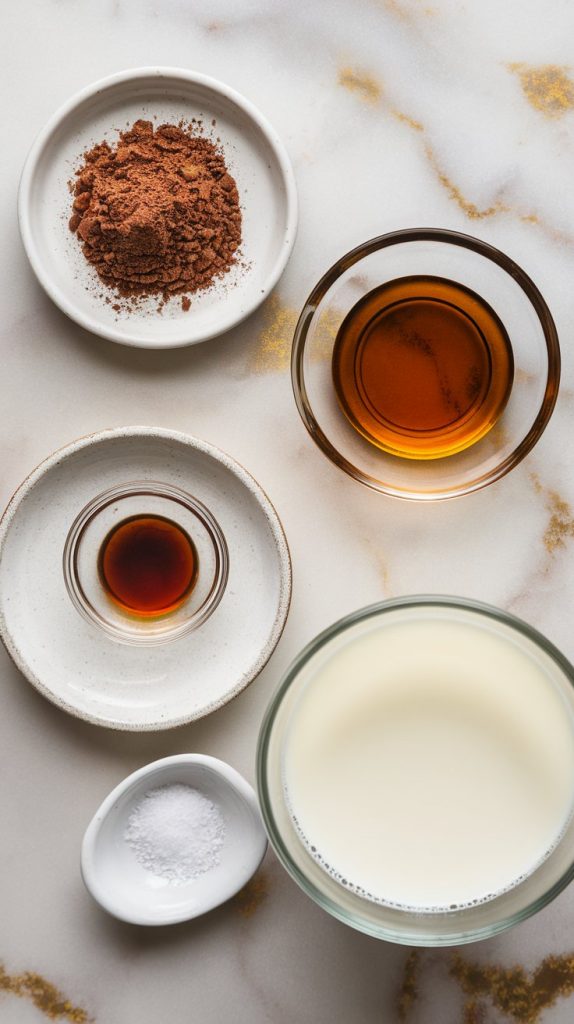
🛒 What You’ll Need
- 2 tablespoons unsweetened cocoa powder
- 2 tablespoons maple syrup (or honey)
- 1/2 teaspoon vanilla extract
- Pinch of salt
- 2 cups milk (any kind—dairy or non-dairy)
👩🍳 Pro Tips
- Warm your milk just a little (don’t boil!) to help the cocoa dissolve easier
- Mix cocoa and syrup first to make a chocolate paste—it blends better
- Use a whisk or milk frother for that café-style smoothness
- Store in a mason jar and give it a good shake before pouring
- Try oat or almond milk for a plant-based twist that still feels creamy
🔧 Tools You’ll Need
- Measuring spoons
- Measuring cup
- Small bowl or mug
- Whisk or spoon
- Jar or bottle for storing
🔁 Substitutions & Variations
- Swap maple syrup with honey or agave
- Add a dash of cinnamon or espresso powder for extra flavor
- Use a mix of milk and cream for a richer texture
- Try dark cocoa powder for a deeper chocolate taste
⏳ Make-Ahead Tips
Make a double batch and keep it in a sealed jar in the fridge for up to 4 days. Just shake before using!
👩🍳 How to Make Less-Sugar Chocolate Milk
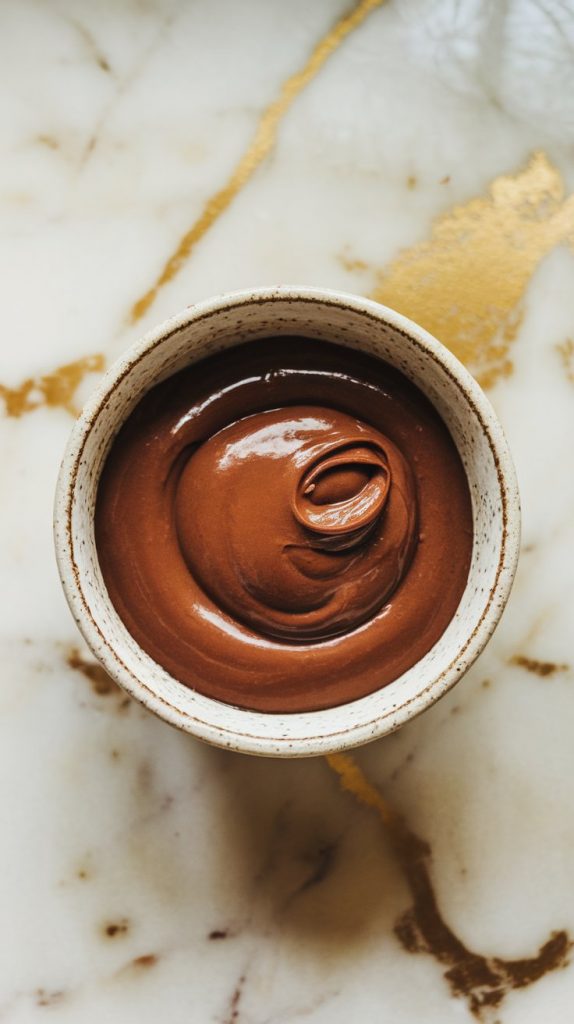
Step 1: Mix Cocoa and Maple Syrup into a Paste
In a small bowl or mug, stir together 2 tablespoons of unsweetened cocoa powder and 2 tablespoons of maple syrup until smooth and thick like chocolate sauce.
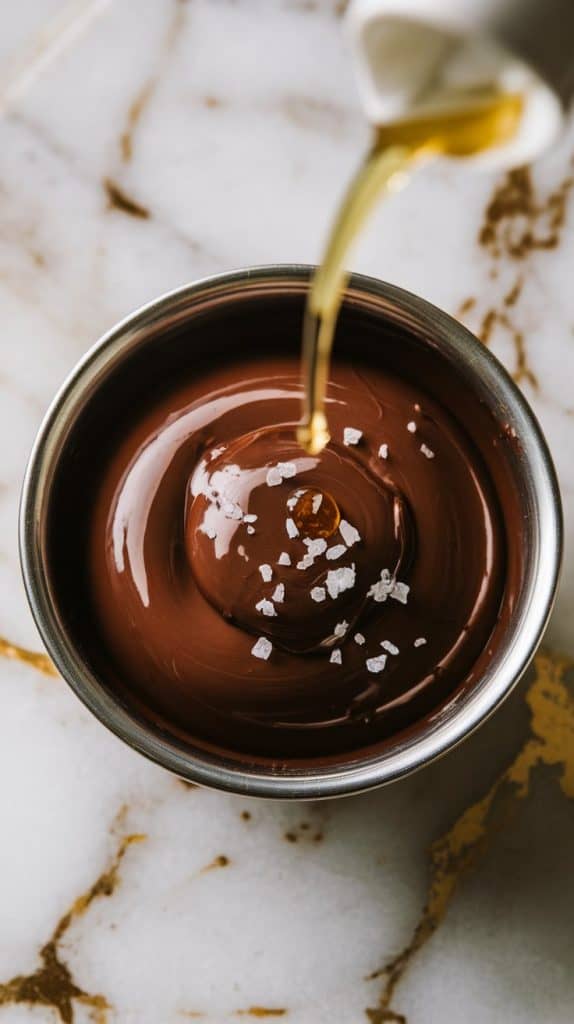
Step 2: Add Vanilla and Salt
Stir in 1/2 teaspoon of vanilla extract and a small pinch of salt into the paste. Mix until smooth again.
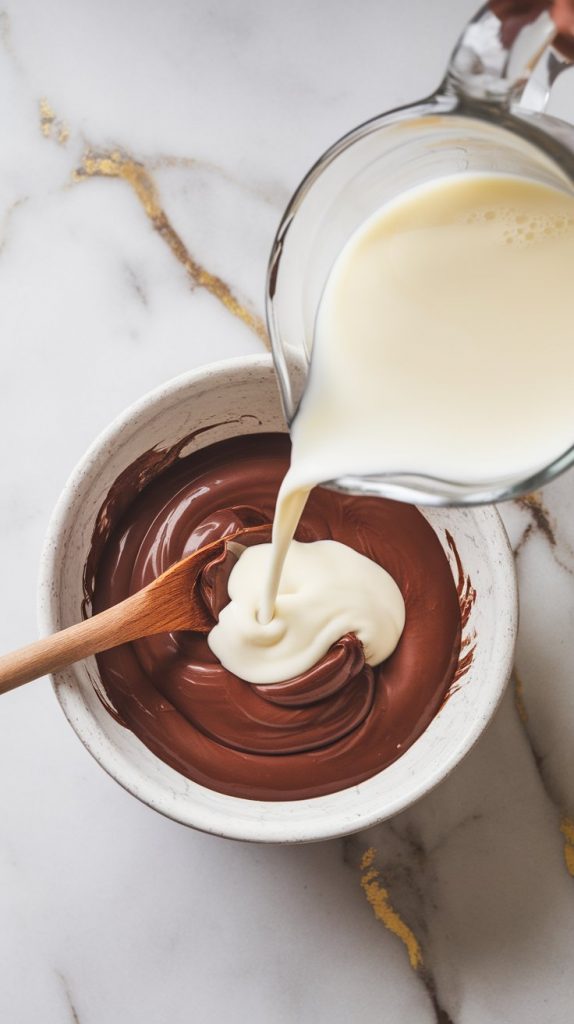
Step 3: Slowly Add the Milk
Slowly pour in 2 cups of milk, a little at a time, stirring well between each pour to fully mix in the chocolate paste.
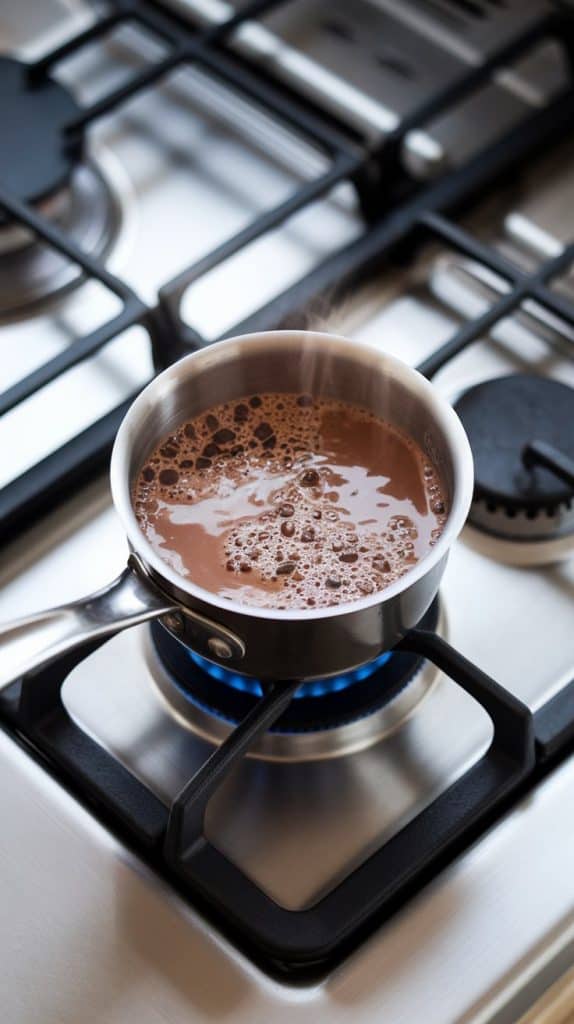
Step 4: Warm It Up (Optional)
Pour the chocolate milk into a small pot and warm over low heat until just warm—do not let it boil!
Step 5: Pour and Serve
Pour into a glass or mug, give it a little stir, and enjoy! You can serve it warm or cold.
🧊 Leftovers & Storage
Store leftovers in a sealed glass jar or bottle in the fridge. Good for up to 4 days. Shake before drinking—natural settling is normal!
🍽️ What to Serve With
- Warm peanut butter toast
- A banana or fresh berries
- Simple oatmeal cookies
- As an after-dinner sweet treat
❓ FAQ
Can I make this ahead of time?
Yep! Make a batch and keep it in the fridge.
Is this really sweet enough?
Yes! The maple syrup balances the cocoa without overdoing it. But you can always add a touch more if needed.
Can I use chocolate syrup instead of cocoa?
You could, but then it’s more sugar and fewer whole ingredients. The cocoa + syrup method gives better control.
Do I have to heat it up?
Nope! You can totally enjoy it cold straight from the fridge.
🥄 Your Turn!
Give this better-for-you chocolate milk a try! It’s easy, cozy, and always hits the spot. I’d love to hear how yours turns out—drop a comment and let me know if you tweaked anything or have questions!
