
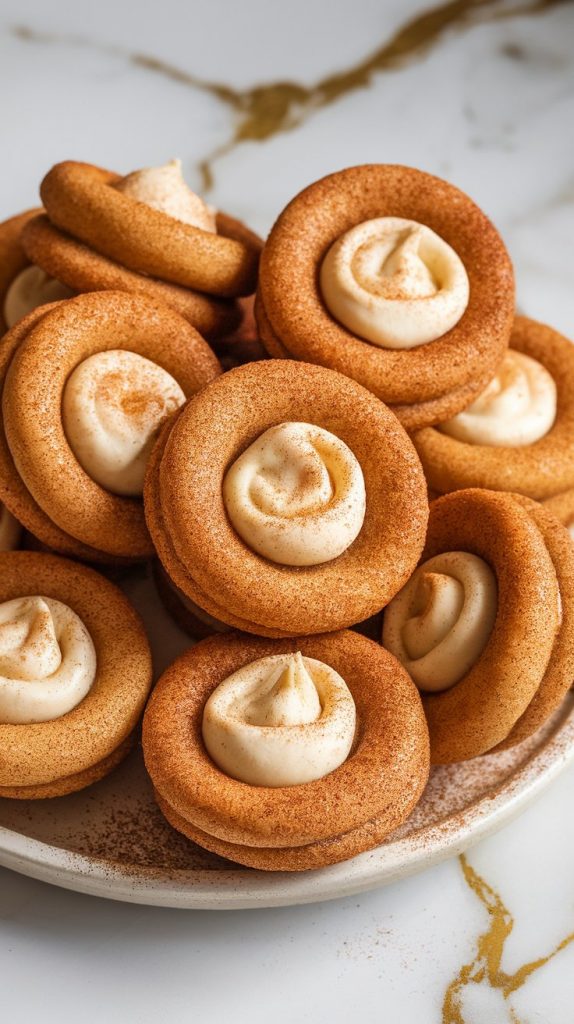
There’s just something magical about warm, cozy cookies during the holidays — especially these Eggnog Snickerdoodle Thumbprint Cookies.
They’ve got that soft, chewy snickerdoodle base everyone loves, plus a sweet, creamy eggnog center that just melts in your mouth.
I’ve made these a bunch of times for cookie swaps and potlucks, and they always disappear fast.
You’ll love how simple they are, and they come out so pretty too.

Why I Love This Recipe
I’ve made a lot of cookies, but these are always a crowd favorite. The eggnog filling is what sets them apart — it’s like a little holiday hug in every bite.
- Perfect for holiday cookie exchanges
- Make-ahead friendly
- Not overly sweet
- Great texture — chewy cookie with creamy center
- They freeze beautifully
Servings & Time
Makes: About 24 cookies
Prep Time: 25 minutes
Cook Time: 12 minutes
Total Time: 37 minutes
Macros (Per Cookie – Approximate)
- Calories: 140
- Protein: 2g
- Fat: 6g
- Carbs: 20g
- Sugar: 12g
Why This Recipe Works (Quick Science)
Cream of tartar is the secret behind that signature snickerdoodle tang and chewy texture. It keeps the sugar from crystallizing and gives the cookies a softer bite. Chilling the dough helps control spreading in the oven, keeping those thumbprint wells deep enough to hold the eggnog filling without leaking over the sides.
Common Mistakes
- Not chilling the dough: Warm dough spreads too much and loses the thumbprint shape.
- Overbaking: These should be soft and chewy, not crispy.
- Adding filling too early: Don’t bake with the eggnog filling inside — it goes in after baking!
- Pressing too deep: A shallow well is enough. Too deep and the cookie may crack or tear.
What to Serve With
- A mug of hot eggnog or spiced cider
- Vanilla ice cream on the side
- Fresh fruit like sliced pears or apples
- Sprinkle crushed candy cane on top for extra holiday flair
FAQ
Can I make this dough ahead?
Yes! Chill it up to 48 hours or freeze it for 2 months.
Can I use store-bought eggnog?
Absolutely. I usually do!
Do they need to be refrigerated?
If you’re serving the same day, no. For longer storage, yes, because of the eggnog filling.
Can I freeze them after filling?
Yep, just flash freeze on a tray, then transfer to a freezer bag.
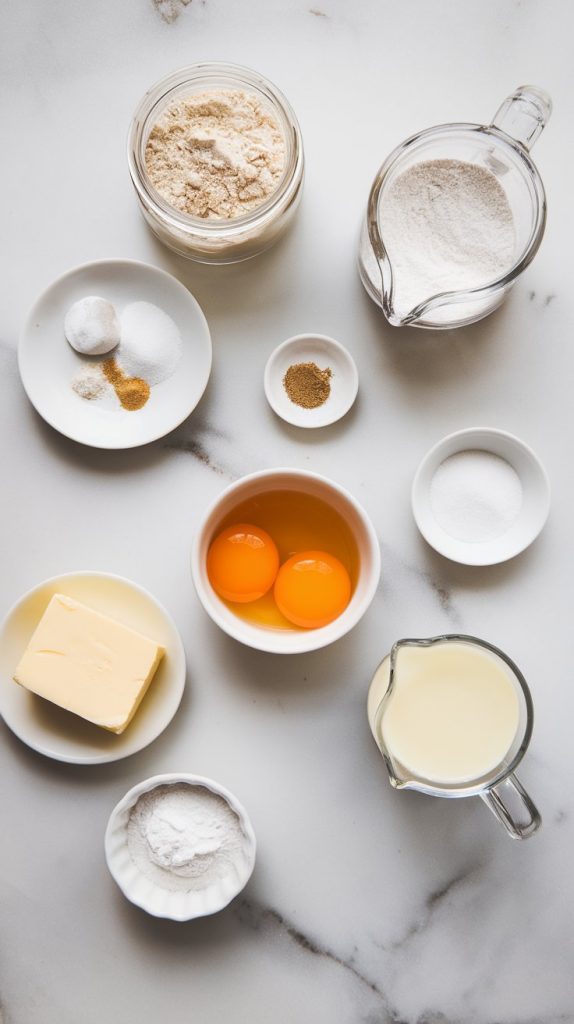
What You’ll Need
- 2 3/4 cups all-purpose flour
- 1 1/2 teaspoons cream of tartar
- 1/2 teaspoon baking soda
- 1/2 teaspoon salt
- 1 cup (2 sticks) unsalted butter, softened
- 1 1/2 cups granulated sugar
- 2 large eggs
- 1 teaspoon vanilla extract
- 1/2 teaspoon ground nutmeg
- 1/4 cup eggnog
- 1/2 cup powdered sugar
- 1 tablespoon cornstarch
- 1 teaspoon cinnamon (for rolling)
- 1/4 cup sugar (for rolling)
Tools You’ll Need
- Mixing bowls
- Electric mixer
- Measuring cups and spoons
- Baking sheet
- Parchment paper
- Small spoon
- Cooling rack
- Small saucepan
- Whisk
- Cookie scoop (optional)
Substitutions and Variations
- Butter: Use plant-based butter for dairy-free version
- Eggnog: Almond or oat nog works great too
- Nutmeg: Add a pinch of clove or cinnamon if you don’t have nutmeg
- Sugar: Use coconut sugar for rolling if you want a deeper flavor
- Thumbprint: Try raspberry jam instead of eggnog for a fruity twist
Make Ahead Tips
- Make the dough up to 2 days in advance and chill it
- Freeze unbaked dough balls and bake straight from frozen (just add 2 more minutes)
- Eggnog filling can be made 3 days ahead and stored in the fridge
How to Make Eggnog Snickerdoodle Thumbprint Cookies
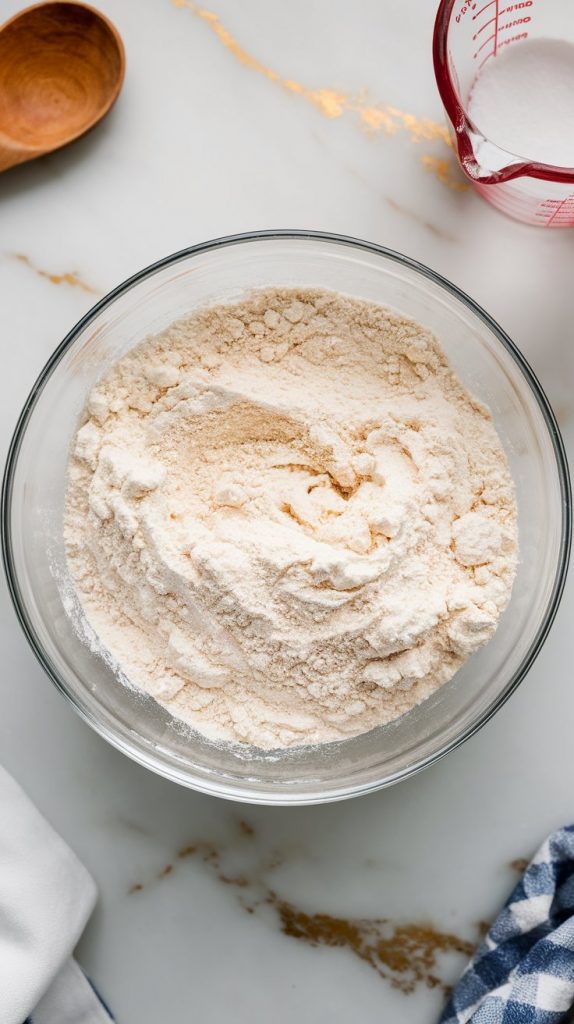
Step 1: Mix the Dry Ingredients
In a medium bowl, whisk together 2 3/4 cups all-purpose flour, 1 1/2 teaspoons cream of tartar, 1/2 teaspoon baking soda, and 1/2 teaspoon salt. Set aside.
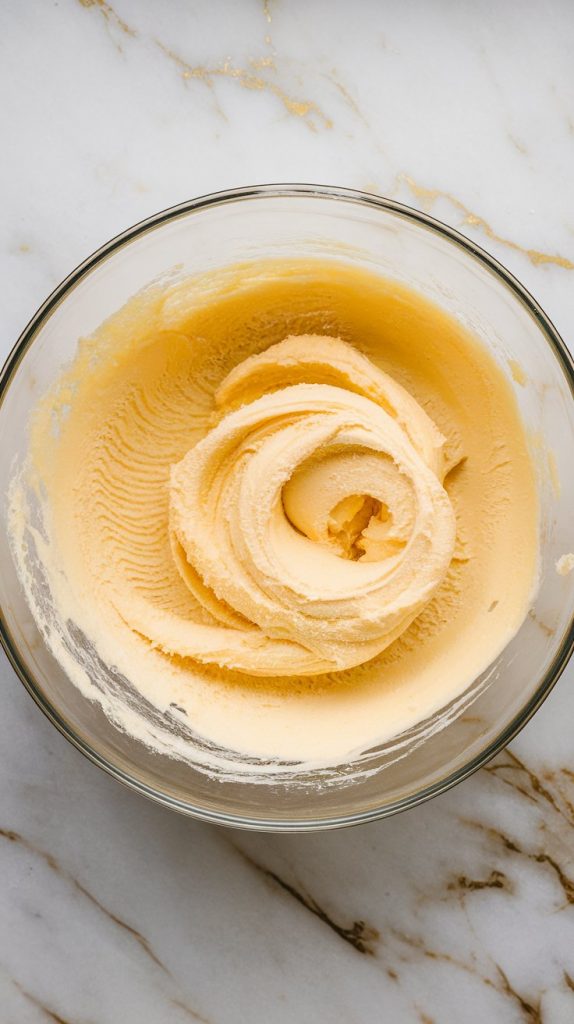
Step 2: Cream the Butter and Sugar
In a large mixing bowl, beat 1 cup softened butter and 1 1/2 cups granulated sugar with an electric mixer on medium speed until light and fluffy, about 2–3 minutes.
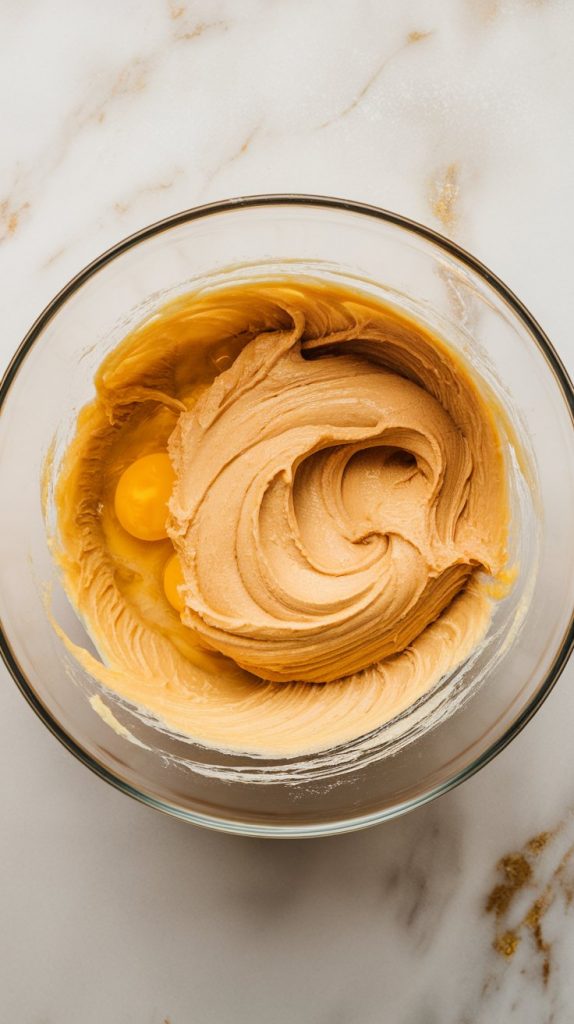
Step 3: Add Eggs and Vanilla
Beat in 2 eggs, one at a time, then add 1 teaspoon vanilla extract and mix until fully combined.
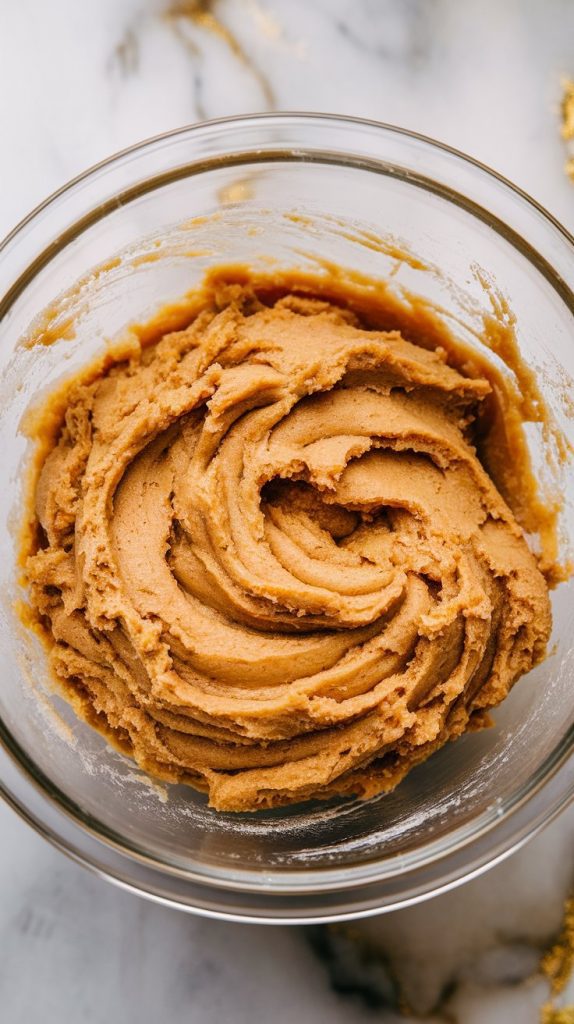
Step 4: Combine Wet and Dry
Add the dry ingredients to the wet ingredients a little at a time. Mix just until combined and a soft dough forms.
Step 5: Chill the Dough
Cover the dough and chill it in the fridge for at least 1 hour.
Step 6: Make Cinnamon Sugar
In a small shallow bowl, mix 1/4 cup sugar and 1 teaspoon cinnamon.
Step 7: Scoop, Roll, and Press
Scoop tablespoon-sized amounts of dough, roll into balls, coat in cinnamon sugar, and place on a parchment-lined baking sheet. Gently press your thumb into the center of each ball to create a shallow well.

Step 8: Bake
Bake at 350°F (175°C) for 10–12 minutes or until edges are just golden. Don’t overbake.
Step 9: Make the Eggnog Filling
While cookies cool, whisk together 1/4 cup eggnog, 1/2 cup powdered sugar, 1 tablespoon cornstarch, and 1/2 teaspoon ground nutmeg in a small saucepan over medium heat. Stir until thickened, about 3–5 minutes. Let cool.

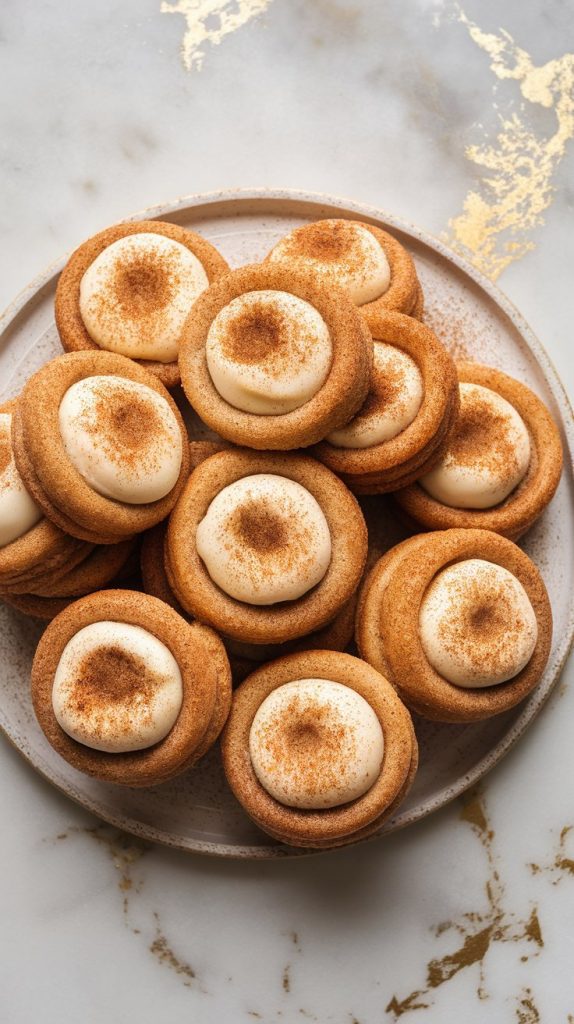
Step 10: Fill the Cookies
Once cookies are cool, spoon about 1 teaspoon of the cooled eggnog filling into each thumbprint center.

Step 11: Serve
Let the filling set for 10–15 minutes, then transfer to a serving plate and enjoy!
Leftovers and Storage
- Store cookies in an airtight container at room temp for 2 days
- Keep in the fridge up to 5 days
- Freeze for up to 2 months — layer with parchment paper in a freezer-safe container
- Let thaw at room temp and enjoy!
Wrap Up
These Eggnog Snickerdoodle Thumbprint Cookies are the kind of recipe that feels special but doesn’t ask too much of you. They’ve got that buttery cookie texture, cozy holiday flavor, and creamy filling that makes everyone go “Wait, what are THESE?!” Give them a try, and when you do — leave a comment and let me know how they turned out or if you have any questions!
