
Ever crave something warm, rich, and chocolatey… right now? This Hot Chocolate Mug Cake is the ultimate one-minute fix.
No fancy steps. No oven. Just a mug, a microwave, and a few pantry staples.
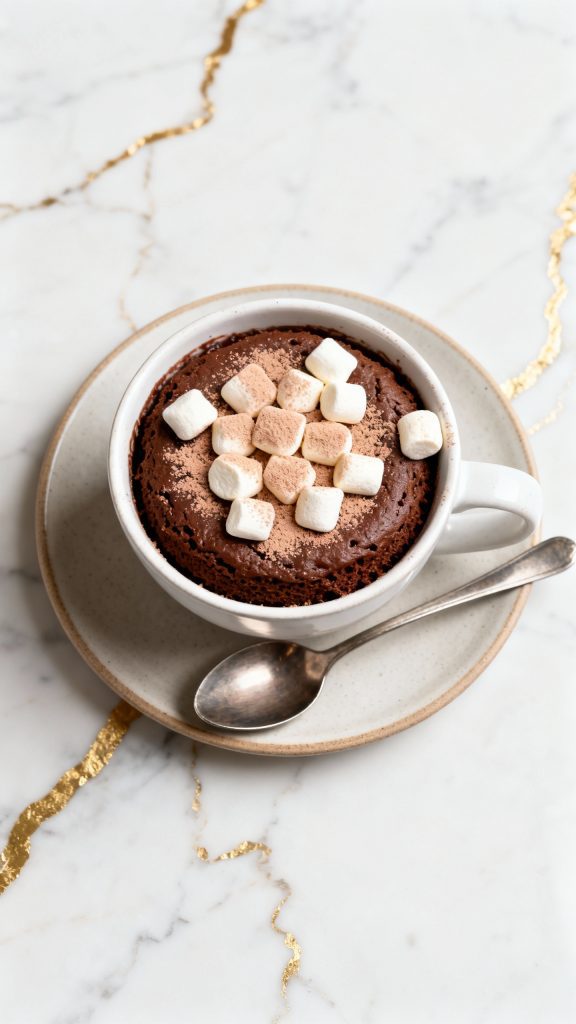
It’s soft, gooey, and has that cozy hot cocoa vibe with a melty chocolate center.
You’ll be sitting down with a spoon in no time.

Why I Love This Recipe
This mug cake saved me more than once when I needed a quick dessert. It started as a late-night fix and quickly became my go-to comfort treat. I’ve made it dozens of times—especially on chilly evenings when I’m wrapped in a blanket and want something sweet right now.
Minimal cleanup
No baking required
Comes together in 5 minutes
Warm, rich, and comforting
Only uses basic pantry items
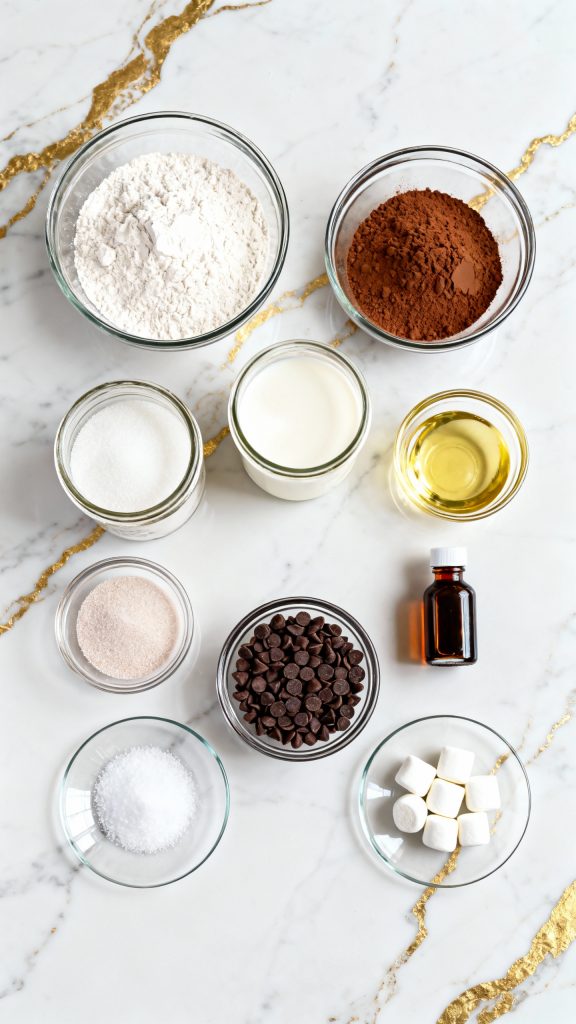
What You’ll Need
- 1/4 cup all-purpose flour
- 2 tbsp unsweetened cocoa powder
- 2 tbsp granulated sugar
- 1/4 tsp baking powder
- 1/8 tsp salt
- 1/4 cup milk
- 2 tbsp neutral oil (like canola or vegetable)
- 1/4 tsp vanilla extract
- 1 tbsp semi-sweet chocolate chips
- Optional: mini marshmallows for topping
Servings and Time
Servings: 1
Cook Time: 1 minute in the microwave (plus 3 minutes prep)
Macros (Approximate)
- Calories: 380
- Protein: 5g
- Fat: 18g
- Carbs: 52g
- Sugar: 27g
- Fiber: 3g
Why This Recipe Works (Quick Science)
Baking powder gives the cake lift quickly in the microwave, while the oil keeps it moist. The chocolate chips melt into the center, making it gooey and rich like a molten cake. Using milk instead of water adds creaminess and enhances the cocoa flavor.
Common Mistakes
- Overcooking it: Just 1 minute is usually enough. Too long, and it’ll dry out.
- Skipping the salt: Even a pinch brings out the chocolate flavor.
- Not mixing well: Dry flour at the bottom leads to uneven texture.
- Using a tiny mug: It’ll overflow—use a 12 oz or larger mug.
What to Serve With
- A scoop of vanilla ice cream on top
- Drizzle of chocolate syrup
- Fresh berries on the side
- Sprinkle of crushed peppermint for holiday vibes
FAQ
Can I double the recipe?
Yes, but use a large bowl or split into two mugs.
Can I make it dairy-free?
Yep! Use almond or oat milk instead of regular milk.
Can I use hot cocoa mix?
You can, but adjust sugar since mixes are sweetened already.
Substitutions and Variations
- Milk → Almond milk, oat milk, or soy milk
- Oil → Melted butter or coconut oil
- Chocolate chips → Chunks of chocolate, Nutella, or peanut butter center
- Cocoa powder → Dark cocoa powder for richer taste
- Add-ins → A pinch of cinnamon or espresso powder
Tools You’ll Need
- 12 oz microwave-safe ceramic mug
- Measuring spoons
- Measuring cups
- Small whisk or fork
- Spoon for stirring
Make Ahead Tips
You can pre-mix the dry ingredients and store them in small jars or zip bags. When ready, just add the wet ingredients and microwave.
Let’s Make It
Step 1: Mix the Dry Ingredients
Add 1/4 cup all-purpose flour, 2 tbsp cocoa powder, 2 tbsp granulated sugar, 1/4 tsp baking powder, and 1/8 tsp salt into a 12 oz microwave-safe mug. Mix until fully combined.
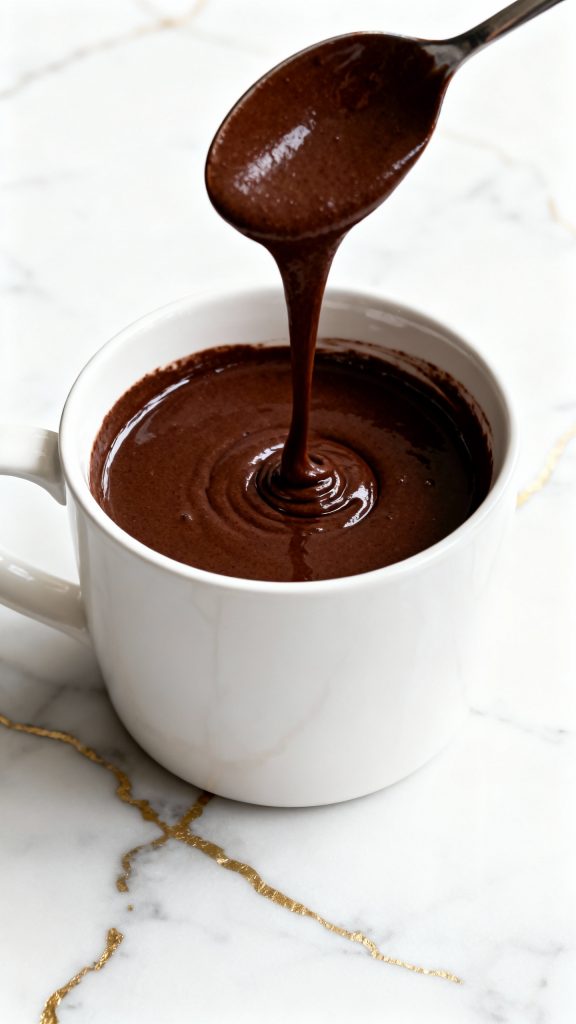
Step 2: Add the Wet Ingredients
Pour in 1/4 cup milk, 2 tbsp neutral oil, and 1/4 tsp vanilla extract. Stir everything together until no lumps remain.

Step 3: Add the Chocolate Chips
Drop in 1 tbsp semi-sweet chocolate chips into the center of the batter and gently press them down just below the surface.

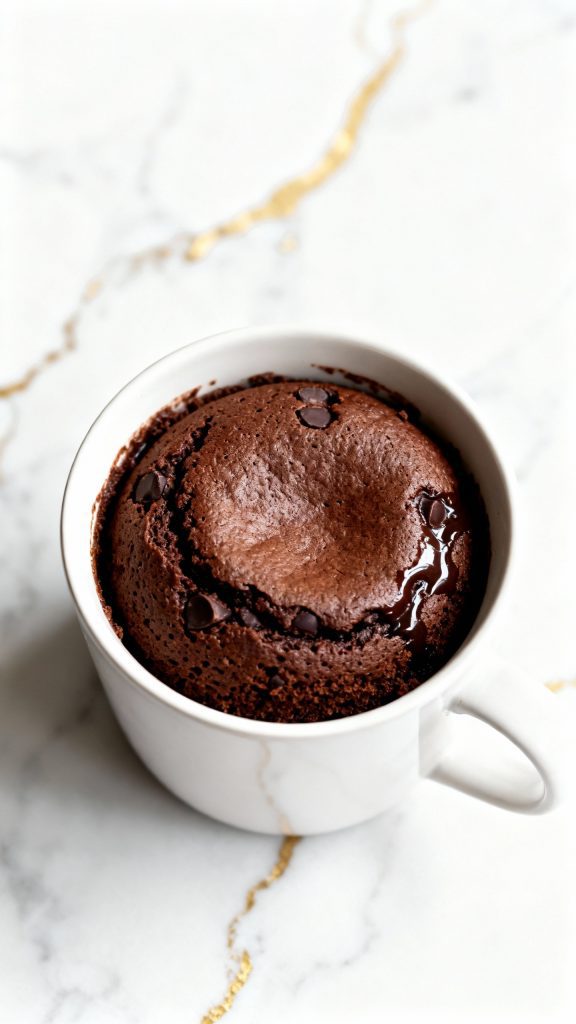
Step 4: Microwave the Mug Cake
Microwave on high for 1 minute. The cake should rise slightly above the rim and look set in the center. Let cool for 30–60 seconds before eating.
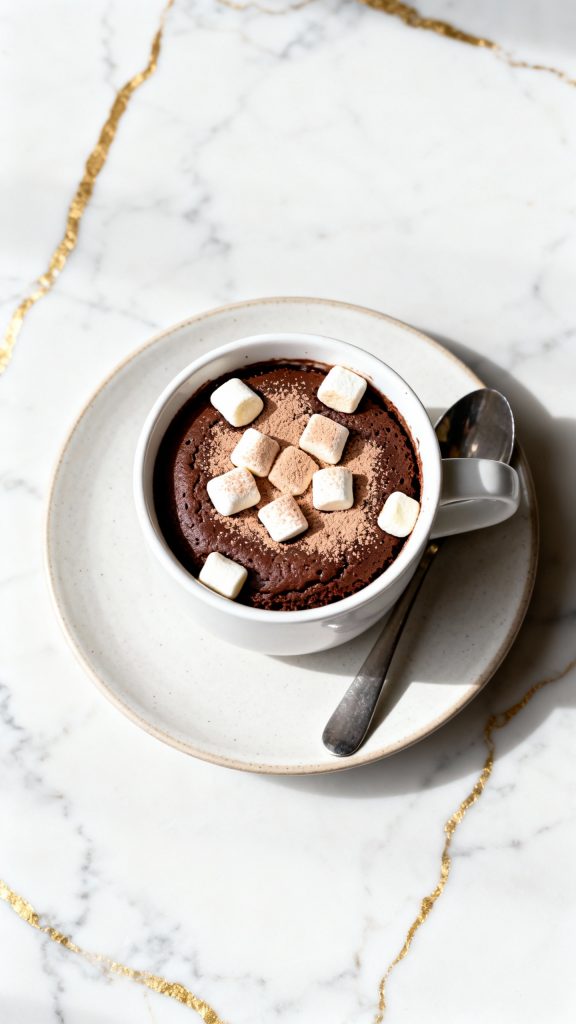
Step 5: Add Toppings (Optional)
Top with a few mini marshmallows and a dusting of cocoa powder if you’d like.
Leftovers and Storage
This one’s best eaten fresh, but if you do have leftovers, cover the mug and store in the fridge. Reheat in the microwave for 10–15 seconds. Texture will be slightly denser but still tasty.
Hope You Enjoyed It!
This one’s so easy, once you make it, it might become your new dessert fix. If you tried it, let me know how it turned out! Drop a comment below if you have any questions or want to share your twist on it.
