
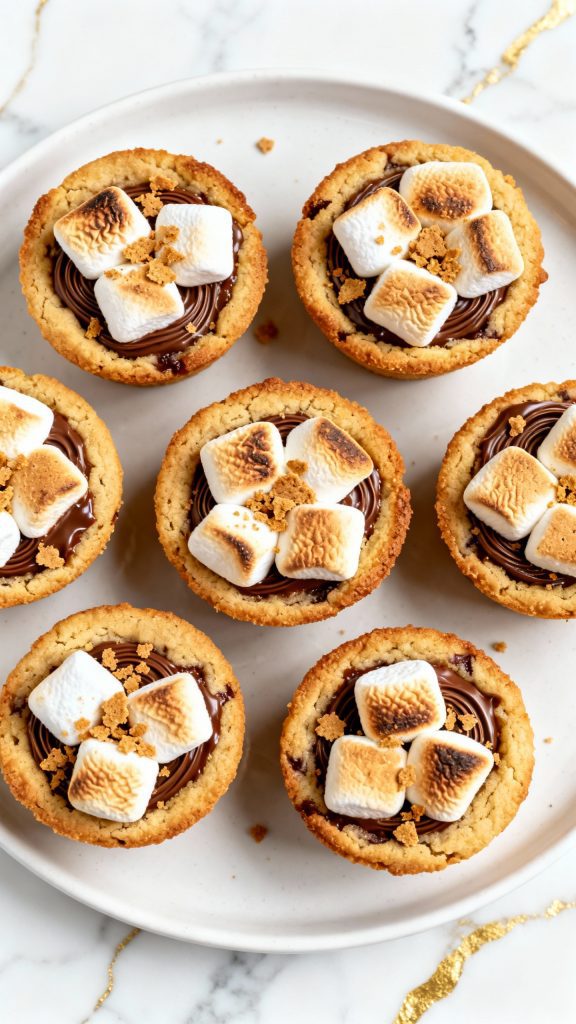
These Hot Chocolate S’mores Cookie Cups are straight-up cozy, gooey, chocolatey goodness in every bite.
It’s like hot cocoa and s’mores had a baby and baked themselves into a soft, melty cookie cup.
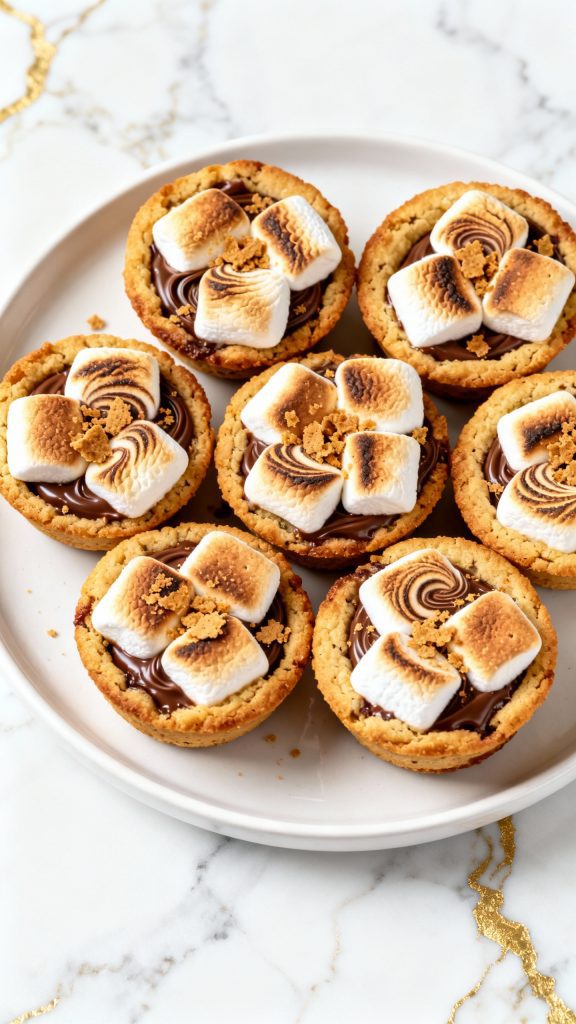
You get all the best parts—graham cracker crunch, melted chocolate, toasty marshmallow—and it all fits in the palm of your hand.
Perfect for winter weekends, holiday trays, or anytime you’re craving something sweet and toasty.

Why I Love This Recipe
This recipe brings back memories of winter nights by the fire—hot chocolate in hand, and something sweet in the oven. I love that you get the full s’mores flavor without the campfire and all the richness of hot cocoa in one bite. It’s also super satisfying to watch the marshmallows puff up and brown just right in the oven.
- Chocolate and marshmallows = instant comfort
- One-bowl cookie dough, easy to make and scoop
- Great for parties, cookie swaps, or as a cozy treat
- Bakes in a muffin pan—no special tools needed
- You can totally make them ahead and warm them up later
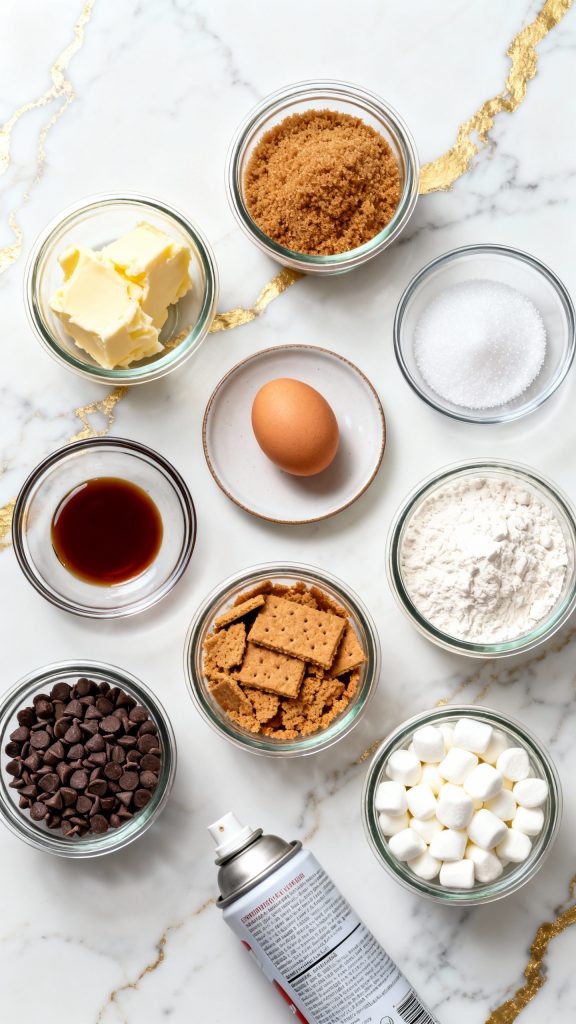
What You’ll Need
- 1/2 cup (1 stick) unsalted butter, softened
- 1/2 cup brown sugar, packed
- 1/4 cup granulated sugar
- 1 large egg
- 1 tsp vanilla extract
- 1 cup all-purpose flour
- 1/2 tsp baking soda
- 1/4 tsp salt
- 1/2 cup graham cracker crumbs
- 3/4 cup mini chocolate chips
- 1 cup mini marshmallows
- 12 extra mini marshmallows (for topping)
- Nonstick cooking spray
Makes
12 cookie cups
Cook Time
Total: 30 minutes
Prep: 15 minutes
Bake: 12–15 minutes
Cool: 5 minutes
Pro Tips
- Let the butter come to room temp for easier mixing—it makes a smoother dough.
- Use a small cookie scoop to portion the dough evenly into the muffin cups.
- Press the dough down slightly so there’s a little well for the chocolate and marshmallows to melt into.
- Spray the muffin pan really well so they pop out clean.
- Let them cool at least 5 minutes before removing or they might fall apart.
Tools Required
- 12-cup muffin pan
- Mixing bowl
- Electric hand mixer or whisk
- Silicone spatula
- Measuring cups & spoons
- Nonstick cooking spray
- Cookie scoop (optional)
Substitutions and Variations
- Swap milk chocolate chips for dark or semi-sweet
- Add a pinch of cinnamon or espresso powder to the dough
- Use crushed Oreos instead of graham crackers for a twist
- Add a marshmallow inside the dough before baking for more gooeyness
Make Ahead Tips
You can make the dough a day ahead—just wrap and refrigerate. Let it sit 15 minutes at room temp before scooping and baking. Baked cookie cups store well for 3 days in an airtight container and can be warmed in the microwave for 10 seconds before serving.
How to Make Hot Chocolate S’mores Cookie Cups
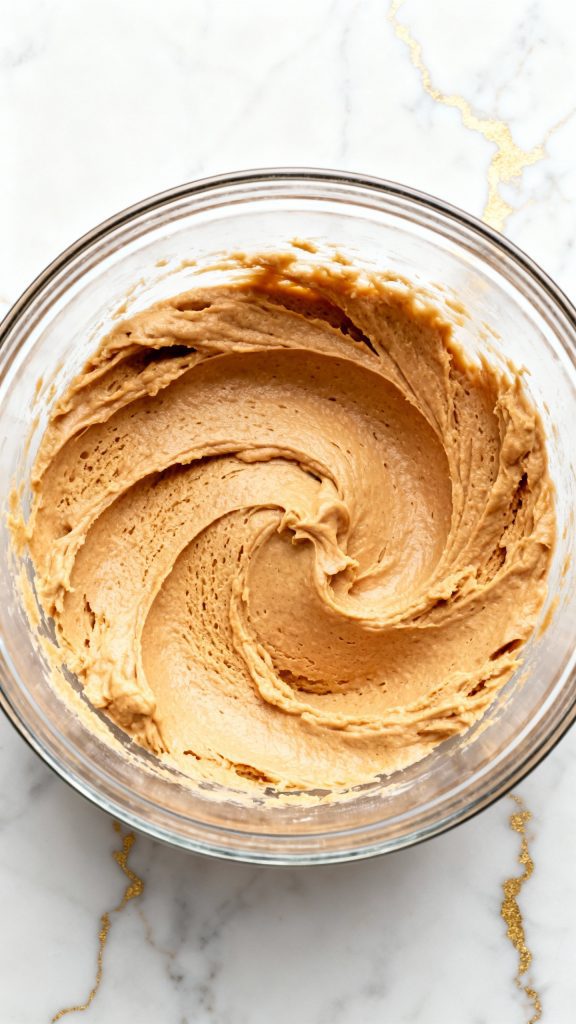
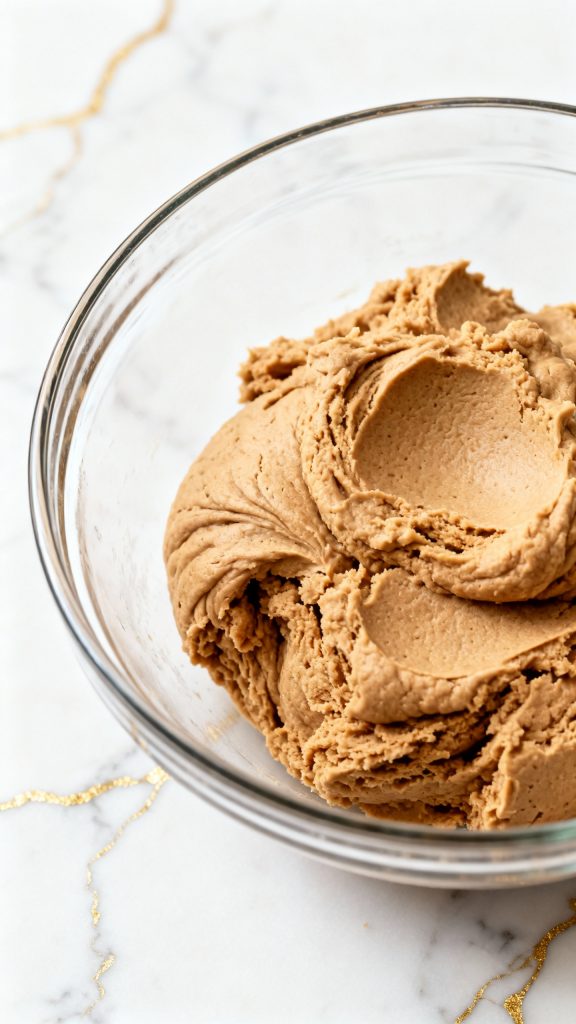
Step 1: Cream the Butter and Sugars
In a large bowl, cream together 1/2 cup softened unsalted butter, 1/2 cup brown sugar, and 1/4 cup granulated sugar until smooth and fluffy.
Step 2: Add Egg and Vanilla
Mix in 1 large egg and 1 tsp vanilla extract until fully combined.
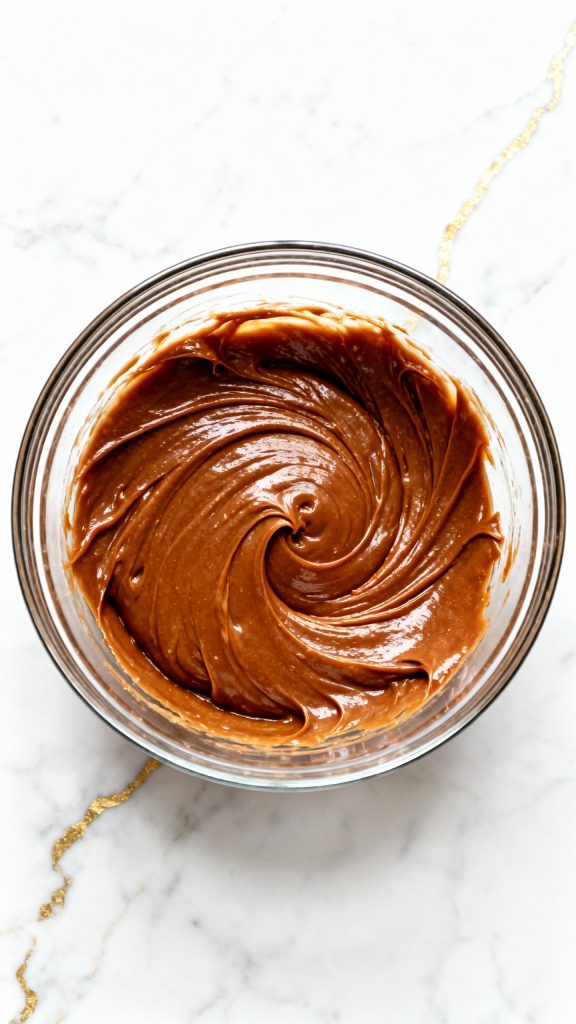
Step 3: Mix Dry Ingredients
In the same bowl, add 1 cup all-purpose flour, 1/2 tsp baking soda, and 1/4 tsp salt. Mix until just combined.
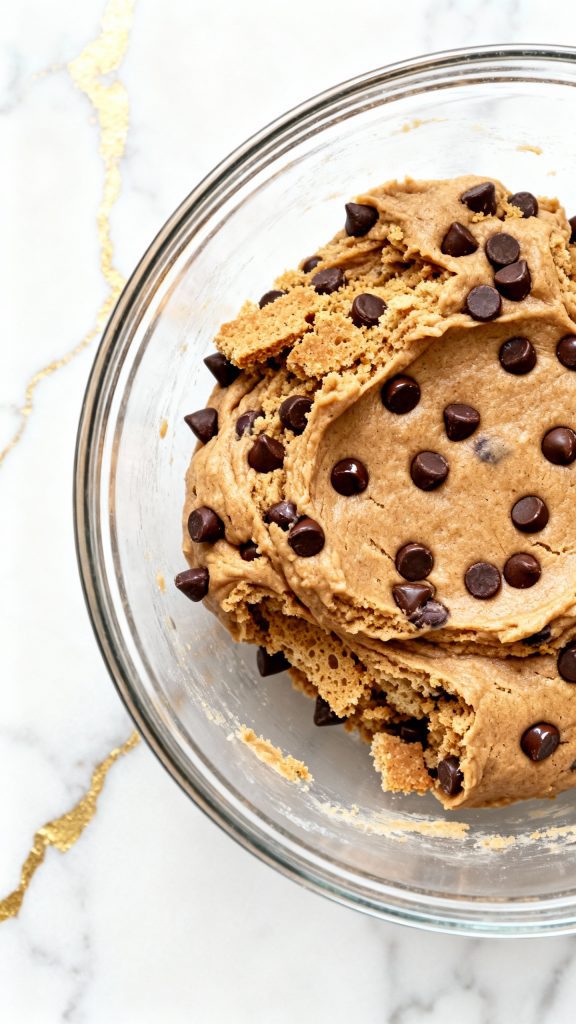
Step 4: Add Graham Cracker Crumbs and Chocolate Chips
Fold in 1/2 cup graham cracker crumbs and 3/4 cup mini chocolate chips until evenly mixed.
Step 5: Fill Muffin Pan
Spray a 12-cup muffin pan with nonstick spray. Scoop the dough evenly into each cup and press down gently to form a shallow cup.
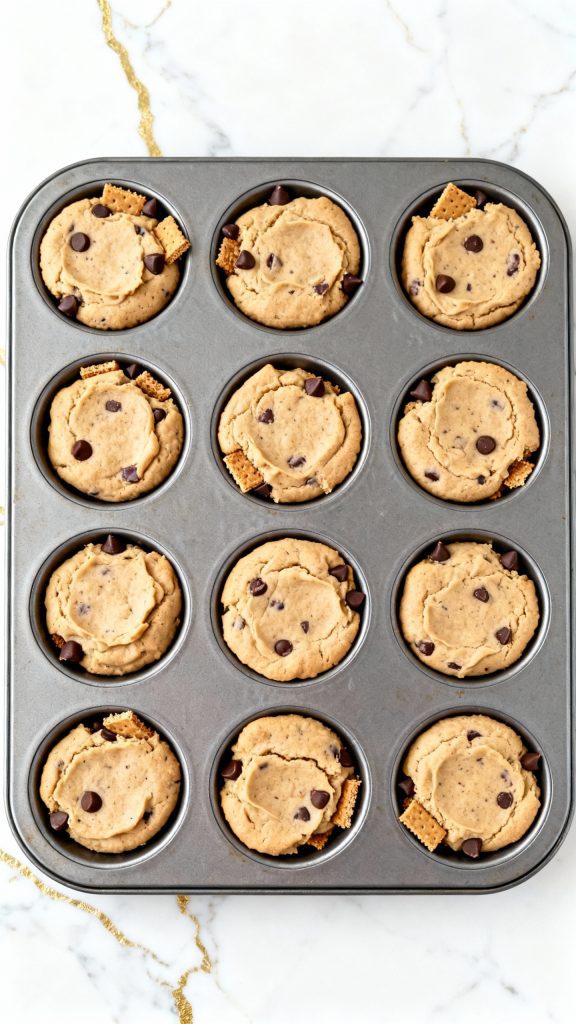
Step 6: Bake
Bake at 350°F (175°C) for 12–15 minutes until edges are golden and centers are puffed.
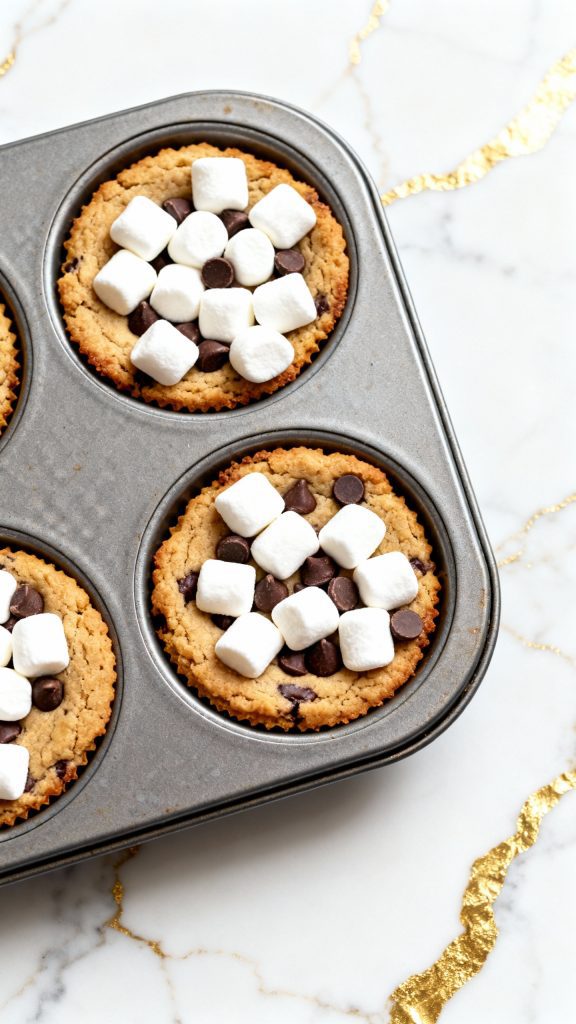
Step 7: Add Marshmallows and Broil
Remove pan from oven, gently press a few mini marshmallows (about 1 cup total) and extra mini chocolate chips (optional) on top of each cookie. Return to oven and broil on high for 30–60 seconds until marshmallows are golden brown.
Step 8: Cool and Serve
Let cool in the pan for 5 minutes, then carefully lift out and serve warm.
Leftovers & Storage
Store in an airtight container at room temp for up to 3 days. Warm in the microwave for about 10 seconds to bring back the gooeyness. You can also freeze them in a sealed container for up to a month. Let thaw and reheat before serving.
Why This Recipe Works (Quick Science)
Creaming butter and sugar adds air, making the cookie cups soft and thick. Graham cracker crumbs give that s’mores flavor and also add structure. Mini chocolate chips melt evenly, and broiling the marshmallows creates that signature toasty topping—just like over a campfire, but in your oven.
Common Mistakes
- Not spraying the muffin pan well—cookie cups will stick
- Overbaking—they’ll get dry and lose that soft middle
- Skipping the broil step—you want that golden marshmallow top
- Using regular marshmallows instead of mini—they won’t melt evenly
What to Serve With
- A mug of real hot chocolate or peppermint mocha
- Cold milk for balance
- Vanilla or cinnamon ice cream for dessert combos
- A little drizzle of chocolate sauce or caramel on top
FAQ
Can I use a mini muffin pan instead?
Yes, but reduce bake time to about 9–10 minutes.
Can I make these gluten-free?
Yes, use a 1:1 gluten-free flour blend and gluten-free graham crackers.
Do I have to broil the marshmallows?
It’s optional, but broiling gives them that golden, toasted look and taste.
Can I add a marshmallow inside the dough?
Totally! Just don’t go overboard or it may leak out when baking.
How do I keep them soft after baking?
Keep them sealed tight in a container and don’t overbake in the first place.
Enjoy making these gooey, chocolatey cookie cups! If you try it, drop a comment and let me know how it went or if you made any fun twists. Happy baking!
