
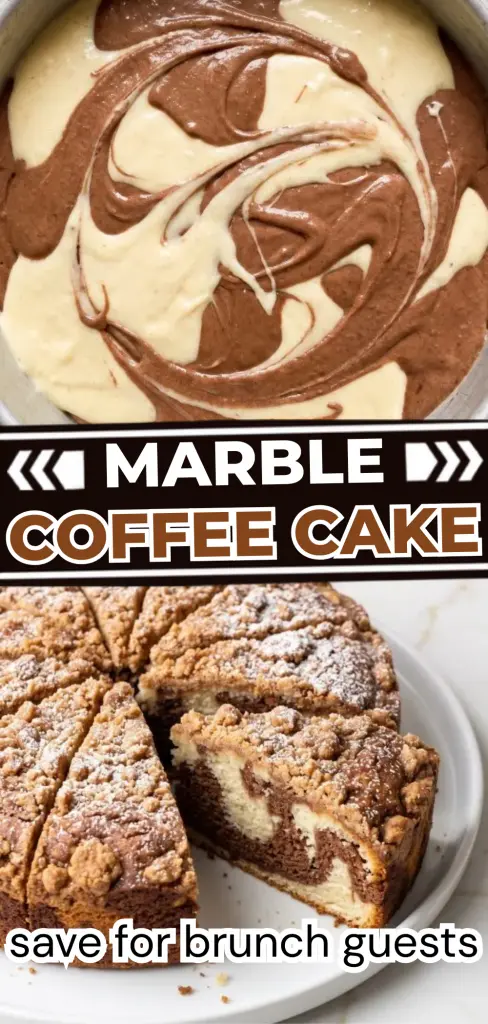
This Marble Coffee Cake gives you the best of both worlds: soft vanilla cake and rich chocolate cake swirled together in every slice.
A buttery cinnamon crumb topping adds just the right amount of crunch.
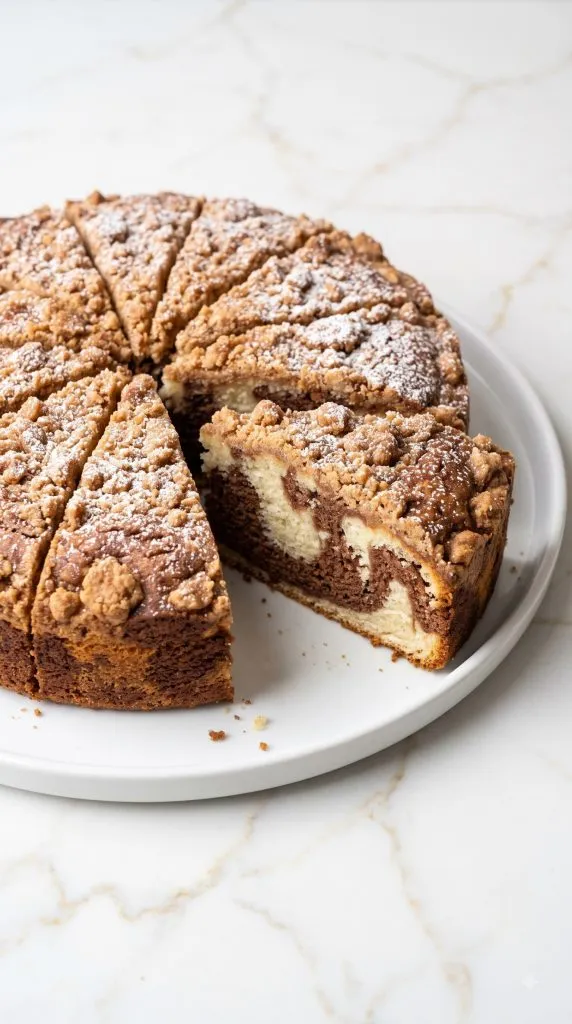
It looks fancy when you cut into it, but the method is simple enough for a relaxed weekend bake.
Makes: 12 servings
Prep time: 25 minutes
Bake time: 42–48 minutes
Cooling time: 30 minutes
Total time: About 1 hour 45 minutes
Why I Love This Recipe
Marble cake always feels a little special to me because you never know exactly what the inside will look like until you cut the first slice. Those chocolate swirls make every piece different.
For this version, I wanted the softness of a classic coffee cake without losing the bold marble pattern. Sour cream keeps the batter moist, while cocoa powder turns part of that same batter into chocolate cake. That means there is no need to make two completely separate batters.
I also love the crumb topping. The cake itself is soft, but the top has little buttery cinnamon clusters that give each bite some texture.
- Two flavors in one cake: You get vanilla and chocolate in every serving.
- Soft for days: Sour cream and butter help keep the crumb moist.
- No complicated layering: Spoon the two batters into the pan and swirl them.
- Great with coffee: The cinnamon topping and chocolate work especially well with a hot cup.
- Beautiful when sliced: The marble pattern does most of the decorating for you.
What You’ll Need
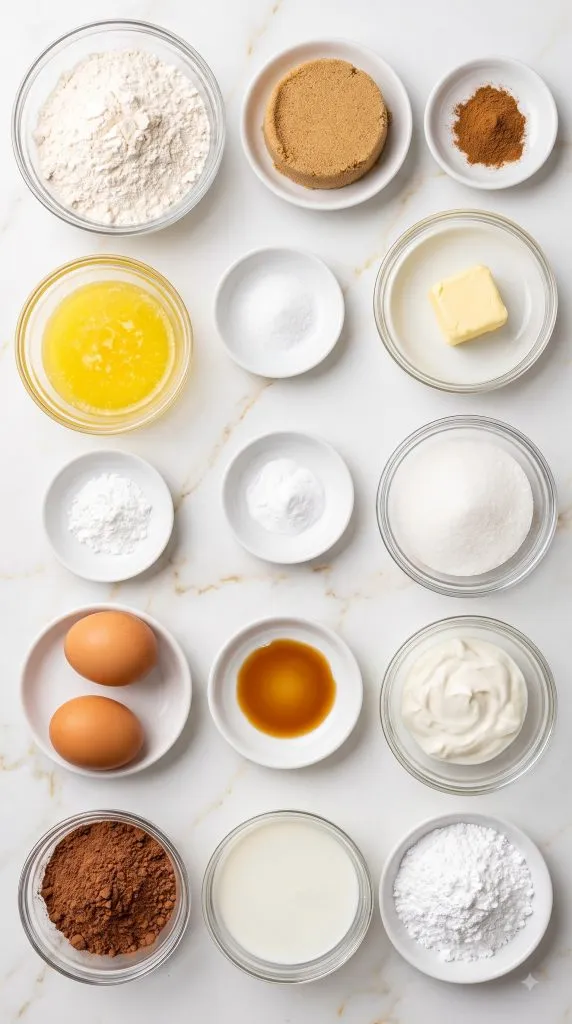
For the Cinnamon Crumb Topping
- 3/4 cup (90 g) all-purpose flour
- 1/3 cup (67 g) packed light brown sugar
- 1 teaspoon ground cinnamon
- 1/8 teaspoon fine salt
- 5 tablespoons (70 g) unsalted butter, melted
For the Marble Coffee Cake
- 2 cups (240 g) all-purpose flour
- 1 1/2 teaspoons baking powder
- 1/2 teaspoon baking soda
- 1/2 teaspoon fine salt
- 1/2 cup (113 g) unsalted butter, softened
- 3/4 cup (150 g) granulated sugar
- 2 large eggs, room temperature
- 2 teaspoons vanilla extract
- 1 cup (240 g) full-fat sour cream, room temperature
- 3 tablespoons (15 g) unsweetened cocoa powder
- 2 tablespoons (30 ml) whole milk
- 1 tablespoon powdered sugar, optional, for serving
Recipe and Instructions
Step 1: Prepare the Pan and Oven
Heat the oven to 350°F (175°C). Lightly coat a 9-inch round metal cake pan with nonstick baking spray. Place a round piece of parchment paper in the bottom and lightly spray the parchment too.
This makes it much easier to lift the finished coffee cake from the pan without breaking the crumb topping.
Step 2: Make the Cinnamon Crumb Topping
In a medium bowl, whisk together 3/4 cup (90 g) all-purpose flour, 1/3 cup (67 g) packed light brown sugar, 1 teaspoon ground cinnamon, and 1/8 teaspoon fine salt.
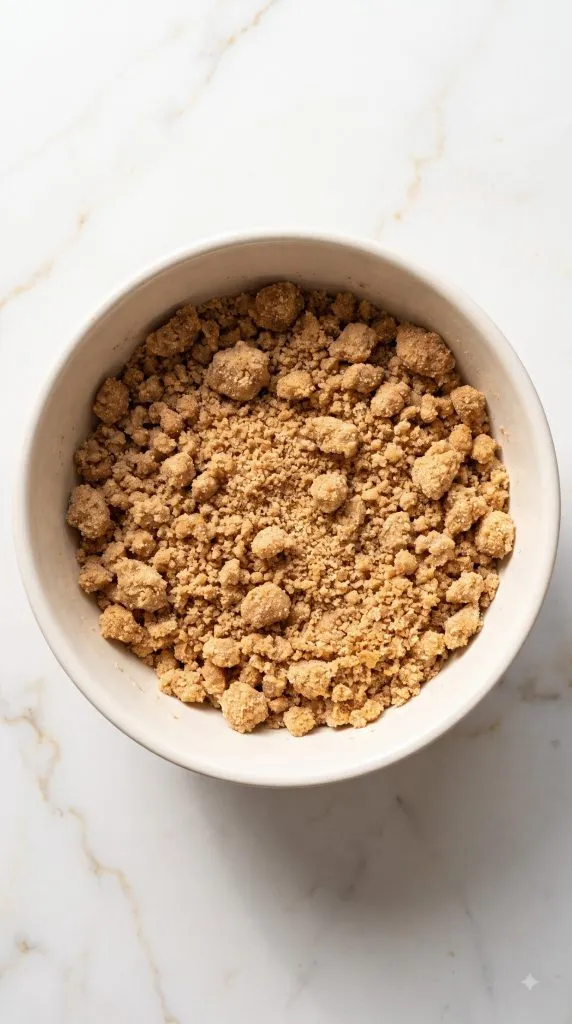
Pour in 5 tablespoons (70 g) melted unsalted butter. Stir with a fork until the mixture forms moist crumbs. Some crumbs should be small and others about the size of peas. Set the topping aside.
Step 3: Mix the Dry Cake Ingredients
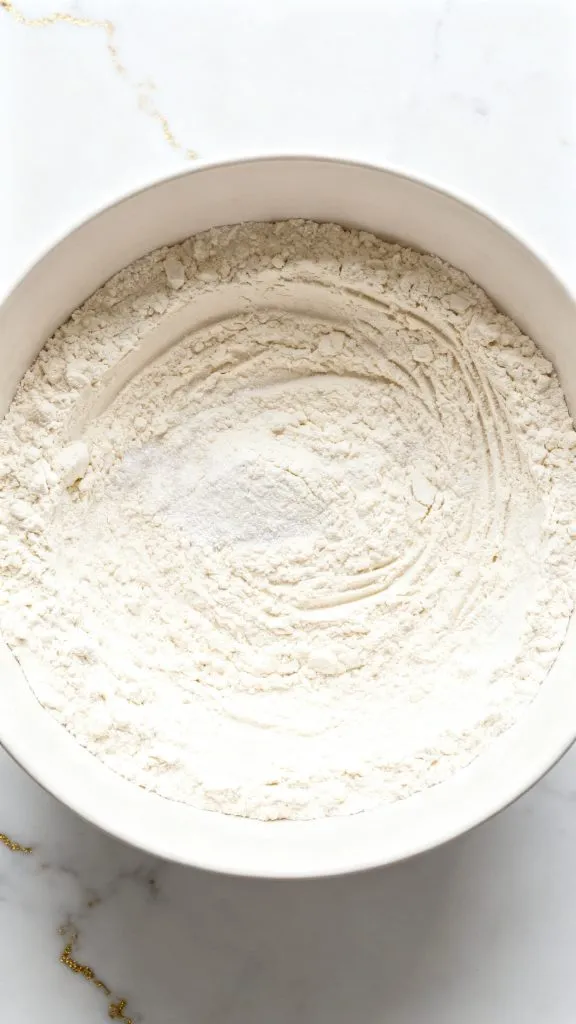
In a separate medium bowl, whisk 2 cups (240 g) all-purpose flour, 1 1/2 teaspoons baking powder, 1/2 teaspoon baking soda, and 1/2 teaspoon fine salt until evenly combined.
Set this bowl aside.
Step 4: Cream the Butter and Sugar
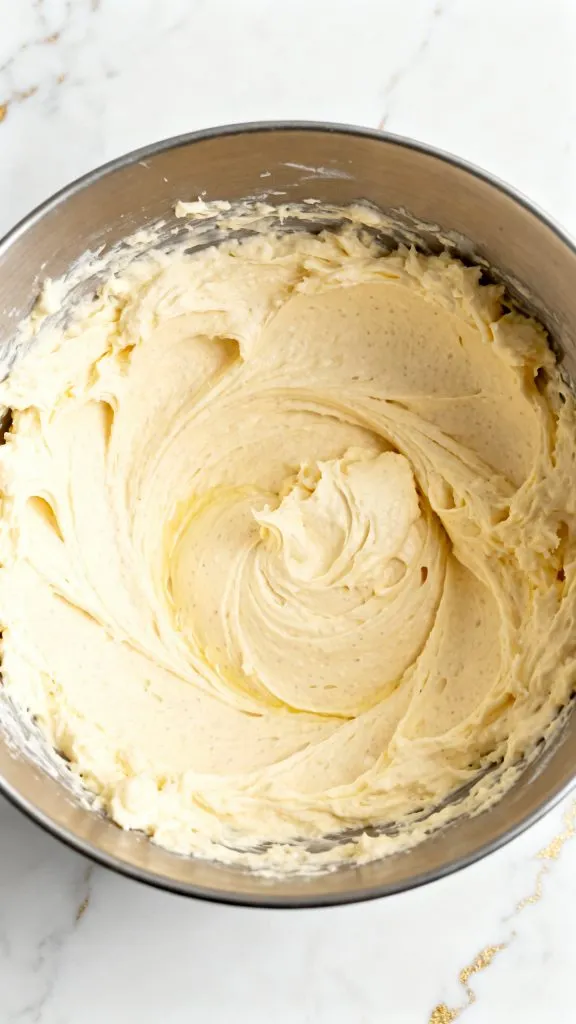
Place 1/2 cup (113 g) softened unsalted butter and 3/4 cup (150 g) granulated sugar in a large mixing bowl.
Beat with an electric hand mixer on medium speed for about 2 to 3 minutes, until noticeably lighter and fluffy. Scrape the bowl once or twice so everything mixes evenly.
Step 5: Add the Eggs, Vanilla, and Sour Cream
Beat 2 large room-temperature eggs into the creamed butter mixture one at a time, mixing well after each egg.
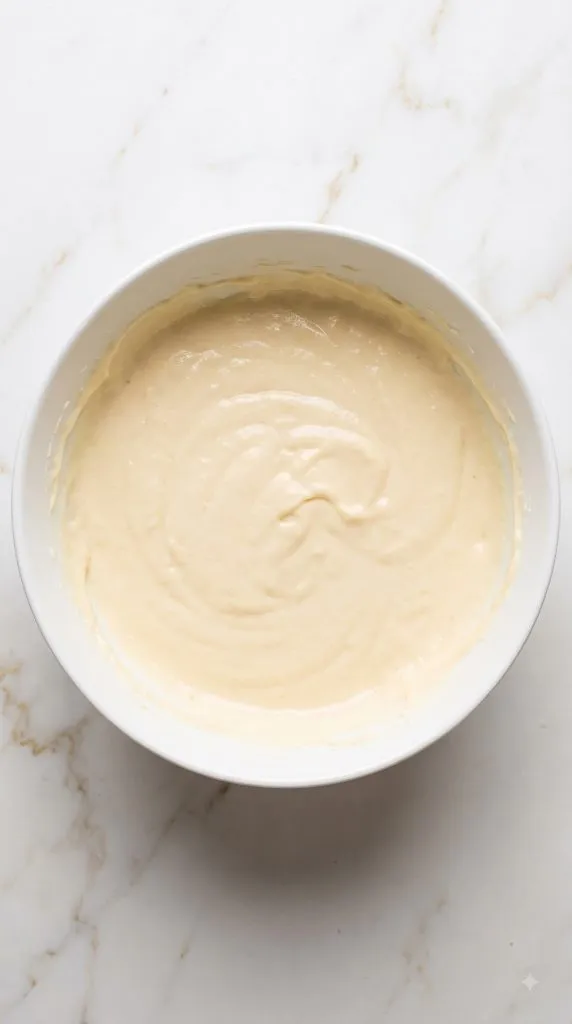
Mix in 2 teaspoons vanilla extract. Add 1 cup (240 g) room-temperature full-fat sour cream and beat on low just until smooth.
The mixture may look slightly uneven at first. That is normal.
Step 6: Finish the Vanilla Batter
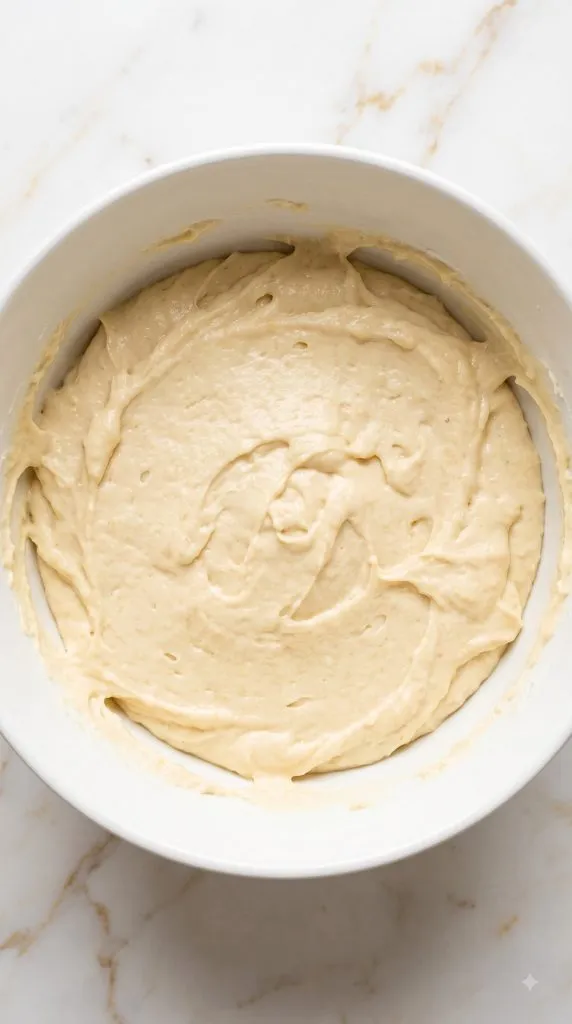
Add the dry mixture from Step 3—2 cups (240 g) all-purpose flour, 1 1/2 teaspoons baking powder, 1/2 teaspoon baking soda, and 1/2 teaspoon fine salt—to the wet mixture.
Fold gently with a silicone spatula just until you no longer see dry flour. Do not keep stirring once the batter is combined.
Step 7: Make the Chocolate Batter
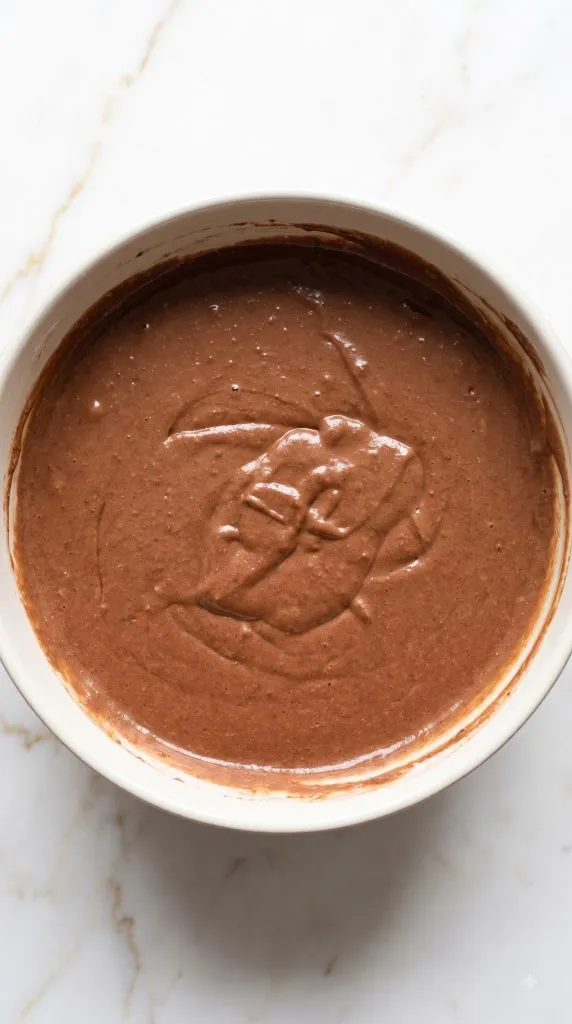
Transfer 1 1/2 cups of the finished vanilla batter to a clean medium bowl.
Add 3 tablespoons (15 g) unsweetened cocoa powder and 2 tablespoons (30 ml) whole milk. Fold until the batter is evenly chocolate-colored with no dry cocoa patches.
Step 8: Layer and Swirl the Batters
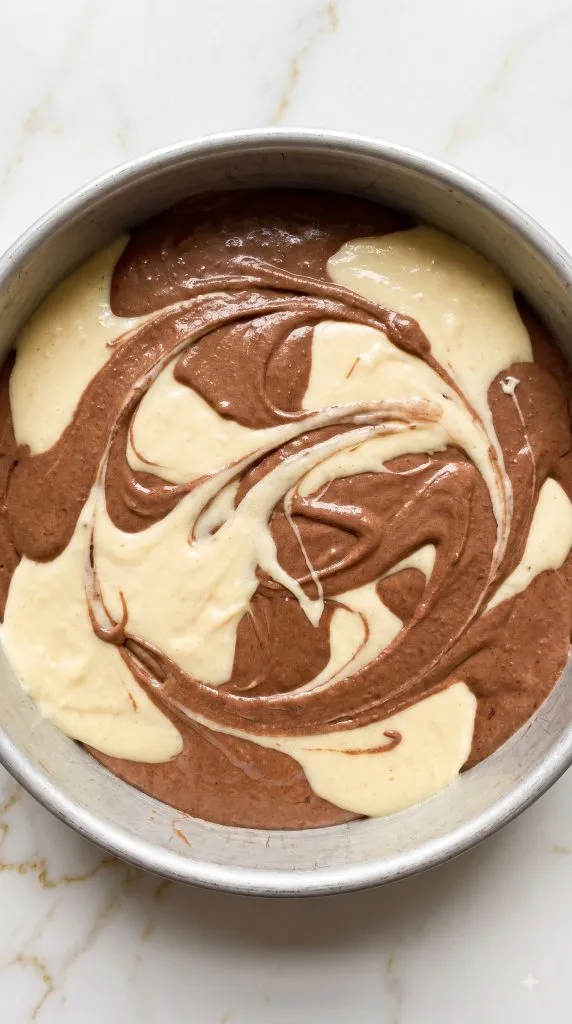
Spoon half of the remaining vanilla batter into the prepared 9-inch pan. Add spoonfuls of half the chocolate batter over it.
Repeat with the remaining vanilla batter and remaining chocolate batter.
Run a butter knife through the batter in 3 or 4 large figure-eight motions. Stop there. Too much swirling will blend the colors instead of creating a marble pattern.
Step 9: Add the Crumb Topping
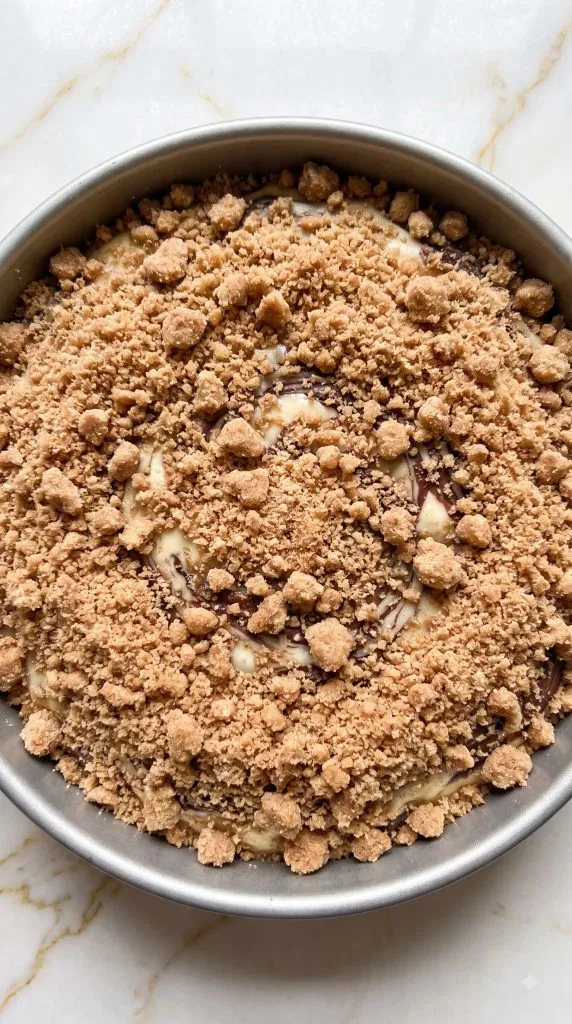
Take the crumb mixture made with 3/4 cup (90 g) all-purpose flour, 1/3 cup (67 g) packed light brown sugar, 1 teaspoon cinnamon, 1/8 teaspoon fine salt, and 5 tablespoons (70 g) melted unsalted butter.
Scatter all of it evenly over the marbled batter. Gently break up any very large pieces with your fingers, but do not press the topping into the cake.
Step 10: Bake the Coffee Cake
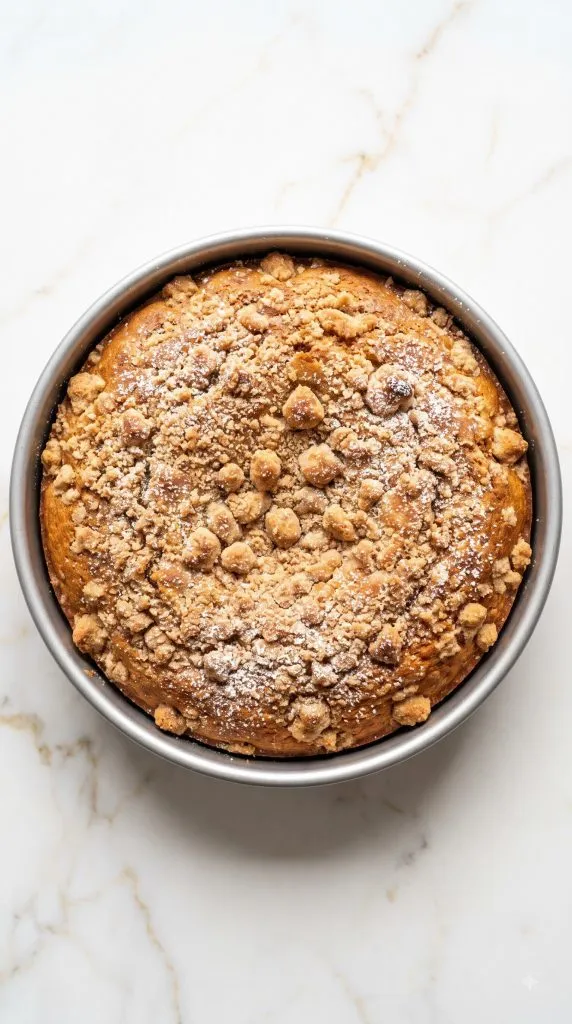
Place the pan in the 350°F (175°C) oven and bake for 42 to 48 minutes.
The cake is ready when the crumb topping is golden, the center springs back gently, and a toothpick inserted into a cake section near the center comes out clean or with a few moist crumbs.
Step 11: Cool and Serve
Cool the cake in its pan on a wire rack for 20 minutes. Carefully remove it from the pan and let it cool for at least another 10 minutes.
Place the whole coffee cake on a round white ceramic serving plate. If desired, sift 1 tablespoon powdered sugar over the cooled top. Slice into 12 pieces and serve.
Why This Recipe Works (Quick Science)
Sour cream keeps the cake moist. It brings both fat and moisture to the batter. Its acidity also works with the baking soda to help the cake rise.
Creaming butter and sugar adds air. Beating them together creates tiny air pockets. Those pockets expand in the oven and help give the cake a lighter texture.
Milk balances the cocoa. Cocoa powder absorbs moisture. The small amount of milk added to the chocolate portion keeps it closer in texture to the vanilla batter.
Thick batter makes better swirls. If the batter were very thin, the chocolate and vanilla portions would run together. This thicker batter keeps the marble pattern clear.
The crumb topping uses melted butter. Melted butter helps the flour and brown sugar stick together in irregular clusters that become crisp as they bake.
Pro Tips
- Have the butter, eggs, and sour cream at room temperature. They blend together more smoothly and give the cake a more even crumb.
- Once the flour goes into the batter, mix as little as possible. Overmixing can make coffee cake tough.
- Make only a few passes with your knife when swirling. More swirling does not mean more marbling—it can turn the whole cake light brown.
- Check the cake around 42 minutes. Ovens vary, and an overbaked coffee cake will lose its soft texture.
- Let the cake cool before adding powdered sugar. Powdered sugar quickly disappears when sprinkled over a hot cake.
Tools You’ll Need
- 9-inch round metal cake pan
- Parchment paper
- Nonstick baking spray
- Large mixing bowl
- 2 medium mixing bowls
- Small mixing bowl
- Electric hand mixer
- Silicone spatula
- Whisk
- Fork
- Measuring cups and spoons
- Kitchen scale, recommended
- Tablespoon
- Butter knife
- Toothpick
- Wire cooling rack
- Round white ceramic serving plate
Common Mistakes
Overmixing the batter: Stop folding as soon as the flour disappears. Extra mixing develops gluten and can make the cake dense.
Swirling too much: Three or four broad passes are plenty. Stirring the two batters together will erase the marble effect.
Using cold ingredients: Very cold eggs or sour cream can make the butter mixture look curdled and may lead to uneven baking.
Packing flour into the cup: Too much flour makes a dry cake. For the best result, weigh it. If using cups, spoon the flour into the cup and level the top.
Using the wrong pan size: A smaller pan can make the center take much longer to bake. A larger pan can make the cake thin and dry.
Cutting it immediately: The crumb is delicate while piping hot. Give the cake time to settle before slicing.
Substitutions and Variations
Greek yogurt: Plain full-fat Greek yogurt can replace the sour cream in the same amount.
Dark cocoa: Use Dutch-process cocoa for a darker chocolate swirl. Because only a small portion is used, the recipe should still bake well.
Espresso flavor: Mix 1 teaspoon instant espresso powder into the 2 tablespoons of milk before adding it to the chocolate batter.
Chocolate chips: Fold 1/2 cup mini semisweet chocolate chips into the finished batter before swirling.
Nutty topping: Add 1/3 cup finely chopped pecans or walnuts to the crumb mixture.
Make-Ahead Tips
You can make the cinnamon crumb topping up to 3 days ahead. Cover it tightly and refrigerate it. Let it sit at room temperature for about 10 minutes if the butter makes the crumbs very firm.
The entire cake can also be baked a day ahead. Once completely cool, cover it tightly and leave it at room temperature. Add the powdered sugar shortly before serving.
What to Serve With Marble Coffee Cake
A warm cup of coffee is the obvious choice, especially because the slightly bitter coffee balances the sweet crumb topping. It is also great with a latte, cappuccino, black tea, or a cold glass of milk.
For something fresh on the side, try strawberries, raspberries, or blueberries. For dessert, warm a slice for a few seconds and add a small scoop of vanilla ice cream.
Macros Information
Approximate nutrition per serving, based on 12 servings:
- Calories: 355
- Protein: 5 g
- Carbohydrates: 45 g
- Fat: 18 g
- Saturated fat: 11 g
- Fiber: 1 g
- Sugar: 23 g
These numbers are estimates and will vary with ingredient brands and serving size.
Leftovers and Storage
Once completely cool, keep the coffee cake in an airtight container at room temperature for up to 3 days. For longer storage, refrigerate it for up to 5 days, although refrigeration can make cake slightly firmer.
You can also freeze individual slices. Wrap each slice well and place the wrapped pieces in a freezer-safe container for up to 2 months. Thaw at room temperature.
For that just-baked feel, warm a slice in the microwave for about 10 to 15 seconds before eating.
FAQ
Does coffee cake contain coffee?
Not usually. “Coffee cake” generally means a sweet cake made to enjoy alongside coffee. This recipe does not contain coffee unless you choose the espresso variation.
How do I get a clear marble pattern?
Keep the vanilla and chocolate batters thick and distinct. Spoon them into the pan in alternating spots and make only 3 or 4 broad swirls with a knife.
Why did my marble cake turn mostly chocolate-colored?
It was probably swirled too much. Once you start mixing the batters together, the colors quickly blend.
Can I use a square pan?
Yes. A 9-inch square metal pan can work, although the cake will be a little thinner and may finish several minutes sooner. Start checking it early.
How do I know when it is done?
Look for a golden topping and a center that springs back lightly when touched. A toothpick inserted near the center should come out clean or with a few moist crumbs, not wet batter.
Can I leave off the crumb topping?
Yes, but it will be closer to a regular marble cake. The cinnamon crumb is what gives this version its classic coffee-cake texture.
Final Thoughts
This Marble Coffee Cake looks impressive without asking you to do anything complicated. The soft vanilla cake, rich cocoa swirls, and buttery cinnamon crumbs make every slice a little different.
The biggest trick is simple: don’t overmix and don’t overswirl. Give the cake time to cool, cut that first slice, and enjoy seeing the marble pattern you made. If you bake it, leave a comment with how yours turned out and any questions you ran into along the way.