
If you’re not baking with plums, you’re missing out. These Plum Crumble Bars are buttery, fruity, and perfect for when you want a dessert that’s cozy but not too heavy. The crust and crumble topping are made from the same dough (less work!), and the middle is packed with jammy, fresh plums. They’re easy enough for a weekday bake and fancy enough for a potluck or picnic.

💛 Why I Love This Recipe

This recipe came together one summer when we had way too many plums. Now it’s one of my go-to bakes when stone fruit season hits. Warm, soft in the middle, crumbly on top—it checks every box.
- One dough for both the base and the crumble
- Not overly sweet—lets the plums shine
- Easy to slice and share
- Great warm or cold
- Freezer-friendly!
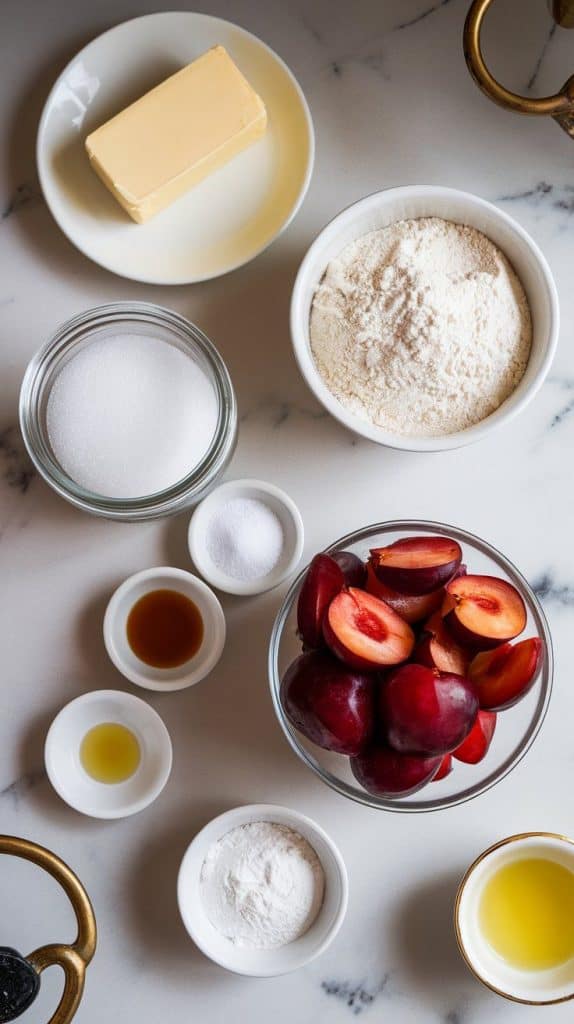
🛒 What You’ll Need
For the Crust and Crumble:
- 1 cup unsalted butter (softened)
- 1 cup granulated sugar
- 2 ½ cups all-purpose flour
- ½ tsp baking powder
- ¼ tsp salt
- 1 tsp vanilla extract
For the Filling:
- 2 cups fresh plums (pitted and diced)
- 2 tbsp granulated sugar
- 1 tbsp cornstarch
- 1 tsp lemon juice
🧁 How to Make Plum Crumble Bars
Step 1: Make the Crust & Crumble Mixture
In a large bowl, cream the butter and sugar. Add flour, baking powder, salt, and vanilla. Mix until crumbly but combined.

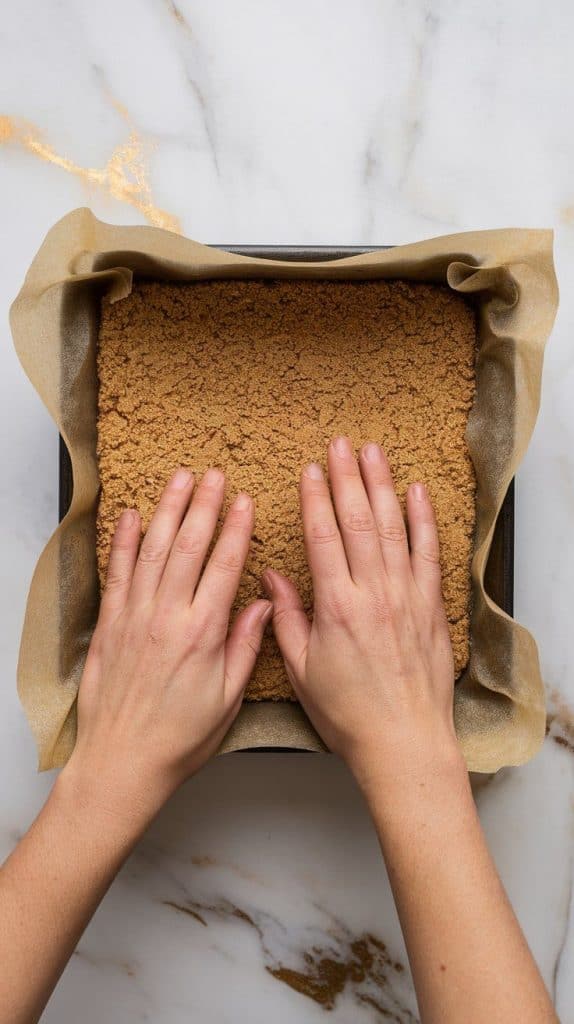
Step 2: Press Dough Into Baking Dish
Take two-thirds of the dough and press it into the bottom of a parchment-lined 8×8 inch baking dish to form the crust.
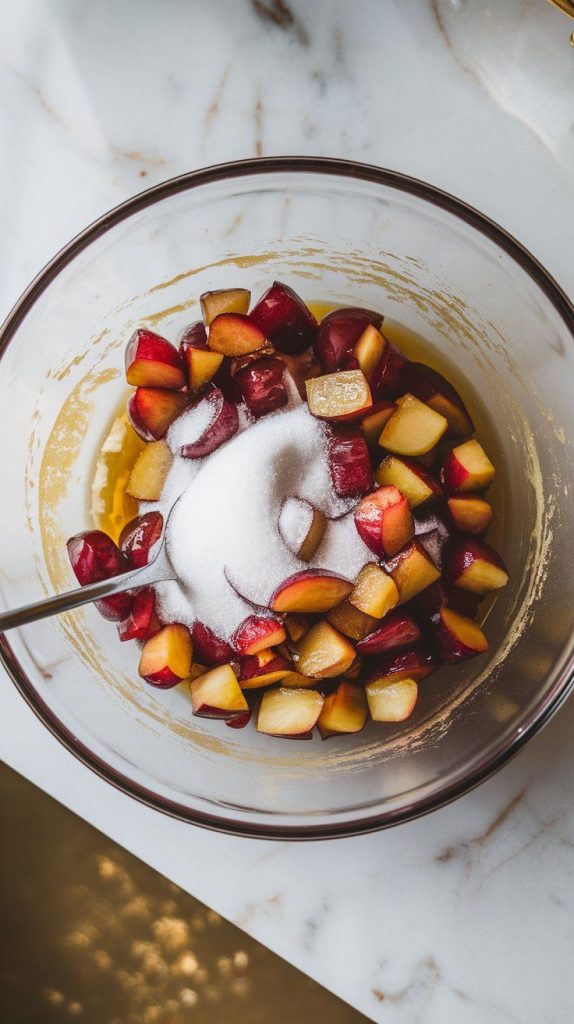
Step 3: Make the Plum Filling
In a bowl, toss diced plums with sugar, lemon juice, and cornstarch until coated.
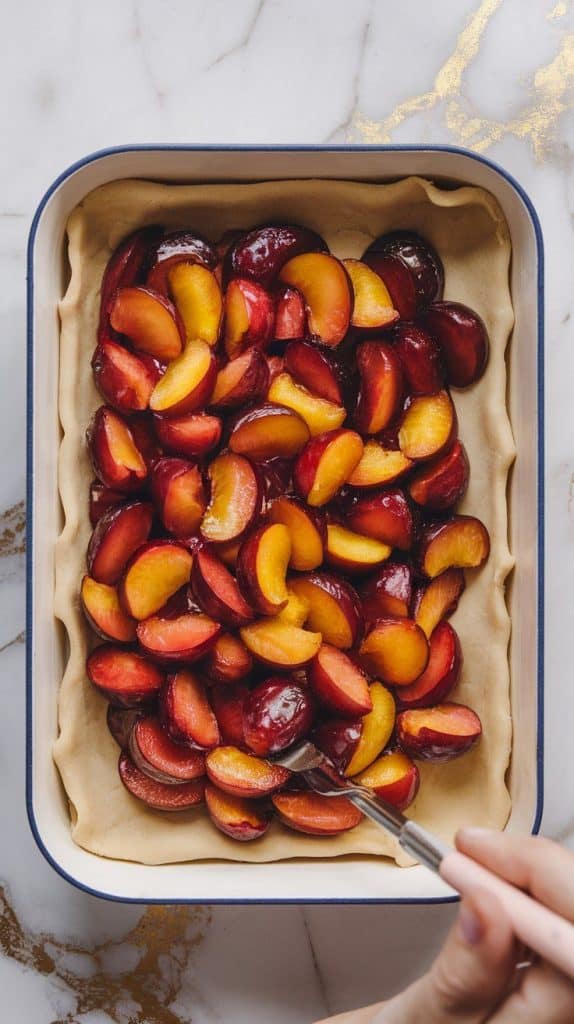
Step 4: Spread Plum Filling Over the Crust
Evenly spread the plum mixture over the crust layer.
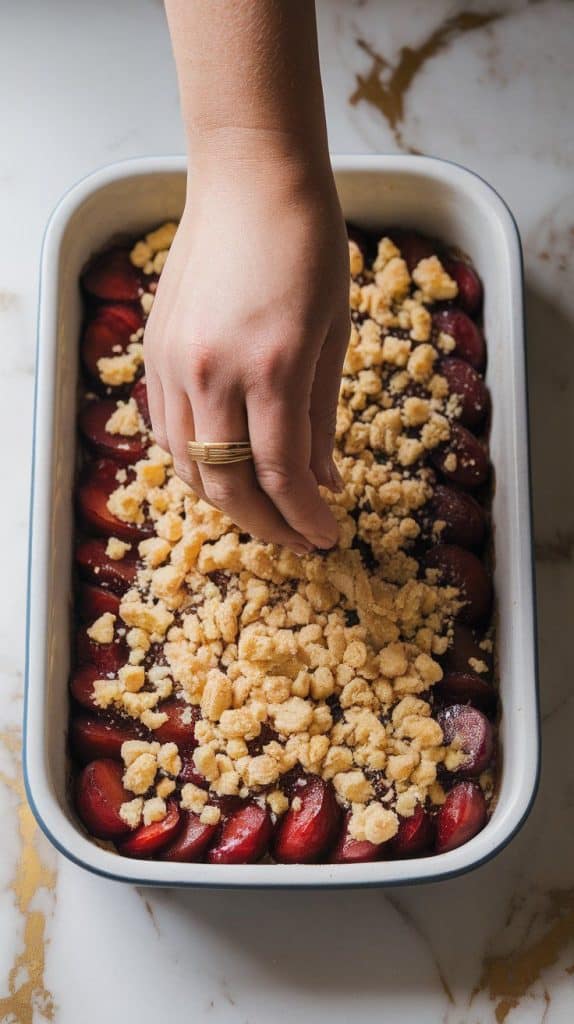
Step 5: Crumble the Remaining Dough on Top
Sprinkle the remaining dough mixture over the plum layer like a crumb topping.
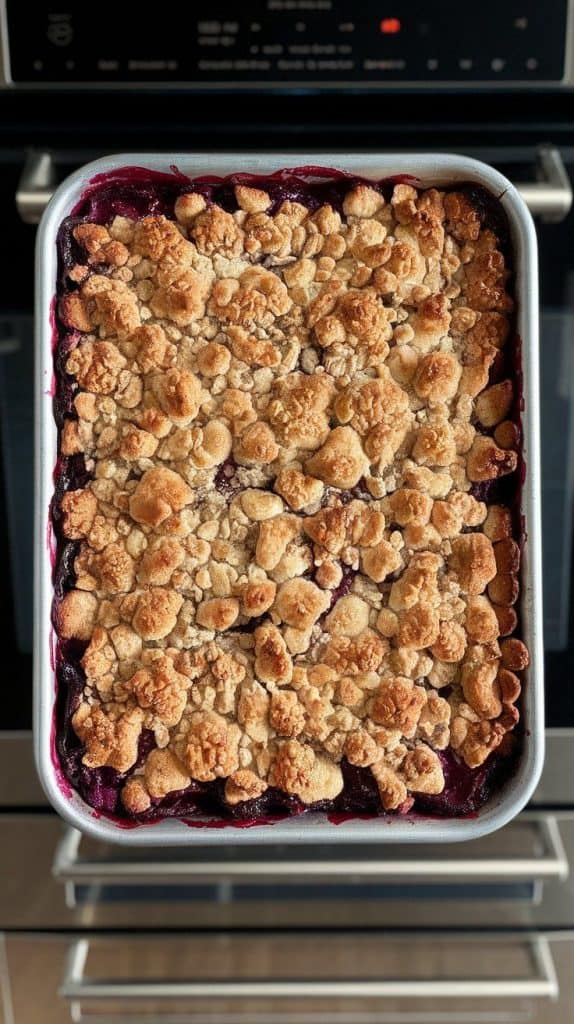
Step 6: Bake Until Golden and Bubbly
Bake at 350°F (175°C) for 35–40 minutes, or until the top is golden and the fruit is bubbly.
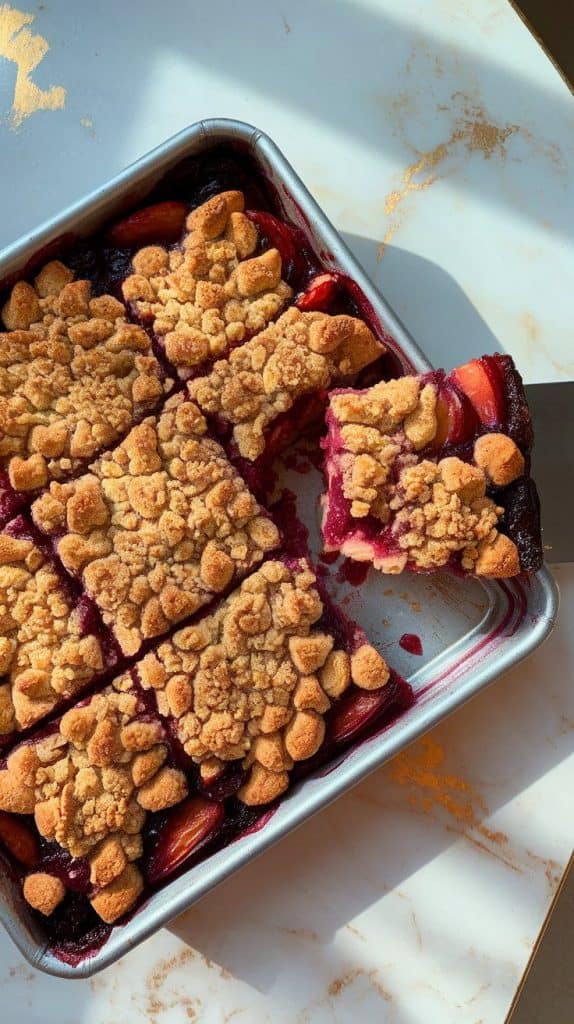
Step 7: Cool and Slice
Let cool completely before slicing into bars.
🍽️ What to Serve With
- Vanilla ice cream (trust me)
- Hot tea or coffee
- Whipped cream
- A glass of cold milk
- Almond or honey drizzle on top for extra yum
❓ FAQ
Can I use frozen plums?
Yep! Just thaw and drain them first so they’re not too wet.
What’s the best way to store leftovers?
Keep them in an airtight container at room temp for 2 days, or in the fridge for up to 5.
Can I use other fruit?
Totally! Try peaches, nectarines, or even a mix of berries.
Do I need to peel the plums?
Nope. The skins soften during baking and add nice color and texture.
Can I freeze them?
Yes! Slice, wrap, and freeze for up to 2 months. Thaw in the fridge overnight.
🥄 That’s It, Friend!
These Plum Crumble Bars are one of those recipes that make your kitchen smell amazing and taste even better. Perfect for sharing (or not—I won’t judge). If you give them a try, come back and tell me how they turned out! 🍑💬
