
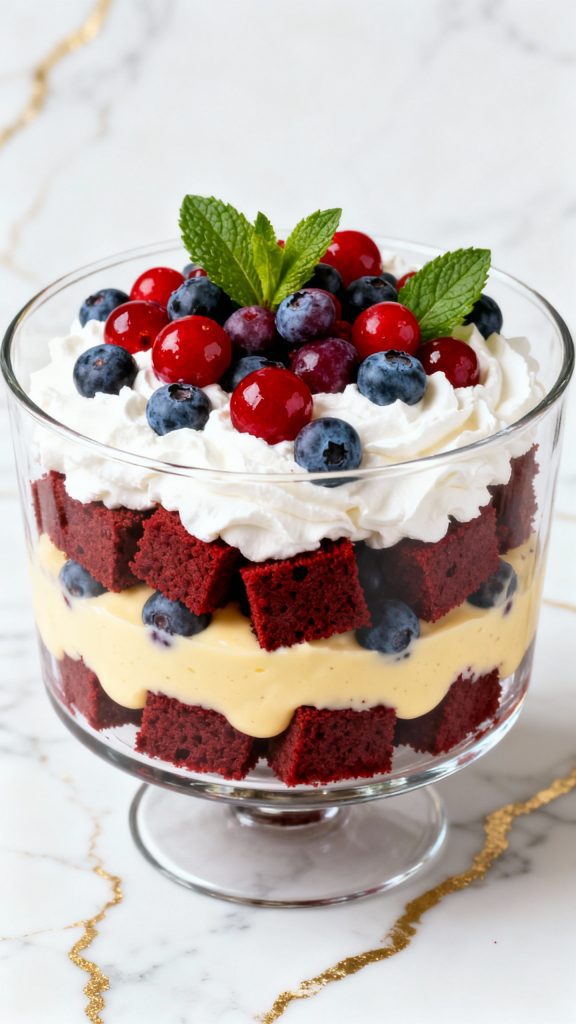
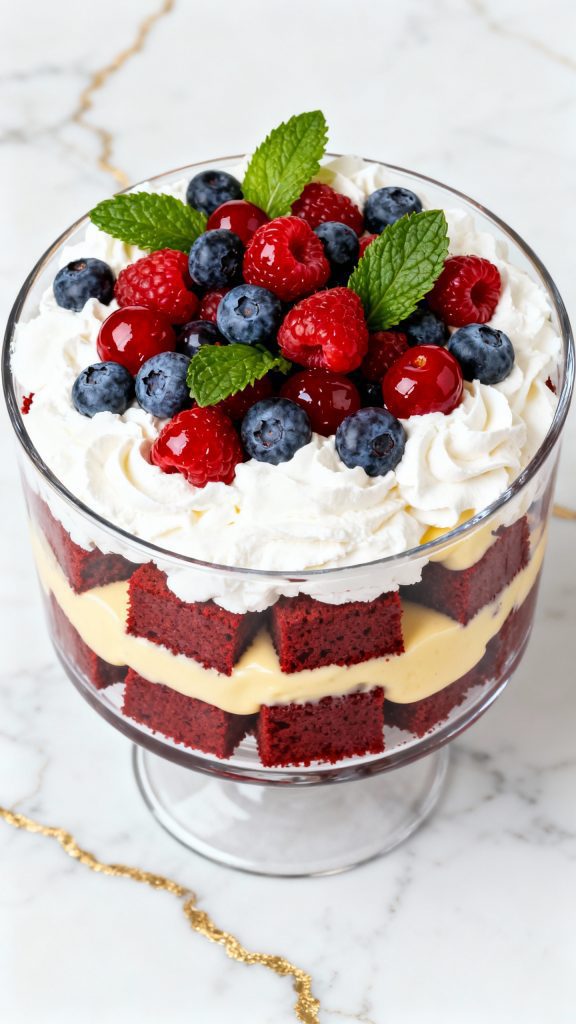
Red Velvet Berry Trifle is one of those show-stopper desserts that’s surprisingly easy to make but looks like you spent hours preparing it.
With layers of moist red velvet cake, sweet vanilla pudding, whipped cream, and fresh berries, every bite is rich, fluffy, fruity, and dreamy.
I’ve brought this to family dinners and holiday parties, and without fail, it disappears within minutes.
It’s also a great make-ahead dessert that holds its shape beautifully and gets better as it chills.

Why I Love This Recipe
This trifle has become one of my go-to desserts for celebrations, potlucks, and family holidays. It looks stunning but requires no special baking skills—and that’s part of the magic.
Here’s why I keep coming back to it:
- Balanced Flavors: The richness of red velvet is perfectly paired with fresh berries and light whipped cream.
- Texture Heaven: You get soft cake, creamy pudding, juicy berries, and airy whipped topping in every spoonful.
- Make-Ahead Friendly: The longer it chills, the better it tastes.
- Beautiful Presentation: The red and white layers with pops of berry color are eye-catching and festive.
- Crowd Favorite: Everyone loves it—there are never leftovers.
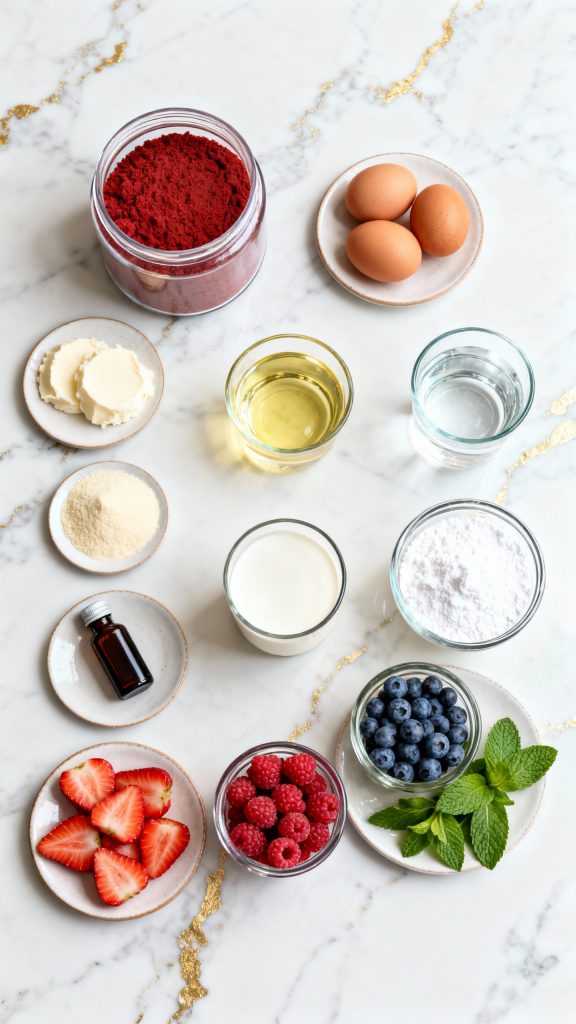
What You’ll Need
- 1 box red velvet cake mix (plus eggs, oil, and water per box)
- 1 box (5.1 oz) instant vanilla pudding mix
- 3 cups cold milk
- 2 cups heavy cream
- 1/4 cup powdered sugar
- 1 tsp vanilla extract
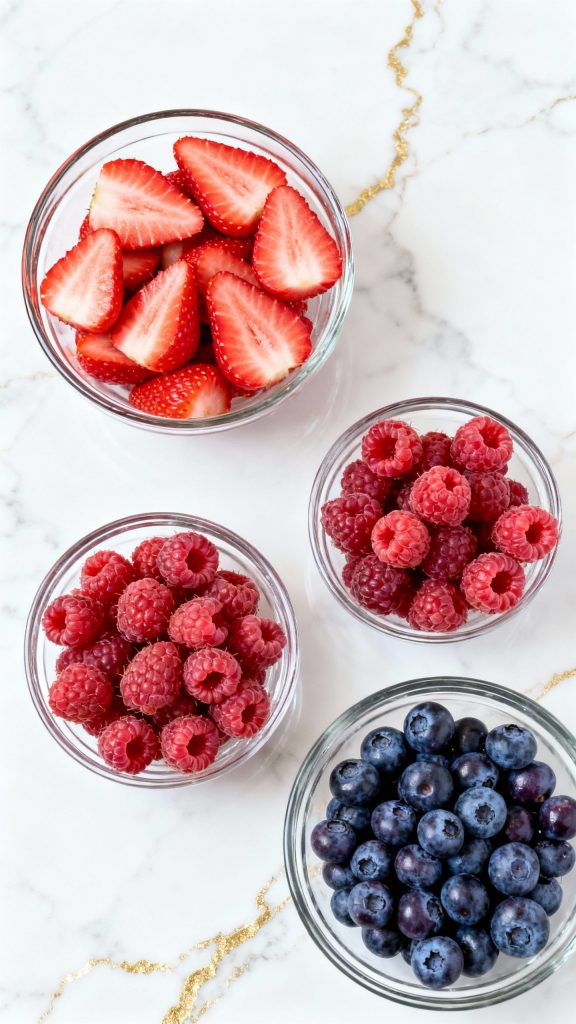
- 1 cup strawberries, hulled and sliced
- 1 cup raspberries
- 1 cup blueberries
- Fresh mint leaves (optional, for garnish)
Pro Tips
- Chill Before Serving: Give your trifle at least 4 hours to chill for the layers to set properly.
- Even Layers: Use a spoon or piping bag to neatly layer pudding and whipped cream.
- Don’t Over-Mix Whipped Cream: Stop beating when it forms stiff peaks for the fluffiest texture.
- Dry Berries: Pat your berries dry before layering so they don’t bleed into the cream.
- Use a Serrated Knife: It helps cut the red velvet cake without squishing it.
Tools Required
- Trifle bowl (or large glass bowl)
- Mixing bowls
- Electric mixer or hand mixer
- Whisk
- Rubber spatula
- Serrated knife
- Measuring cups and spoons
Substitutions and Variations
- Cake: Use homemade red velvet or chocolate cake instead of a box.
- Pudding: Substitute white chocolate or cheesecake pudding for vanilla.
- Berries: Swap or add blackberries, or use frozen (thawed and dried) berries.
- Whipped Cream: Use store-bought whipped topping in a pinch.
Make Ahead Tips
- Bake the red velvet cake a day before and store wrapped at room temp.
- Make pudding and whipped cream up to 24 hours in advance.
- Assemble trifle the morning of and chill until ready to serve.
Servings & Time
- Serves: 10–12
- Prep Time: 25 minutes
- Bake Time: 30 minutes
- Chill Time: 4 hours minimum
- Total Time: 5 hours
Macros (Per Serving, Approximate)
- Calories: 390
- Protein: 5g
- Carbs: 44g
- Fat: 22g
- Fiber: 2g
- Sugar: 32g
Why This Recipe Works (Quick Science)
Red velvet’s tender crumb holds up well against moist layers like pudding and whipped cream. Instant pudding uses modified starches that thicken quickly when combined with cold milk, making it perfect for layering without cooking. Whipped cream adds lightness and air to balance dense cake and berries with natural acidity that cuts through the sweetness.
Common Mistakes
- Not letting the cake cool: Warm cake can melt the pudding and whipped cream—cool it completely.
- Skipping chill time: Without chilling, layers may slide and flavors won’t meld.
- Overwhipping cream: You’ll get butter instead of whipped cream—stop at stiff peaks.
- Watery berries: Wet berries will make your trifle soggy and dull the layers.
What to Serve With
- A hot cup of coffee or tea
- A fresh fruit platter
- Chocolate-covered pretzels or dipped cookies
- Light salads if serving at brunch
FAQ
Can I use frozen berries?
Yes, just thaw and pat them dry first to avoid extra liquid.
Can I make it in individual cups?
Absolutely! Layer everything in clear cups or mason jars.
How long does it last in the fridge?
Up to 3 days. The texture stays best on day one and two.
Can I skip the pudding?
Yes, but it adds a creamy layer that helps balance the flavors.
Instructions
Step 1: Bake the Cake
Prepare red velvet cake as directed on the box using 3 eggs, 1/2 cup oil, and 1 1/4 cups water. Pour into a greased 9×13” pan. Bake at 350°F for 28–30 minutes. Let it cool completely.

Step 2: Make the Vanilla Pudding
In a mixing bowl, whisk 1 box of instant vanilla pudding with 3 cups of cold milk for 2 minutes until thickened. Refrigerate to chill.

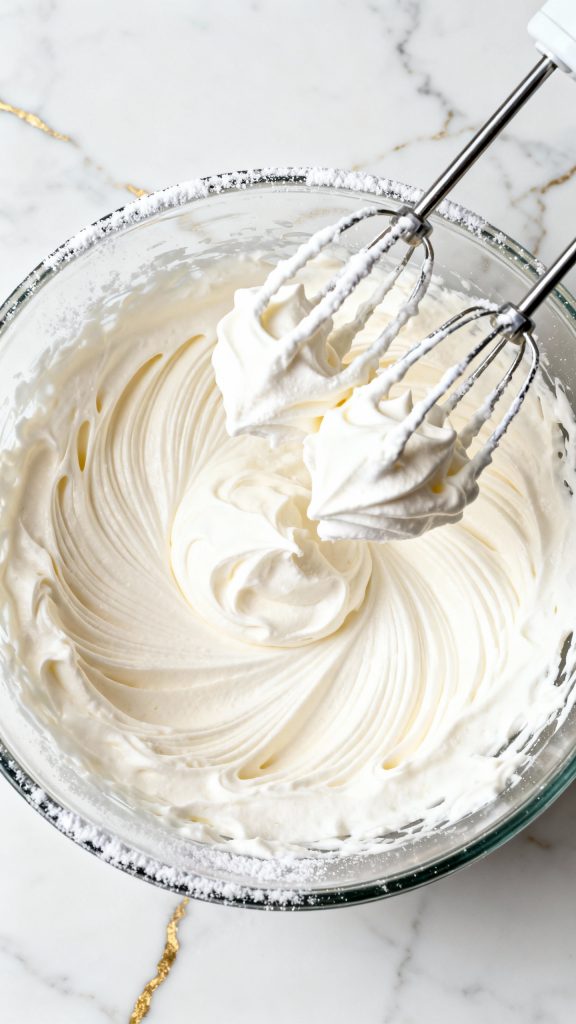
Step 3: Whip the Cream
In another bowl, beat 2 cups heavy cream, 1/4 cup powdered sugar, and 1 tsp vanilla extract until stiff peaks form (about 3–4 minutes).
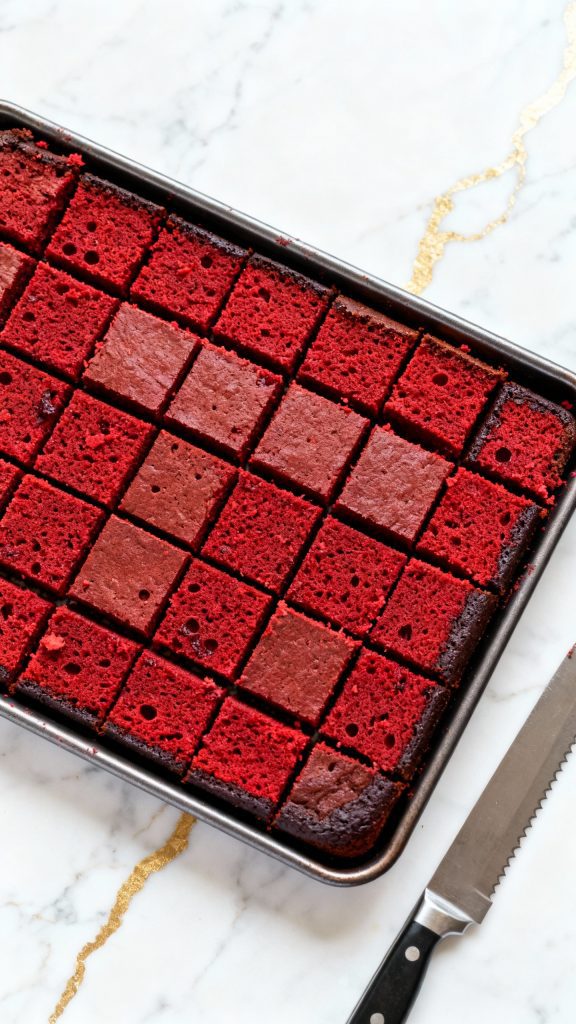
Step 4: Cube the Cake
Once cooled, cut the red velvet cake into 1-inch cubes using a serrated knife.
Step 5: Prep the Berries
Slice 1 cup strawberries, and rinse and dry 1 cup each of raspberries and blueberries.
Step 6: Assemble the Trifle
In a trifle bowl, layer in this order: red velvet cake cubes, vanilla pudding, whipped cream, and berries. Repeat layers until the bowl is full. Finish with whipped cream and extra berries on top. Garnish with mint.
Leftovers and Storage
Store leftovers covered in the fridge for up to 3 days. The texture stays best if you don’t stir the layers when serving. Spoon from the side to keep layers intact.
Final Thoughts
This Red Velvet Berry Trifle is one of those desserts that looks as good as it tastes. Whether you’re impressing guests or just treating yourself, it brings color, flavor, and joy to any table. Try it out, snap a pic of your creation, and don’t forget to leave a comment with your thoughts or questions. Happy layering!
