Who doesn’t love a dessert that’s as stunning as it is delicious? This Red Velvet Cheesecake is the ultimate crowd-pleaser!
You’ve got the rich, velvety goodness of red velvet cake and the creamy, dreamy layers of cheesecake all in one beautiful dessert.
It’s perfect for birthdays, holidays, or anytime you just want to wow your family. Bonus? It’s easier to make than you might think, and the kids will love helping with the layers. Let’s dive in!
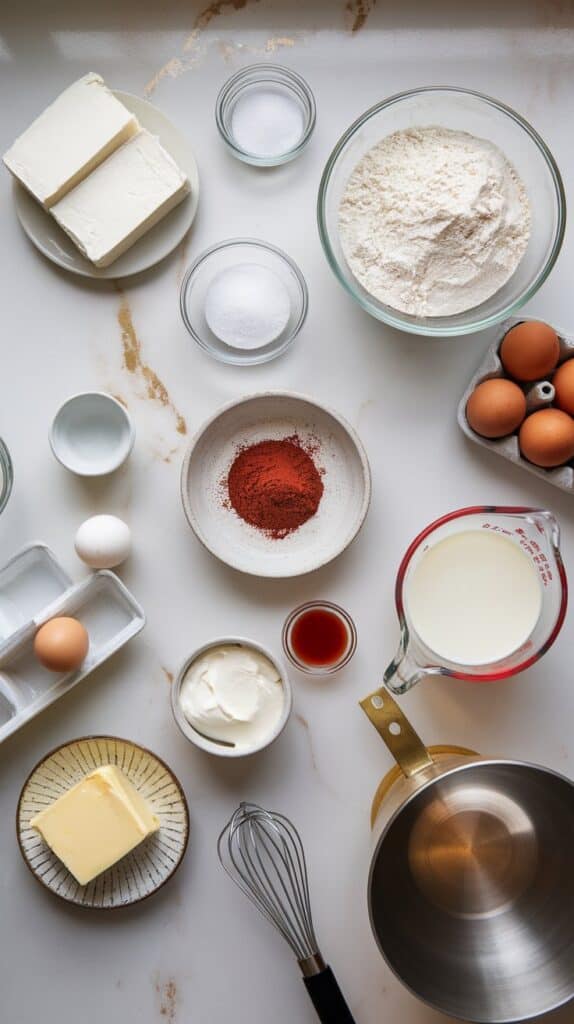
What You’ll Need:
For the Red Velvet Cake Layers:
- 1 1/4 cups all-purpose flour
- 1 tbsp unsweetened cocoa powder
- 1/2 tsp baking soda
- 1/4 tsp salt
- 1/2 cup unsalted butter, softened
- 1 cup granulated sugar
- 2 large eggs
- 1/2 cup buttermilk
- 1 tbsp red food coloring
- 1 tsp vanilla extract
- 1 tsp white vinegar
For the Cheesecake Layer:
- 16 oz cream cheese, softened
- 2/3 cup granulated sugar
- 2 large eggs
- 1 tsp vanilla extract
- 1/4 cup sour cream
For the Topping:
- Whipped cream
- Red velvet crumbs (saved from trimming the cake layers)

Pro Tips:
- Room Temperature Everything: Make sure your cream cheese, eggs, and butter are room temperature for smooth mixing and perfect textures.
- Don’t Overmix the Batter: Stir just until combined to avoid dense cake layers or cracked cheesecake.
- Chill Time is Key: Let the cheesecake cool fully and chill for at least 4 hours (overnight is best) for clean slices.
- Use a Springform Pan: This makes it so much easier to get your cheesecake out without messing it up.
- Save Cake Trimmings: Use them to make pretty crumbs for decorating the top!
Tools You’ll Need:
- 9-inch springform pan
- Mixing bowls
- Hand mixer or stand mixer
- Whisk
- Spatula
- Parchment paper
- Cooling rack
Substitutions and Variations:
- No buttermilk? Use 1/2 cup of milk + 1/2 tbsp vinegar or lemon juice.
- Gluten-free? Use a 1:1 gluten-free baking flour substitute.
- Want more color? Add a touch more red food coloring for a vibrant look.
- Simplify the topping: Skip the whipped cream and just dust the top with powdered sugar!
Make Ahead Tips:
- Bake the cheesecake layer and red velvet layers a day in advance. Assemble and decorate the next day!
- Cheesecake stores beautifully, so you can make the entire dessert up to 2 days ahead.
Instructions:
1. Make the Cheesecake Layer
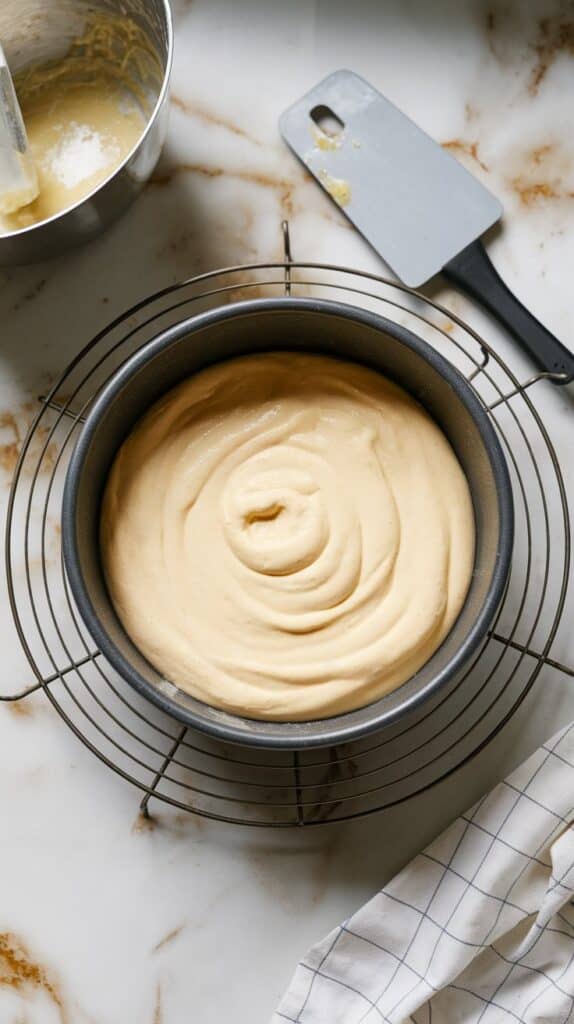
- Preheat the oven to 325°F. Line the bottom of your springform pan with parchment paper.
- In a bowl, beat softened cream cheese and sugar until smooth. Add eggs one at a time, then mix in vanilla and sour cream. Pour the batter into the pan and bake for 40–45 minutes, until set but slightly jiggly in the center. Cool completely.

2. Make the Red Velvet Cake Layers
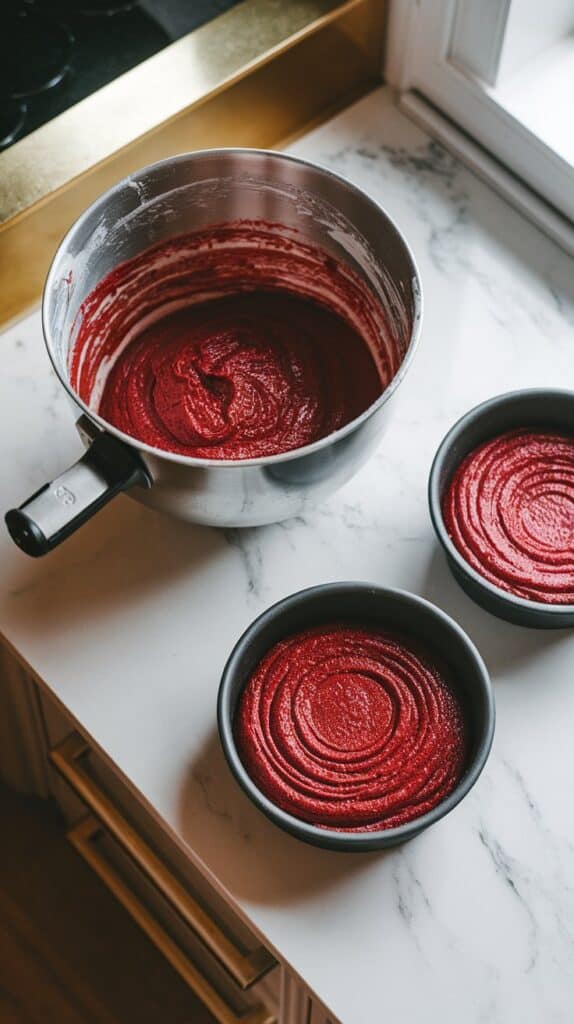
- Preheat the oven to 350°F. Grease and line two 9-inch round cake pans.
- Sift together flour, cocoa powder, baking soda, and salt in a bowl.
- In another bowl, beat butter and sugar until fluffy. Mix in eggs, buttermilk, vanilla, red food coloring, and vinegar. Gradually add dry ingredients and mix until just combined.
- Divide batter evenly into pans and bake for 25–30 minutes. Let cool, then trim tops to level if needed.

3. Assemble the Cake
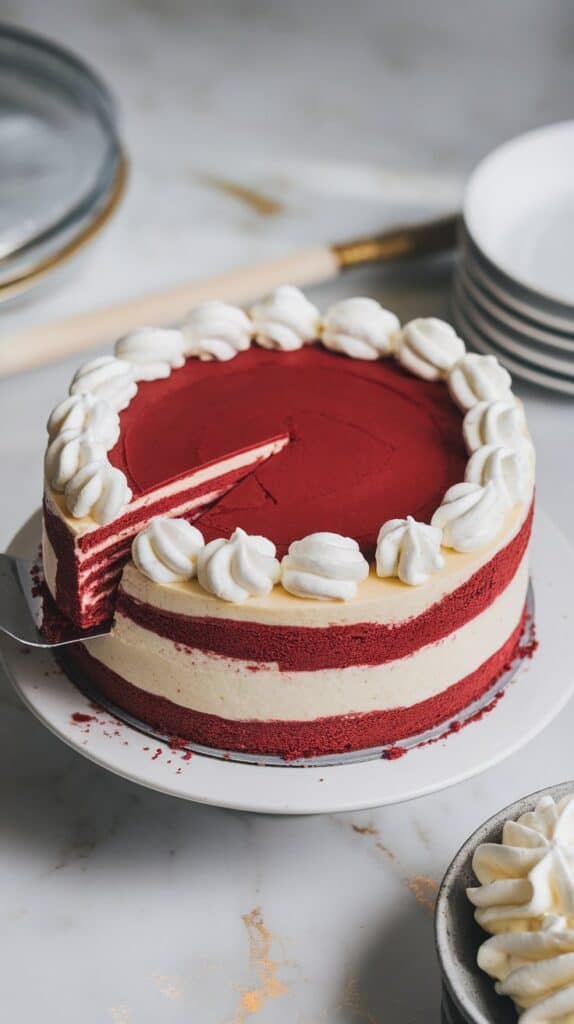
- Place one red velvet layer on a cake plate. Top with the cheesecake layer, then the second red velvet layer.
- Spread whipped cream on top and sprinkle with red velvet crumbs for decoration.

Leftovers and Storage:
- Store leftovers in the fridge for up to 4 days, covered tightly.
- For longer storage, freeze individual slices wrapped in plastic wrap and foil for up to 2 months. Just thaw in the fridge overnight before eating!
Conclusion:
I know this Red Velvet Cheesecake will be a hit in your home—it’s one of those desserts that makes every celebration extra special. Whether you’re making it for a holiday, birthday, or just because, it’s worth every step. If you try it, I’d LOVE to hear how it turned out! Leave a comment below with your thoughts or any questions—I’m here to help. Enjoy! ❤️


