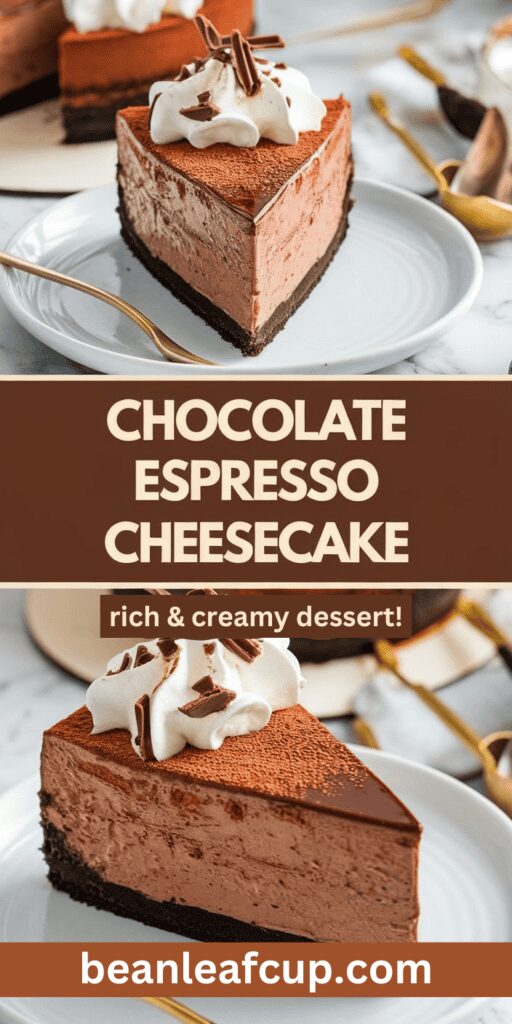
Oh, you’re going to fall in love with this one. This Chocolate Espresso Cheesecake is the perfect combination of rich chocolatey goodness and a smooth coffee kick.
It’s creamy, indulgent, and honestly tastes like something straight out of a fancy bakery, but guess what? You can totally make it at home.
I’ve whipped this up for family gatherings, and it’s always the star of the dessert table. It’s easier to make than you think, and trust me, once you try it, you’ll never look back.
Ready to dive in? Let’s do this!
What You’ll Need
For the Crust:
- 1 ½ cups chocolate cookie crumbs (like Oreos, no filling)
- 5 tablespoons unsalted butter, melted
For the Filling:
- 3 (8 oz) packages of cream cheese, softened
- 1 cup granulated sugar
- 1 cup sour cream
- 4 large eggs
- 1 cup semi-sweet chocolate chips, melted
- 2 tablespoons instant espresso powder dissolved in 2 tablespoons hot water
- 1 teaspoon vanilla extract
For the Ganache:
- ½ cup heavy cream
- 1 cup semi-sweet chocolate chips
- Optional garnish: cocoa powder, coffee beans, or whipped cream
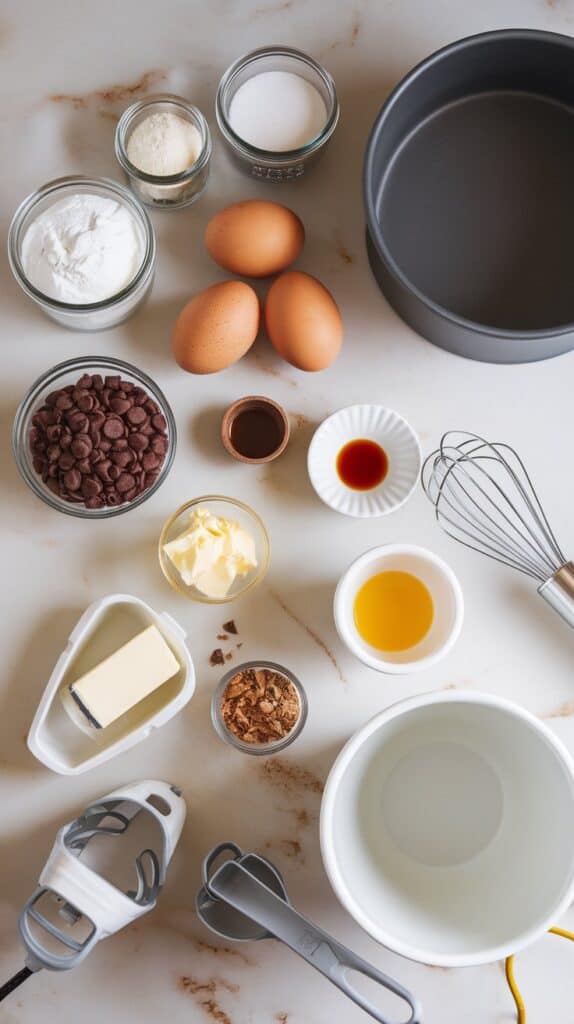
Pro Tips
- Room Temperature Ingredients Are Key: Make sure your cream cheese, sour cream, and eggs are at room temperature. This helps everything blend smoothly.
- Don’t Skip the Water Bath: Baking the cheesecake in a water bath prevents cracks and gives it that dreamy creamy texture.
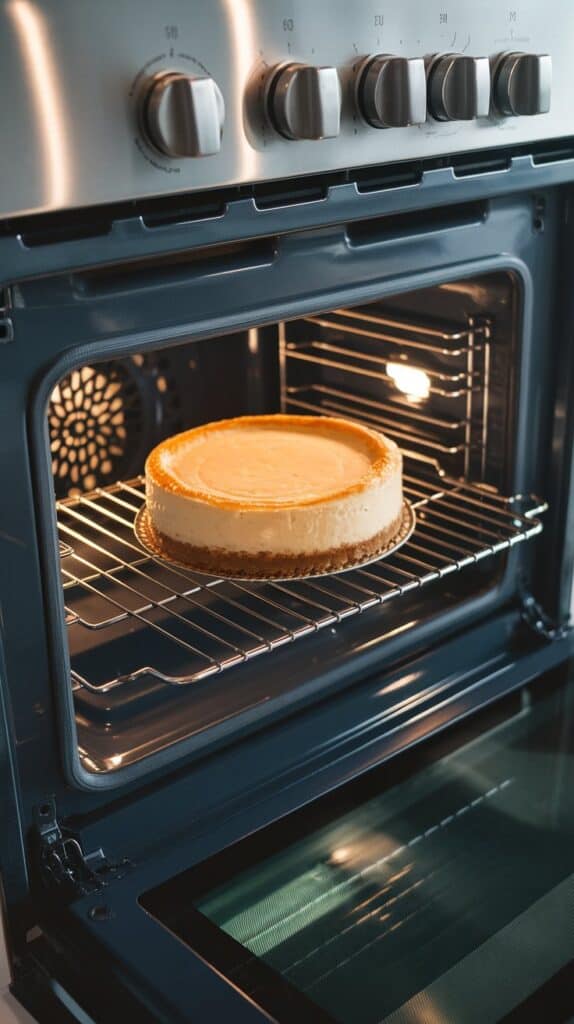
- Let It Cool Gradually: Once baked, let the cheesecake cool in the oven with the door slightly open for about an hour. This prevents sudden temperature changes that can cause cracking.
- Dissolve the Espresso: Fully dissolve the espresso powder in hot water so it blends evenly into the filling without clumps.
- Be Patient with the Ganache: Let it cool slightly before pouring over the cheesecake to avoid melting the top.
Tools You’ll Need
- 9-inch springform pan
- Large mixing bowls
- Electric mixer
- Measuring cups and spoons
- Silicone spatula
- Saucepan
- Whisk
- Aluminum foil
Substitutions and Variations
- No Espresso? Use decaf espresso powder or leave it out for a classic chocolate cheesecake.
- Gluten-Free Crust: Swap cookie crumbs with gluten-free chocolate cookies.
- Milk Chocolate: Replace semi-sweet chocolate with milk chocolate for a sweeter taste.
- Dairy-Free Option: Use dairy-free cream cheese, sour cream, and chocolate chips.
Make-Ahead Tips
This cheesecake is actually better when made ahead! Bake it the day before and let it chill overnight in the fridge for the best flavor and texture.
How to Make It
1. Prep the Crust
Combine chocolate cookie crumbs and melted butter in a bowl. Press the mixture into the bottom of a 9-inch springform pan lined with parchment paper. Chill in the fridge while you make the filling.
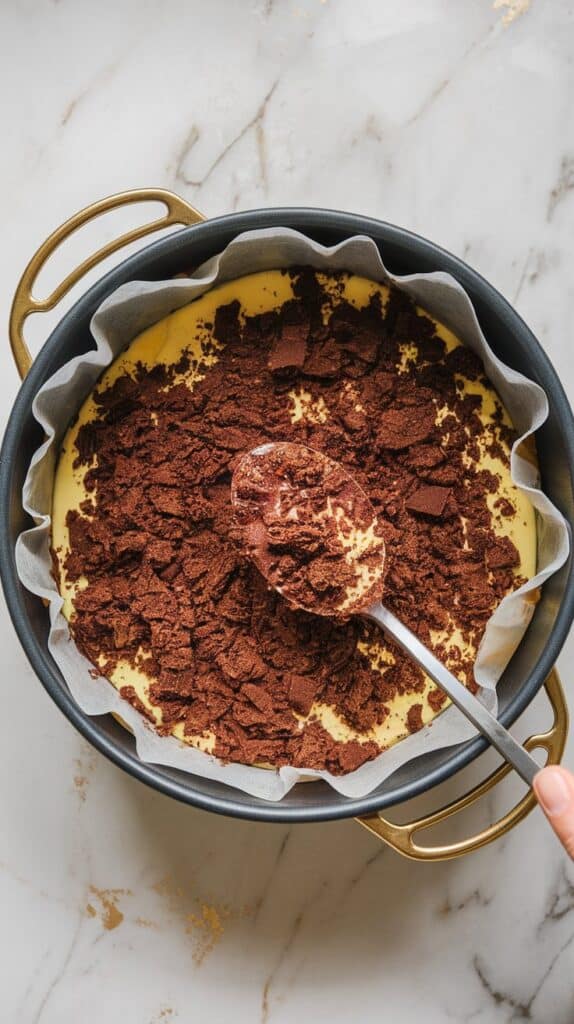
2. Make the Filling
Beat softened cream cheese and sugar until smooth. Add sour cream, eggs (one at a time), vanilla, melted chocolate, and dissolved espresso. Mix until creamy and well combined.
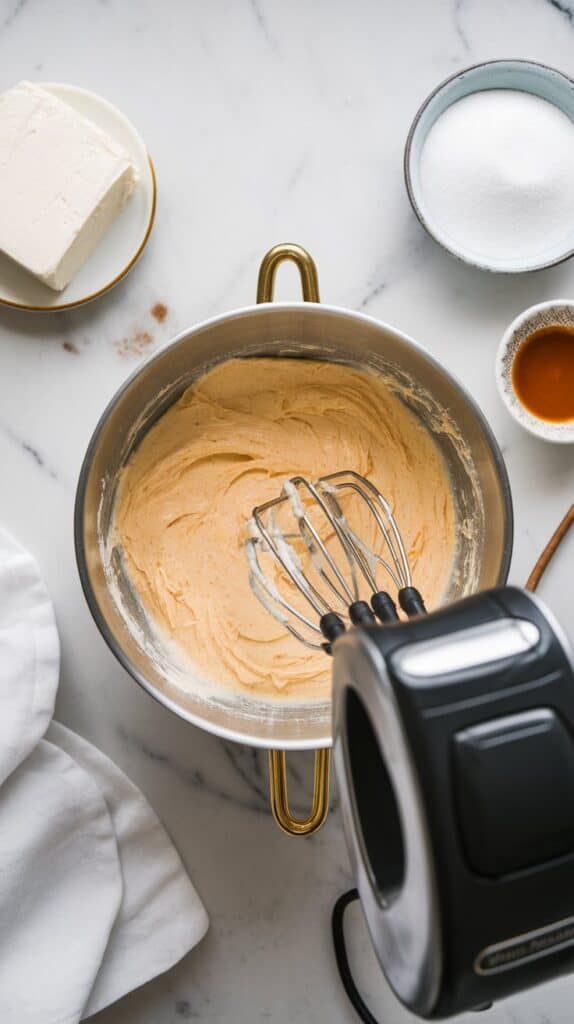
3. Bake the Cheesecake
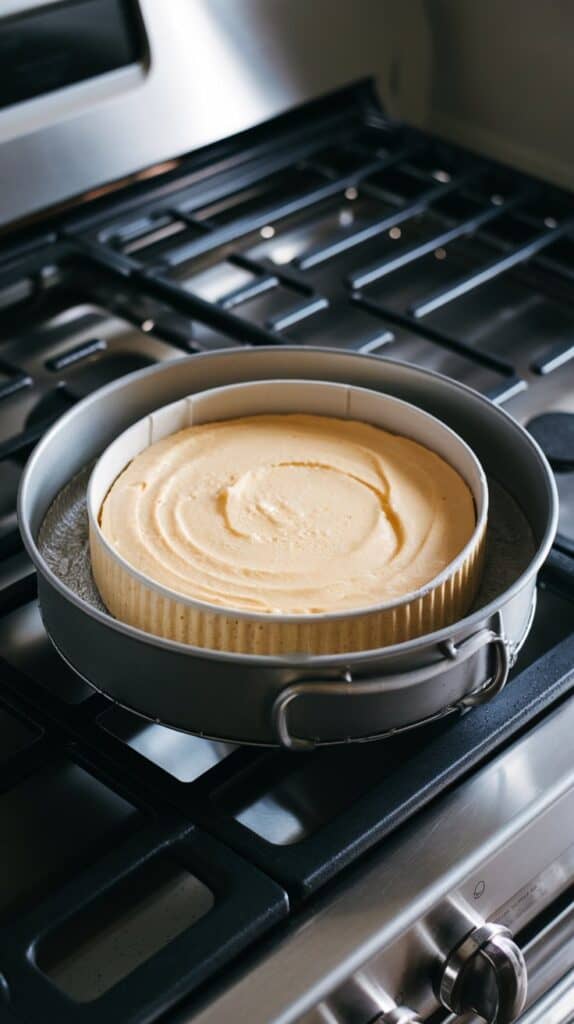
Pour the filling over the crust. Wrap the springform pan in foil and place it in a large roasting pan. Pour hot water into the pan until it reaches halfway up the sides of the springform pan. Bake at 325°F for 60–70 minutes.
4. Cool and Chill
Turn off the oven and crack the door open. Let the cheesecake cool in the oven for 1 hour. Then, refrigerate for at least 6 hours or overnight.
5. Make the Ganache
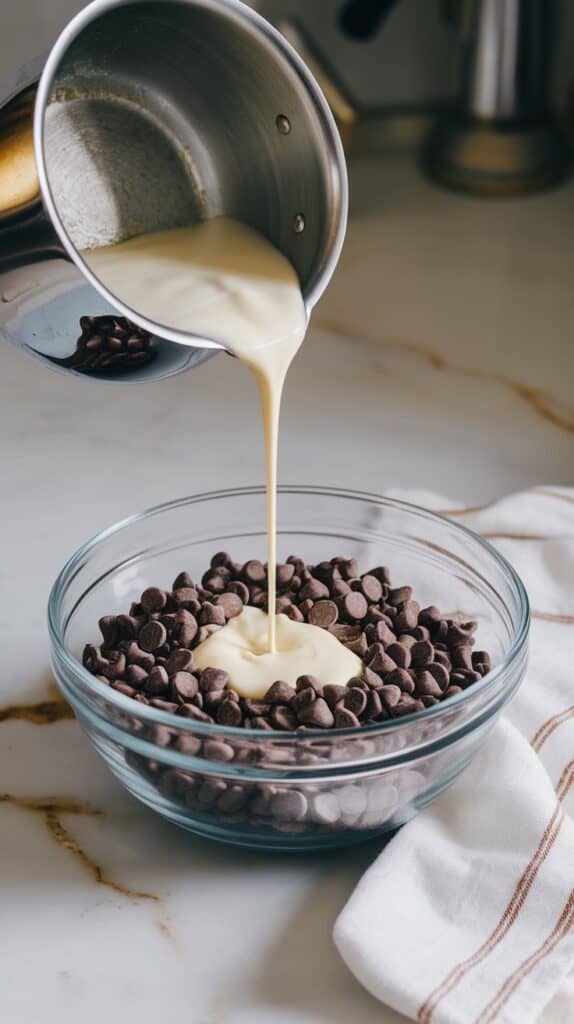
Heat heavy cream in a saucepan until just simmering. Pour over chocolate chips in a bowl and let sit for 5 minutes. Whisk until smooth and glossy, then pour over the chilled cheesecake.
6. Decorate and Serve
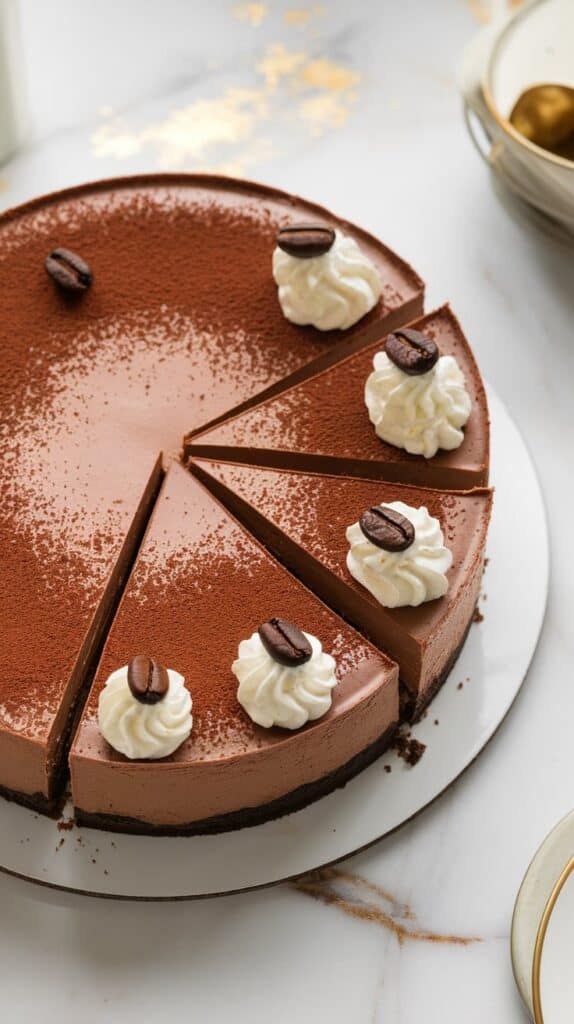
Once the ganache is set, dust the cheesecake with cocoa powder and garnish with coffee beans or whipped cream. Slice and enjoy!
Leftovers and Storage
Store leftover cheesecake in the fridge, tightly covered, for up to 5 days. You can also freeze slices individually wrapped in plastic wrap and foil for up to 3 months.
Conclusion
There you have it—a show-stopping dessert that’s as delicious as it is impressive. This Chocolate Espresso Cheesecake is guaranteed to wow your family and friends. Let me know how yours turns out, and don’t forget to share your thoughts (or questions) in the comments! I’d love to hear all about it. Happy baking! ❤️

